Internal parts
Spring change
In the first part of the review we wrote about the ease with which you can change the muzzle velocity of ICS replica equipped with the two part grearbox. In both cases it is necessary to open the carbine. To do this, the rear pin connecting the upper and lower receiver has to be taken out. But to do this you need to pull the Stock butt out as, when it is collapsed, the guides block the access to the pin. On the photo below the stock is already extended.
And a partially slip replica. If you want to change the muzzle velocity, you can mount the complete upper part of the gearbox or replace the spring itself as shown in the first part of the review.
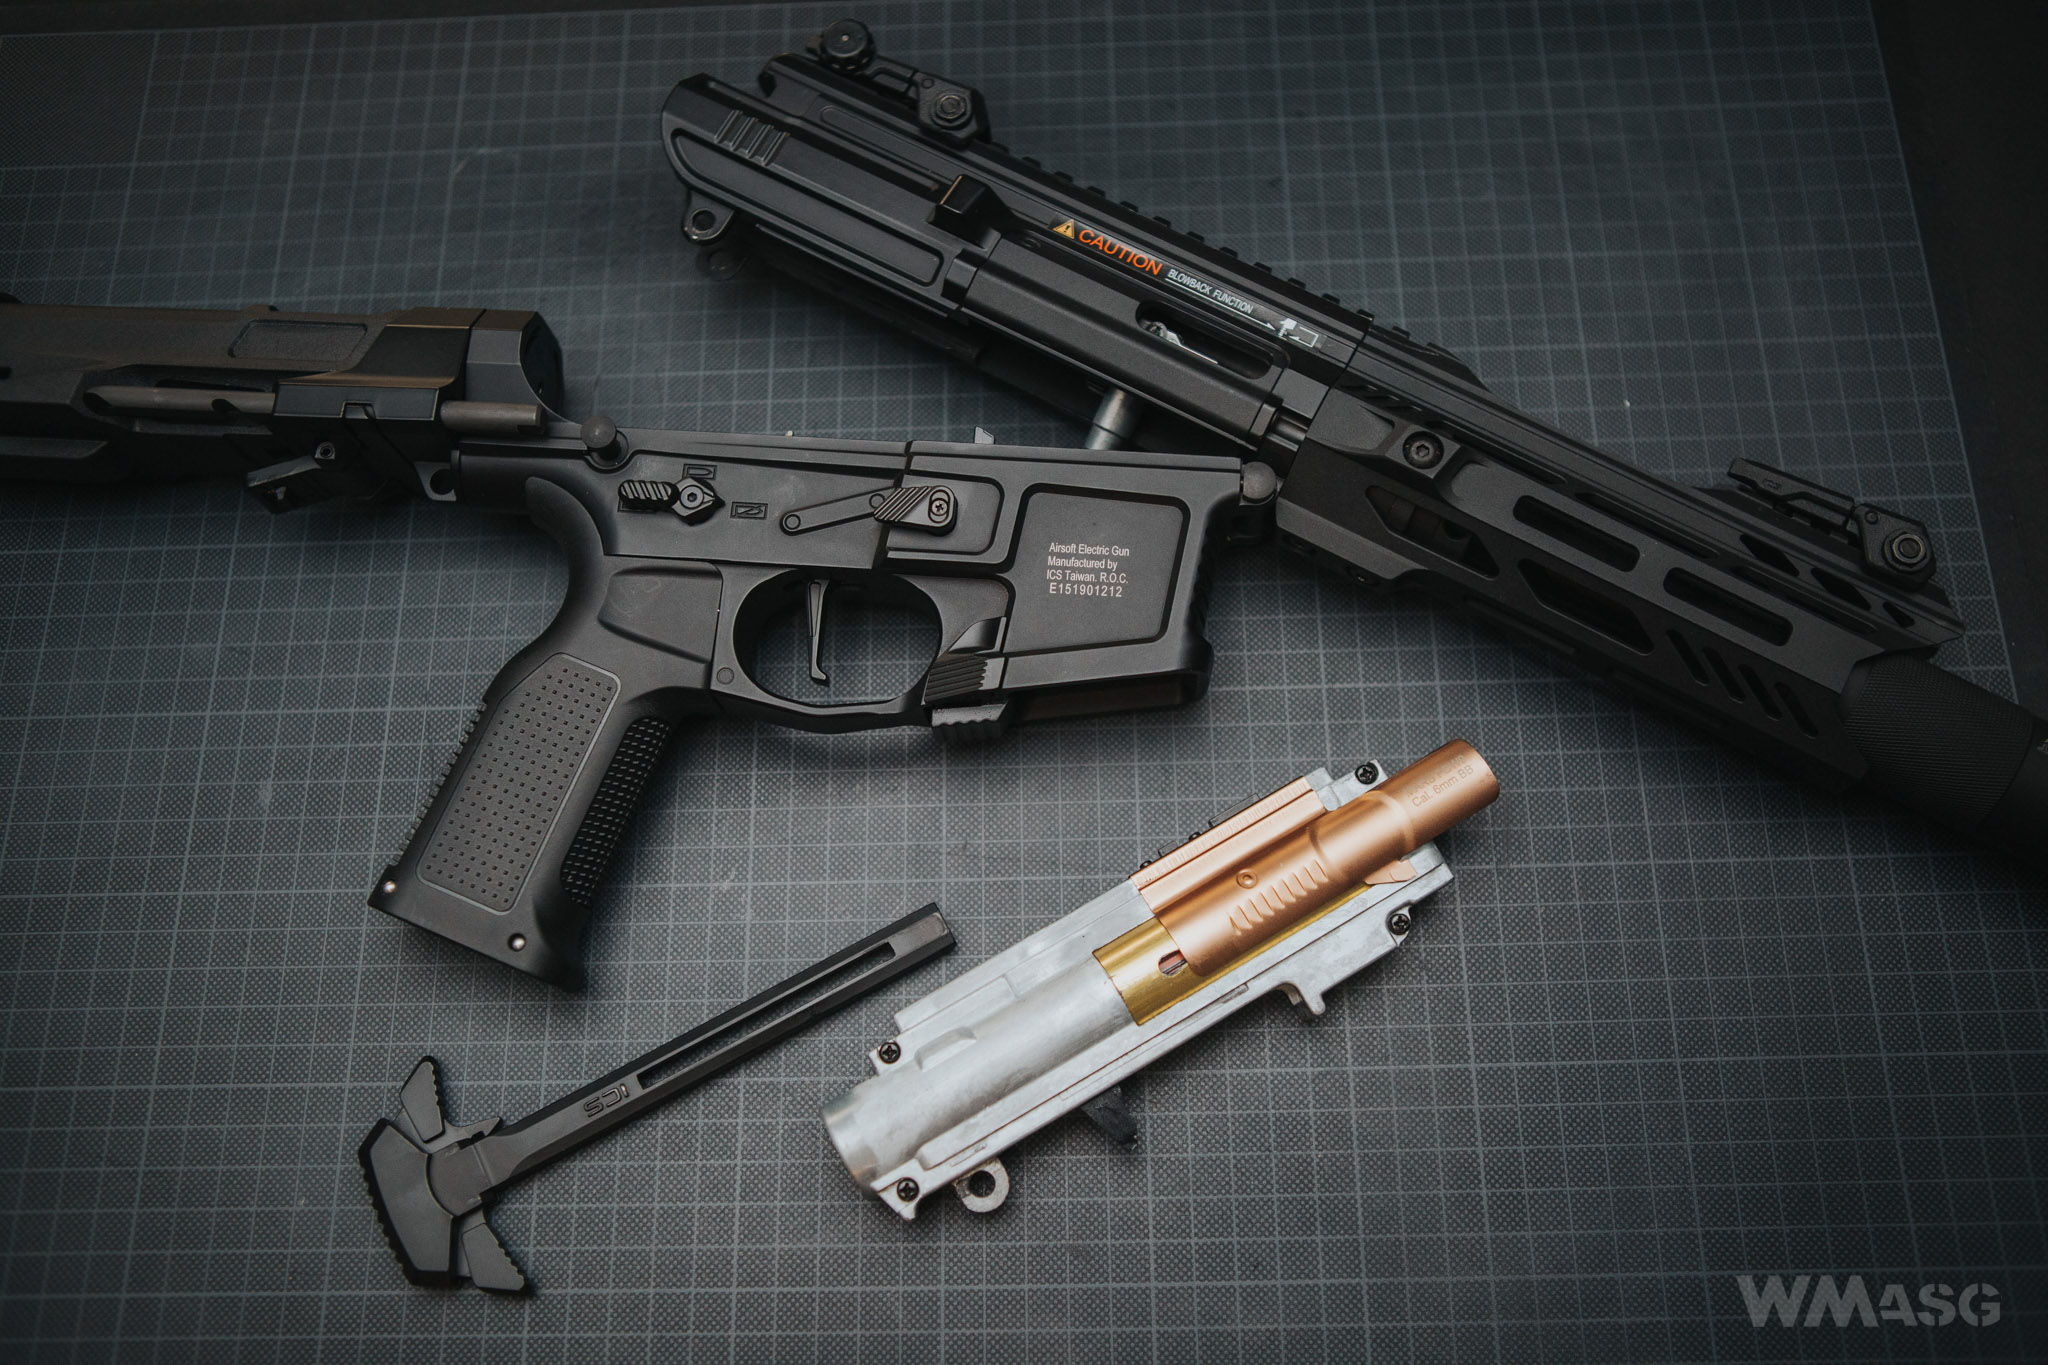
The dummy bolt carrier is moved by the piston. The connecting part works in a port between the gearbox halves and has its own return spring mounted on a guide rod. The two pictures below show the stroke of the dummy bolt carrier.
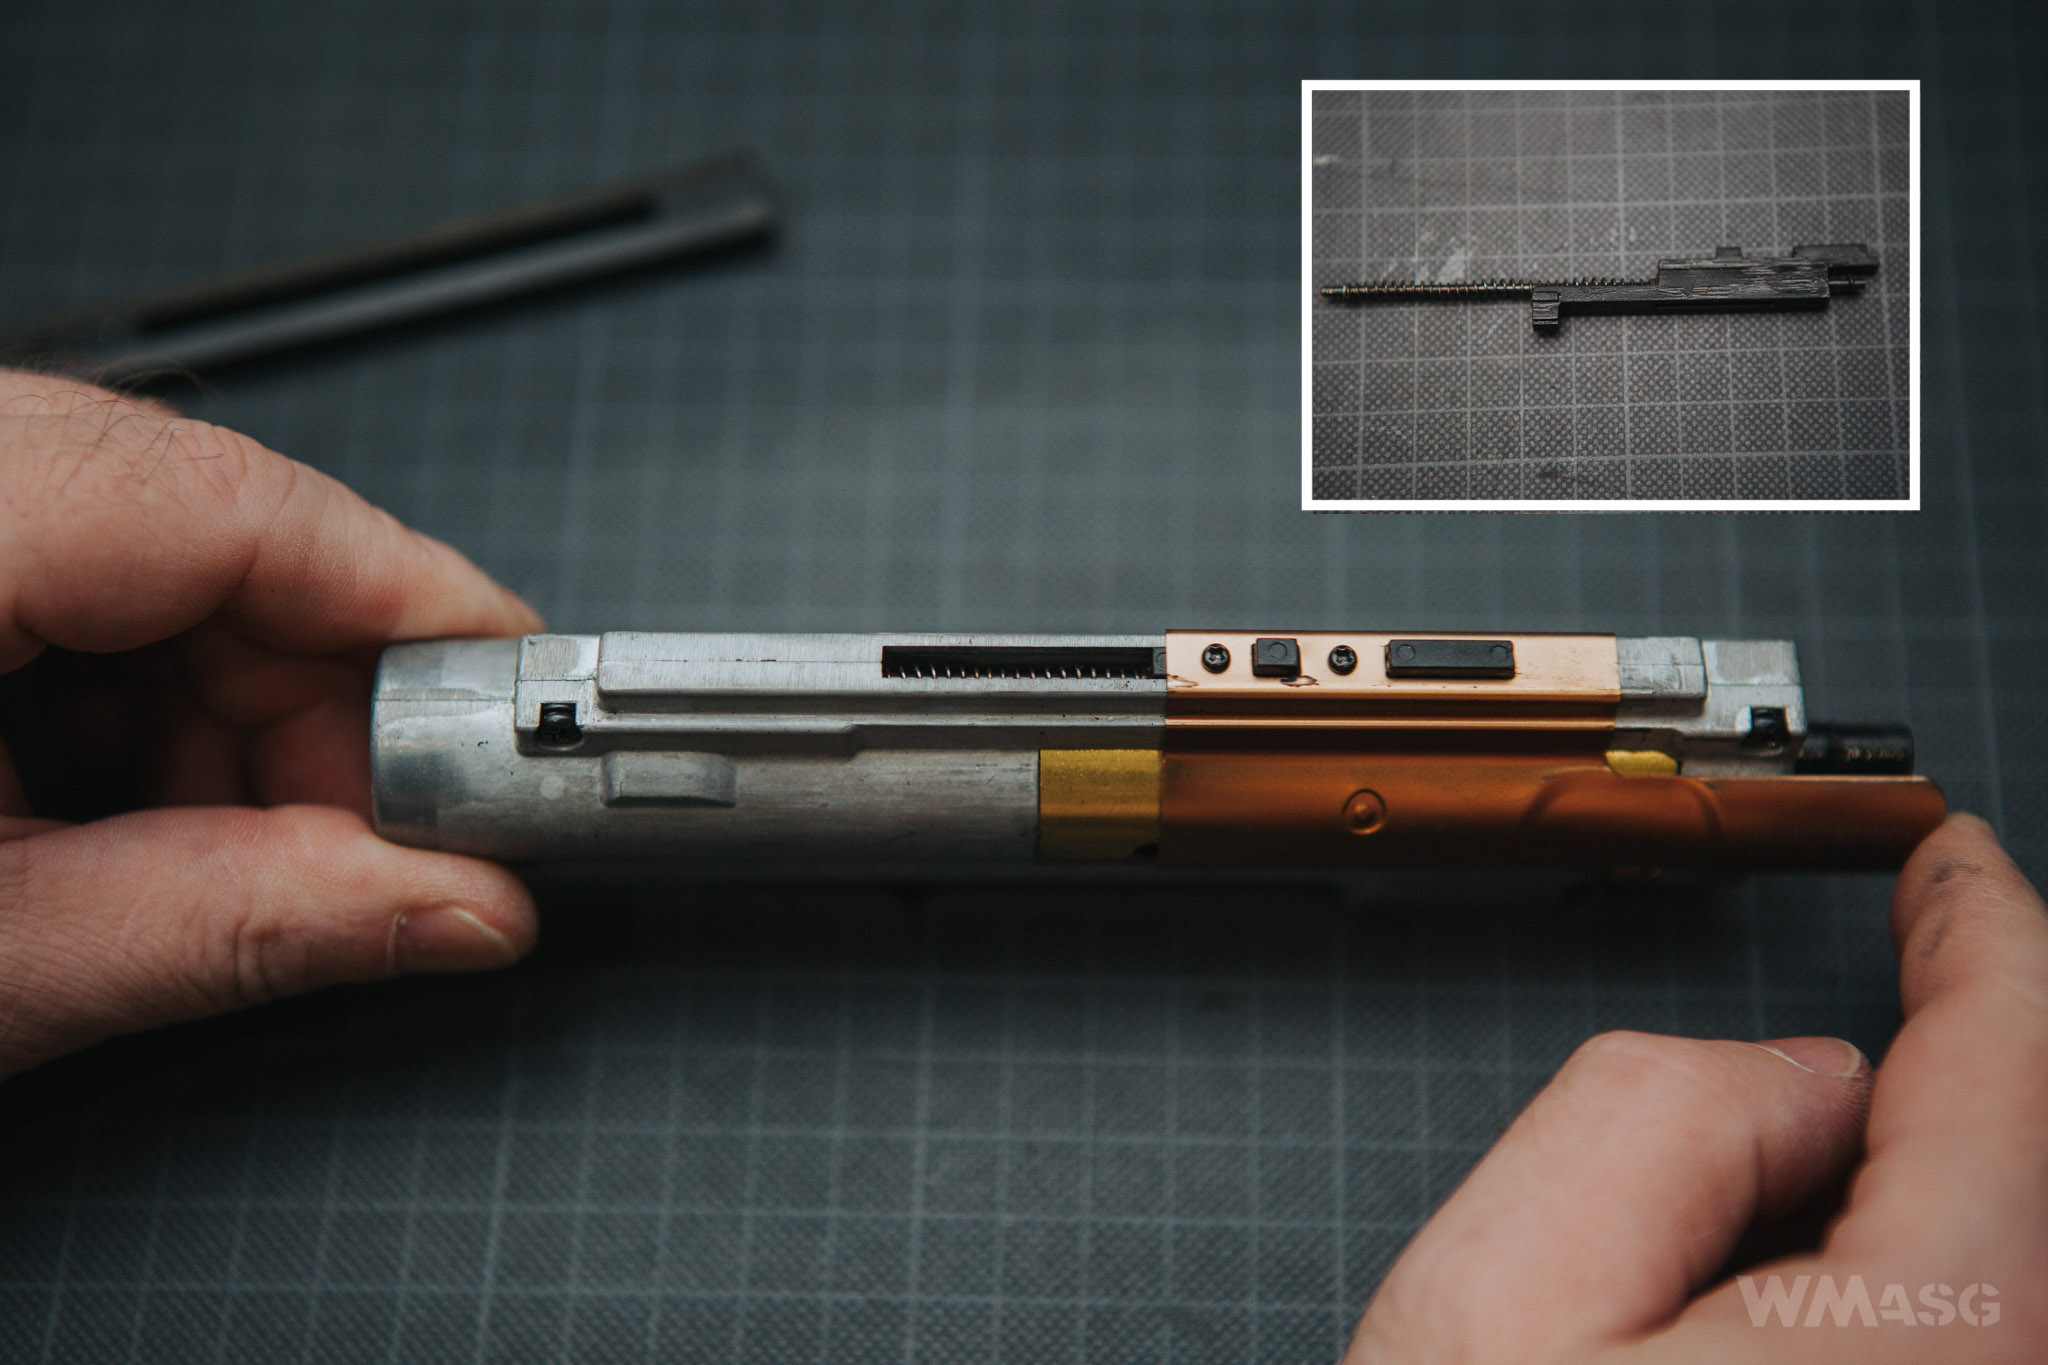
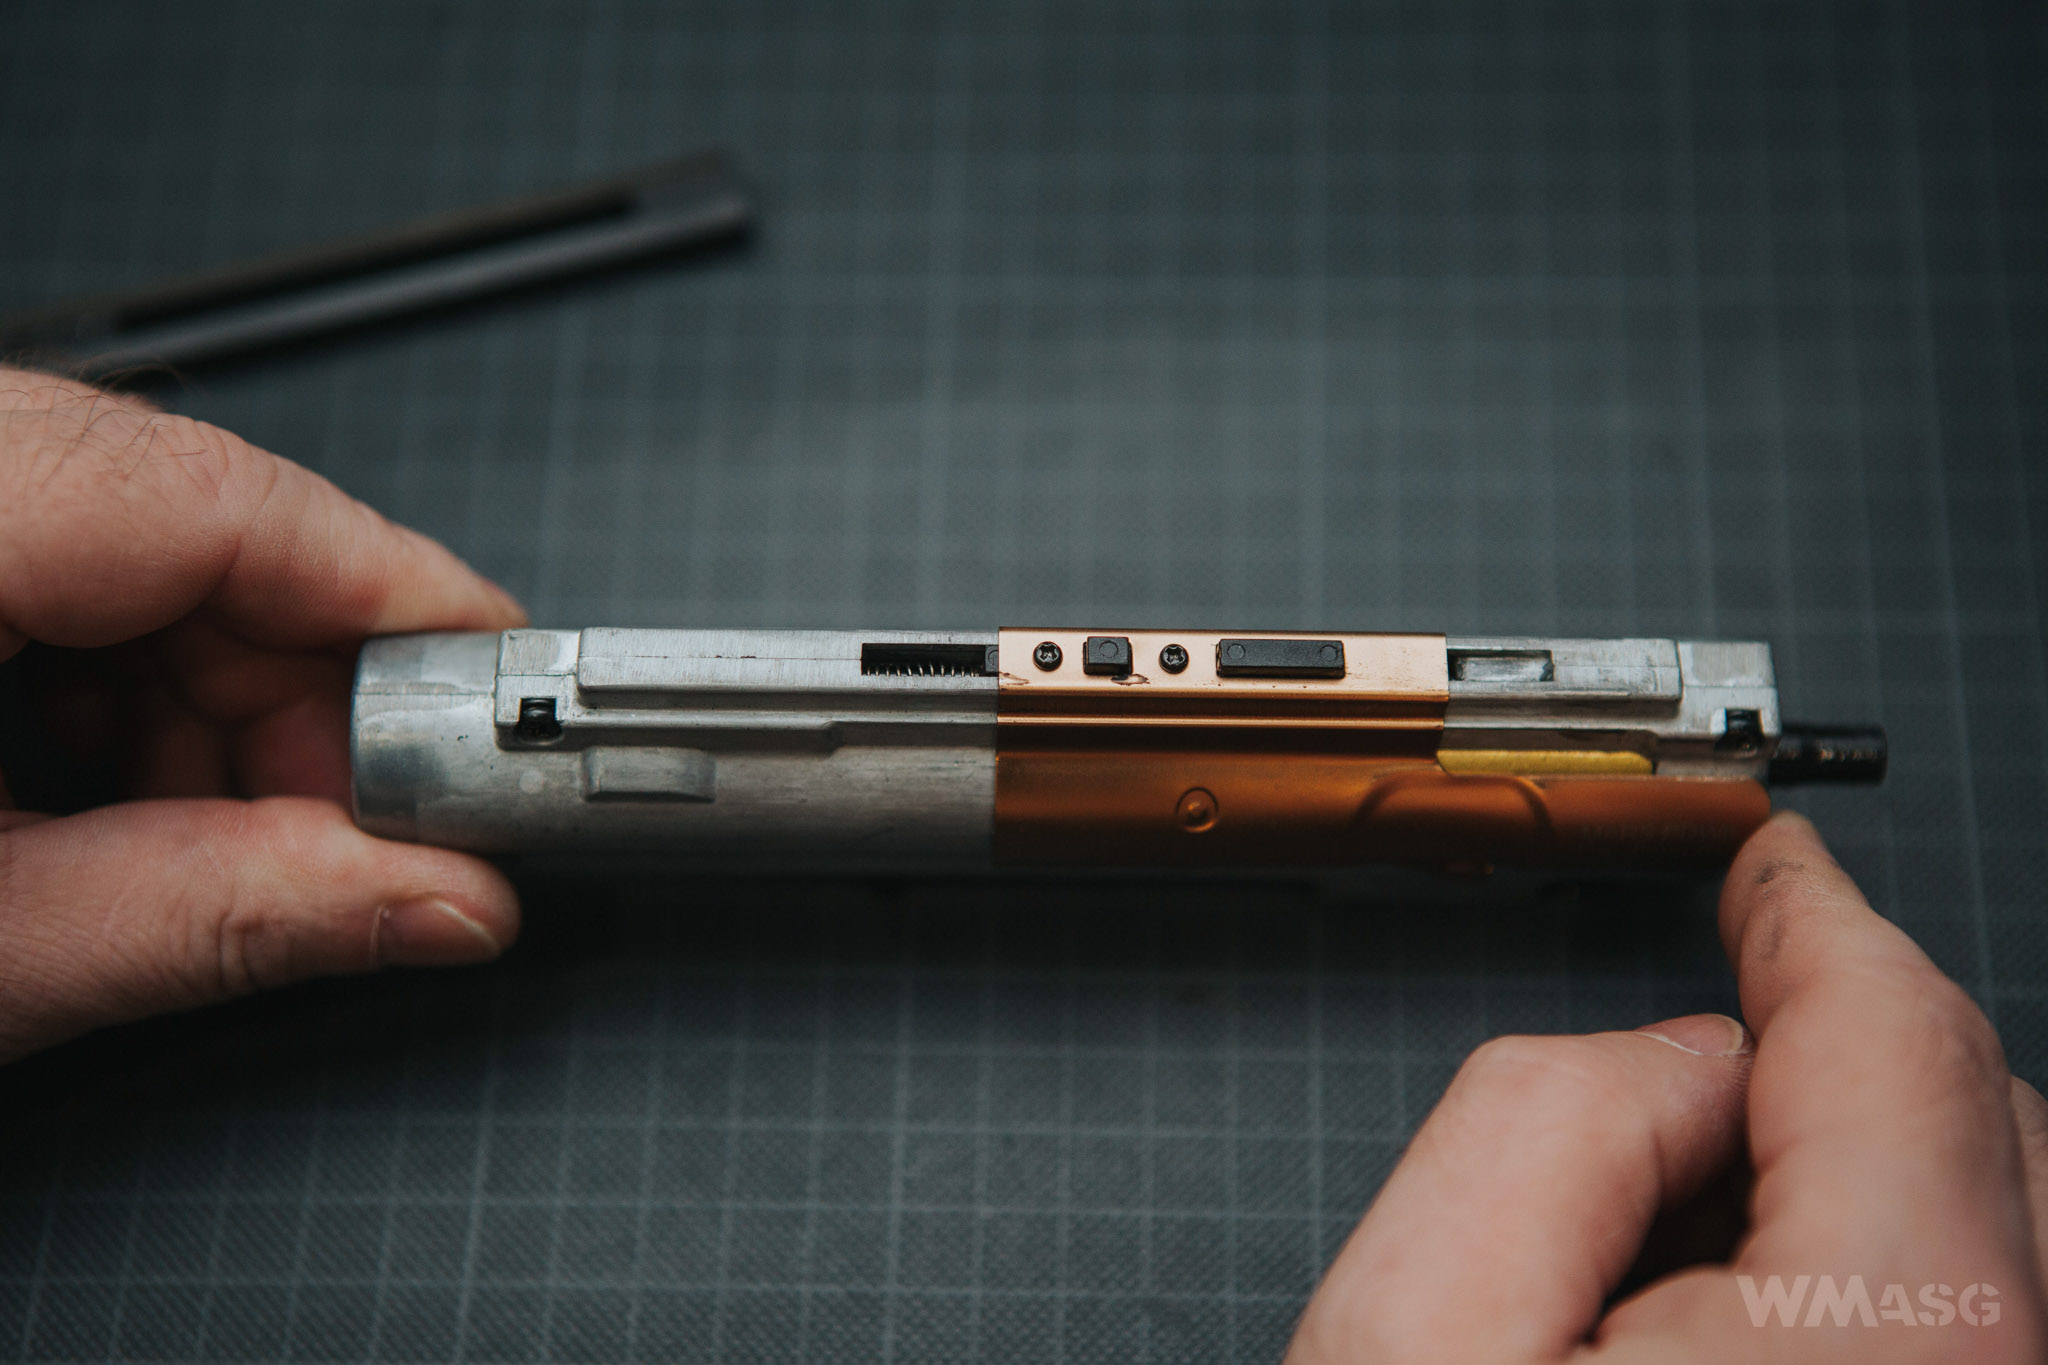
The pneumatic system consists of a standard brass cylinder with a hole and parts of increased quality.
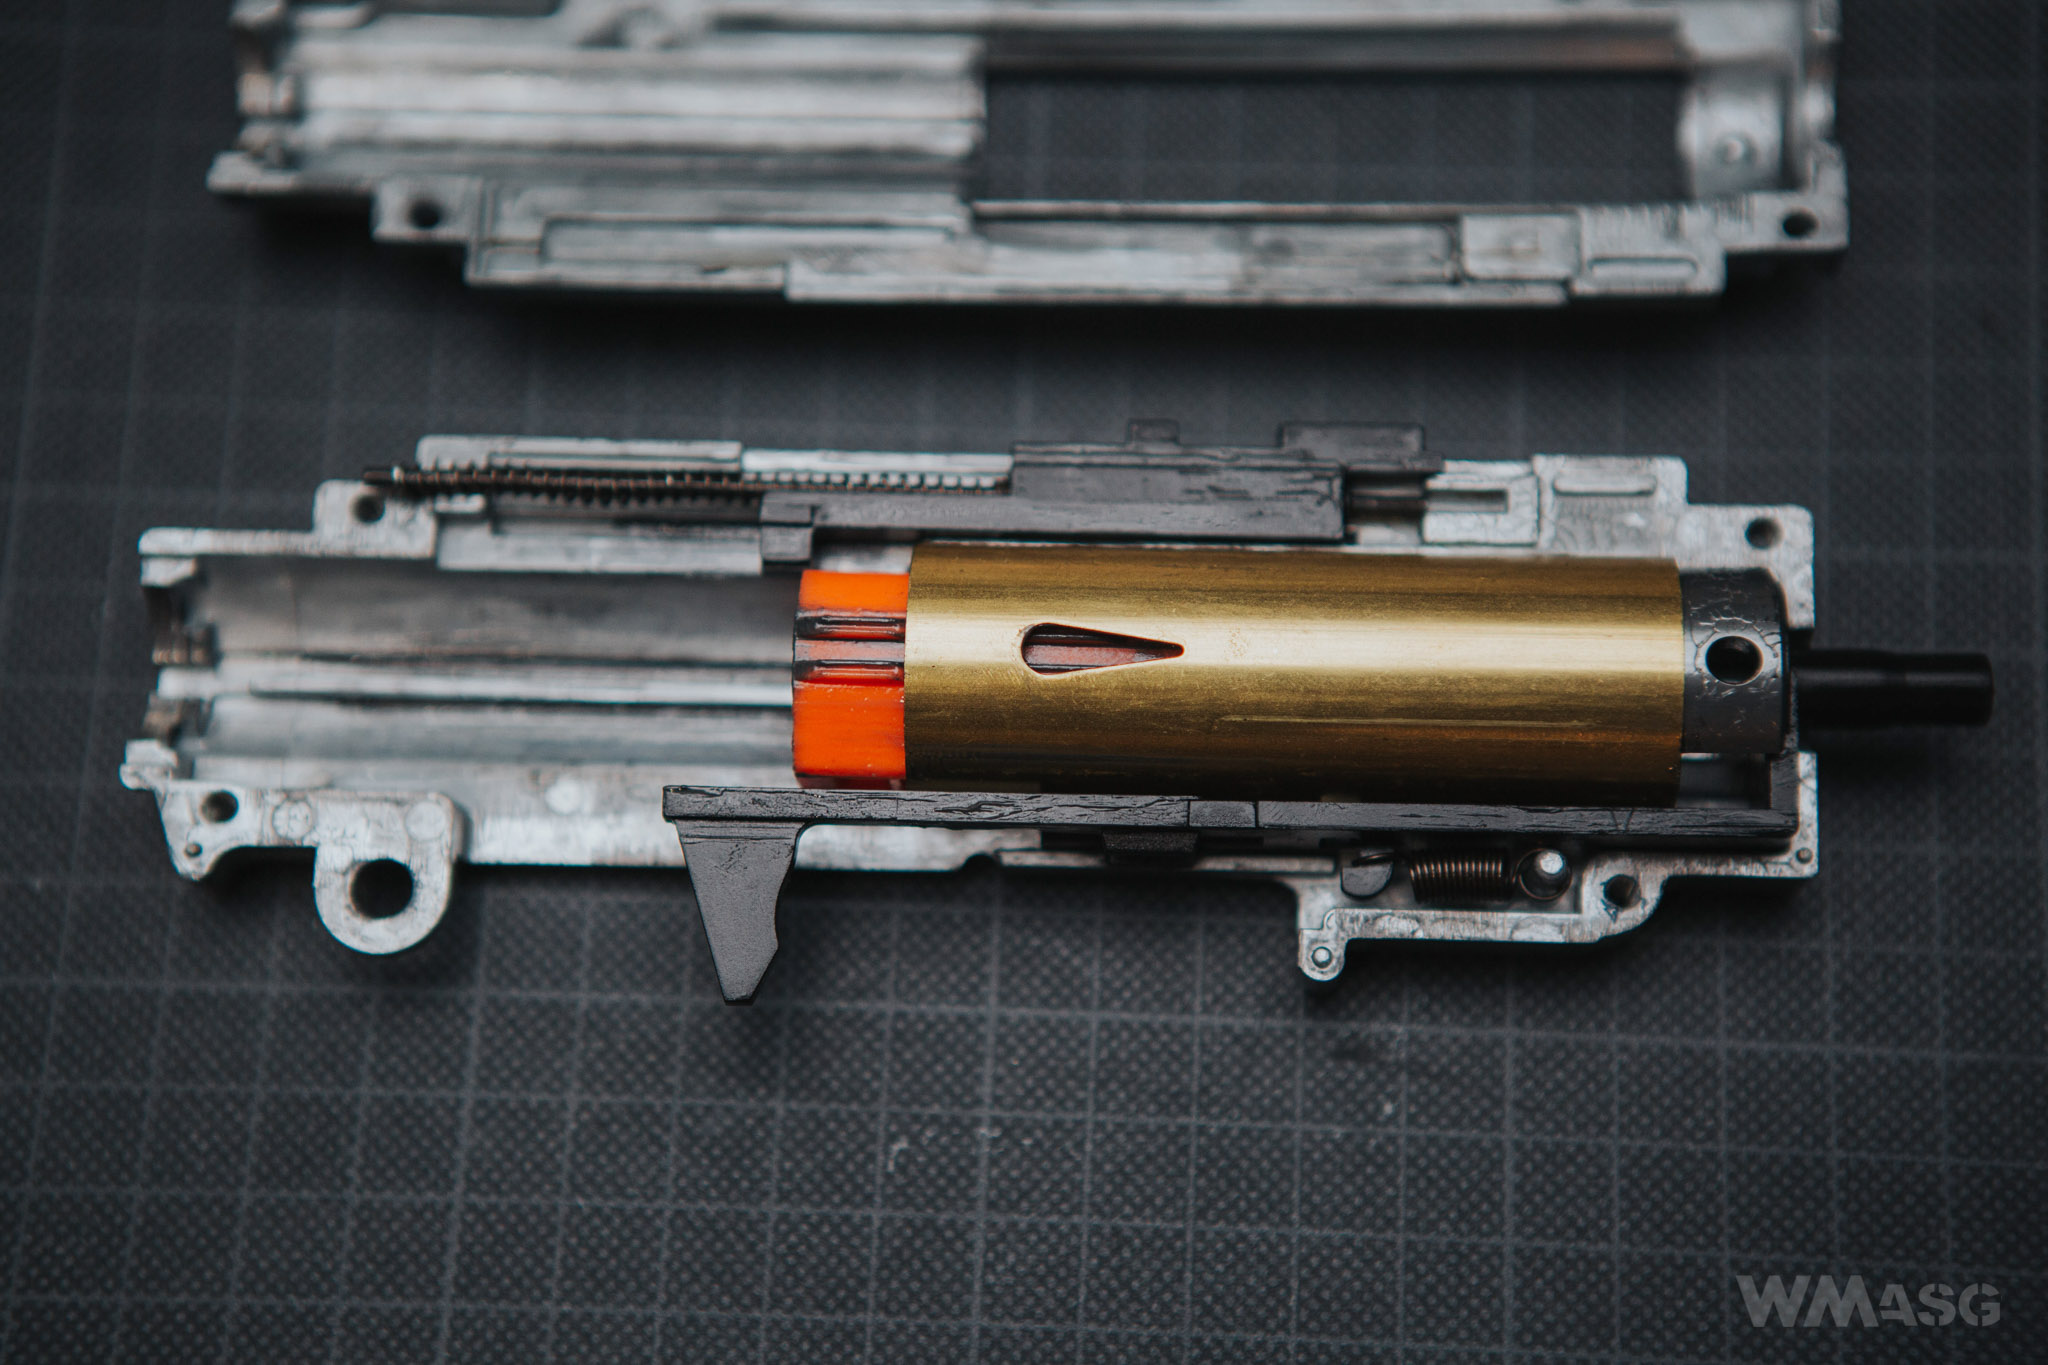
The cylinder head has a prominent internal bumper, which should also work without a "quiet" piston head. In addition, a second rubber damping element was used in the place where the head can contact the gearbox frame.
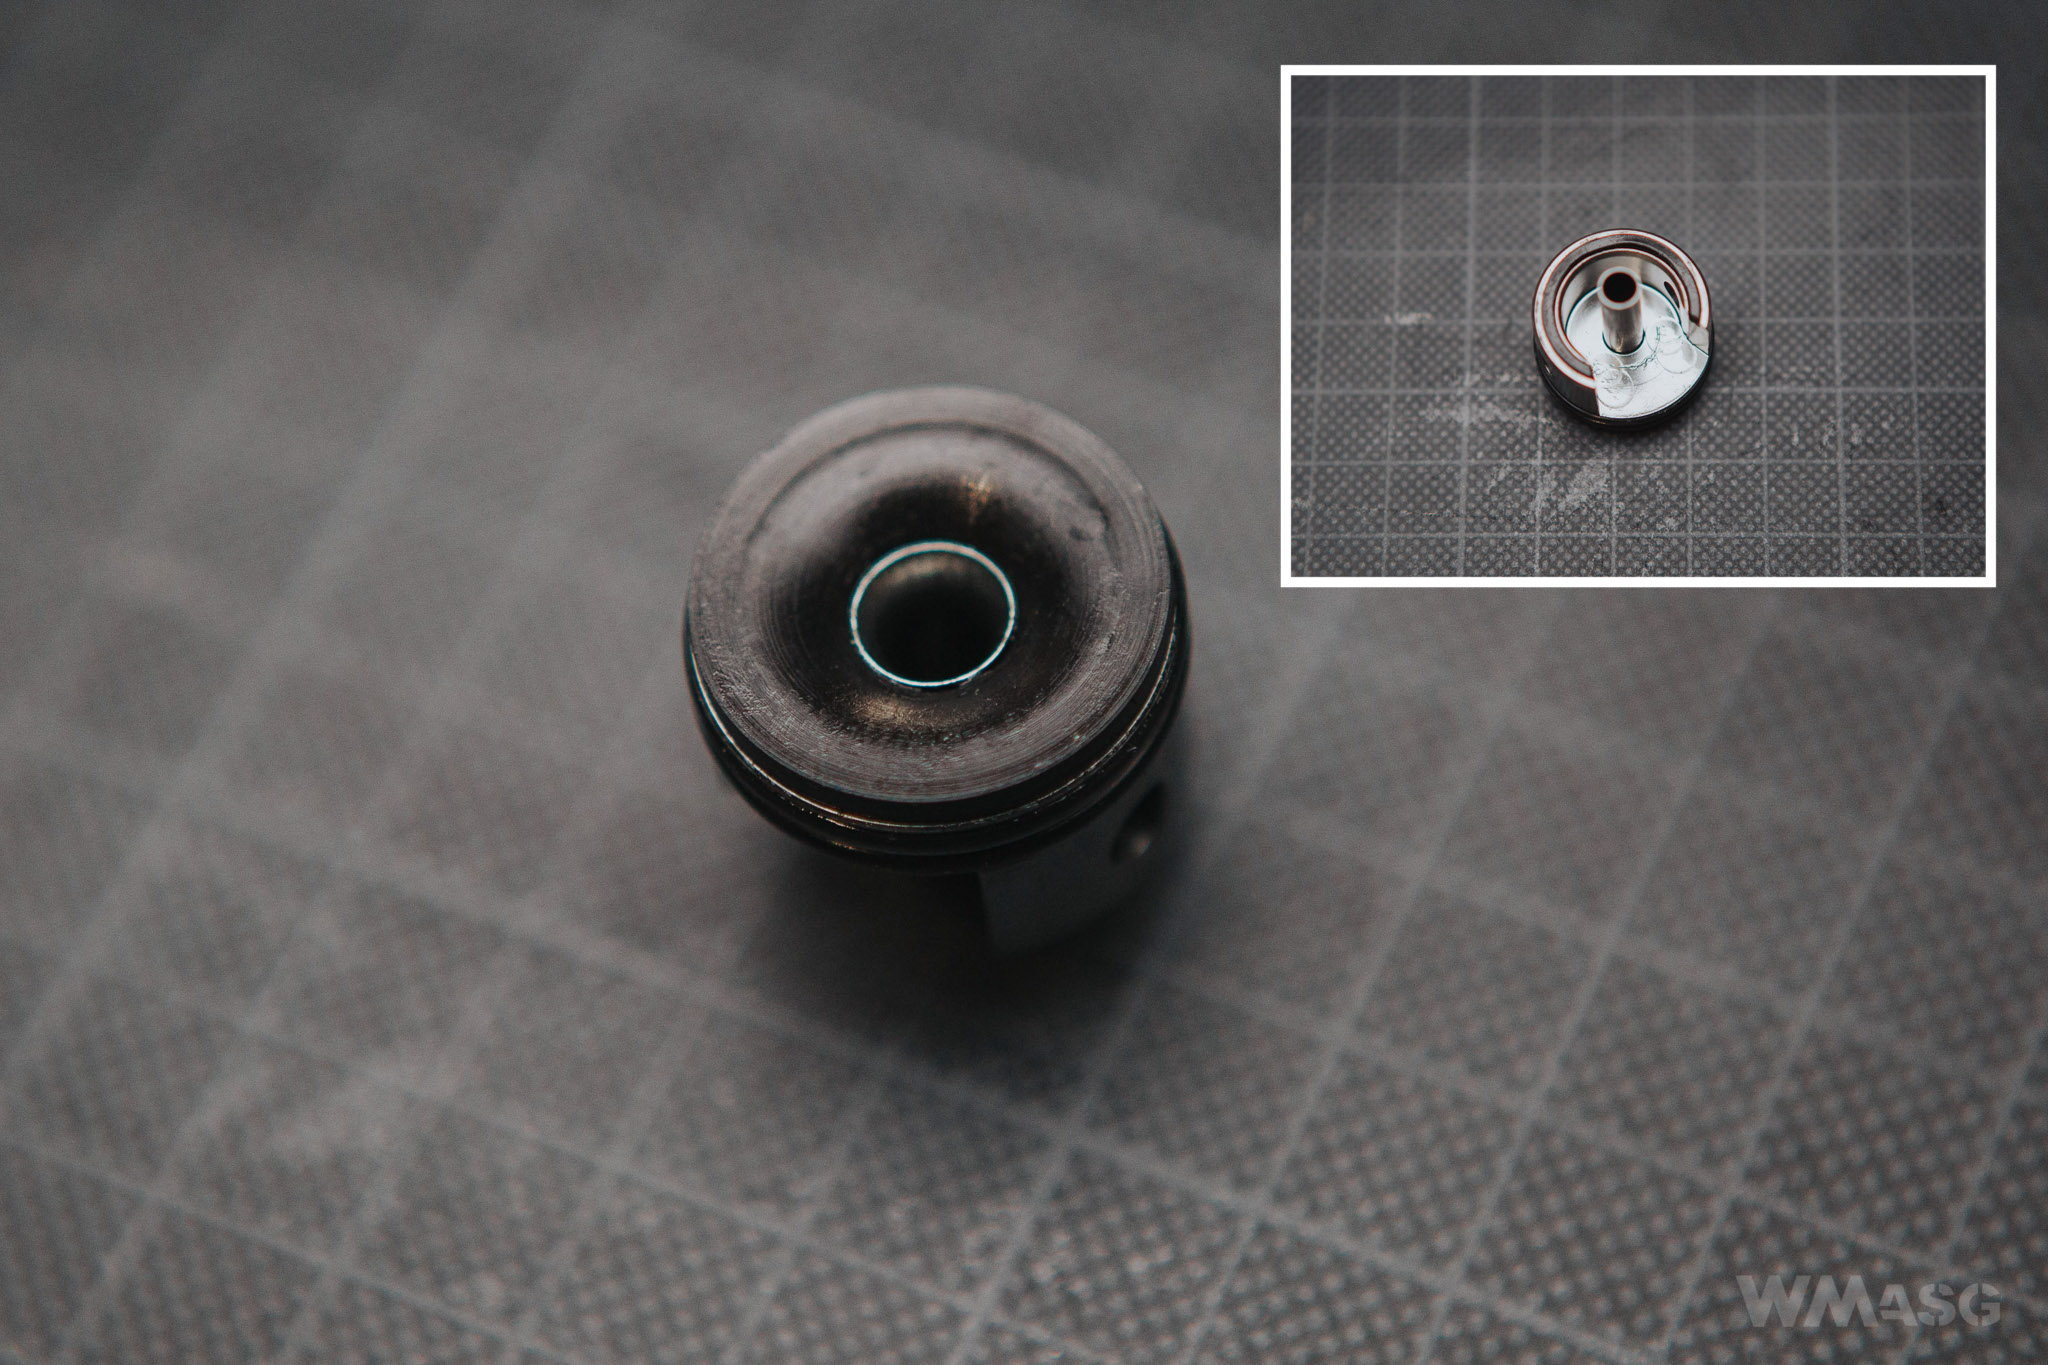
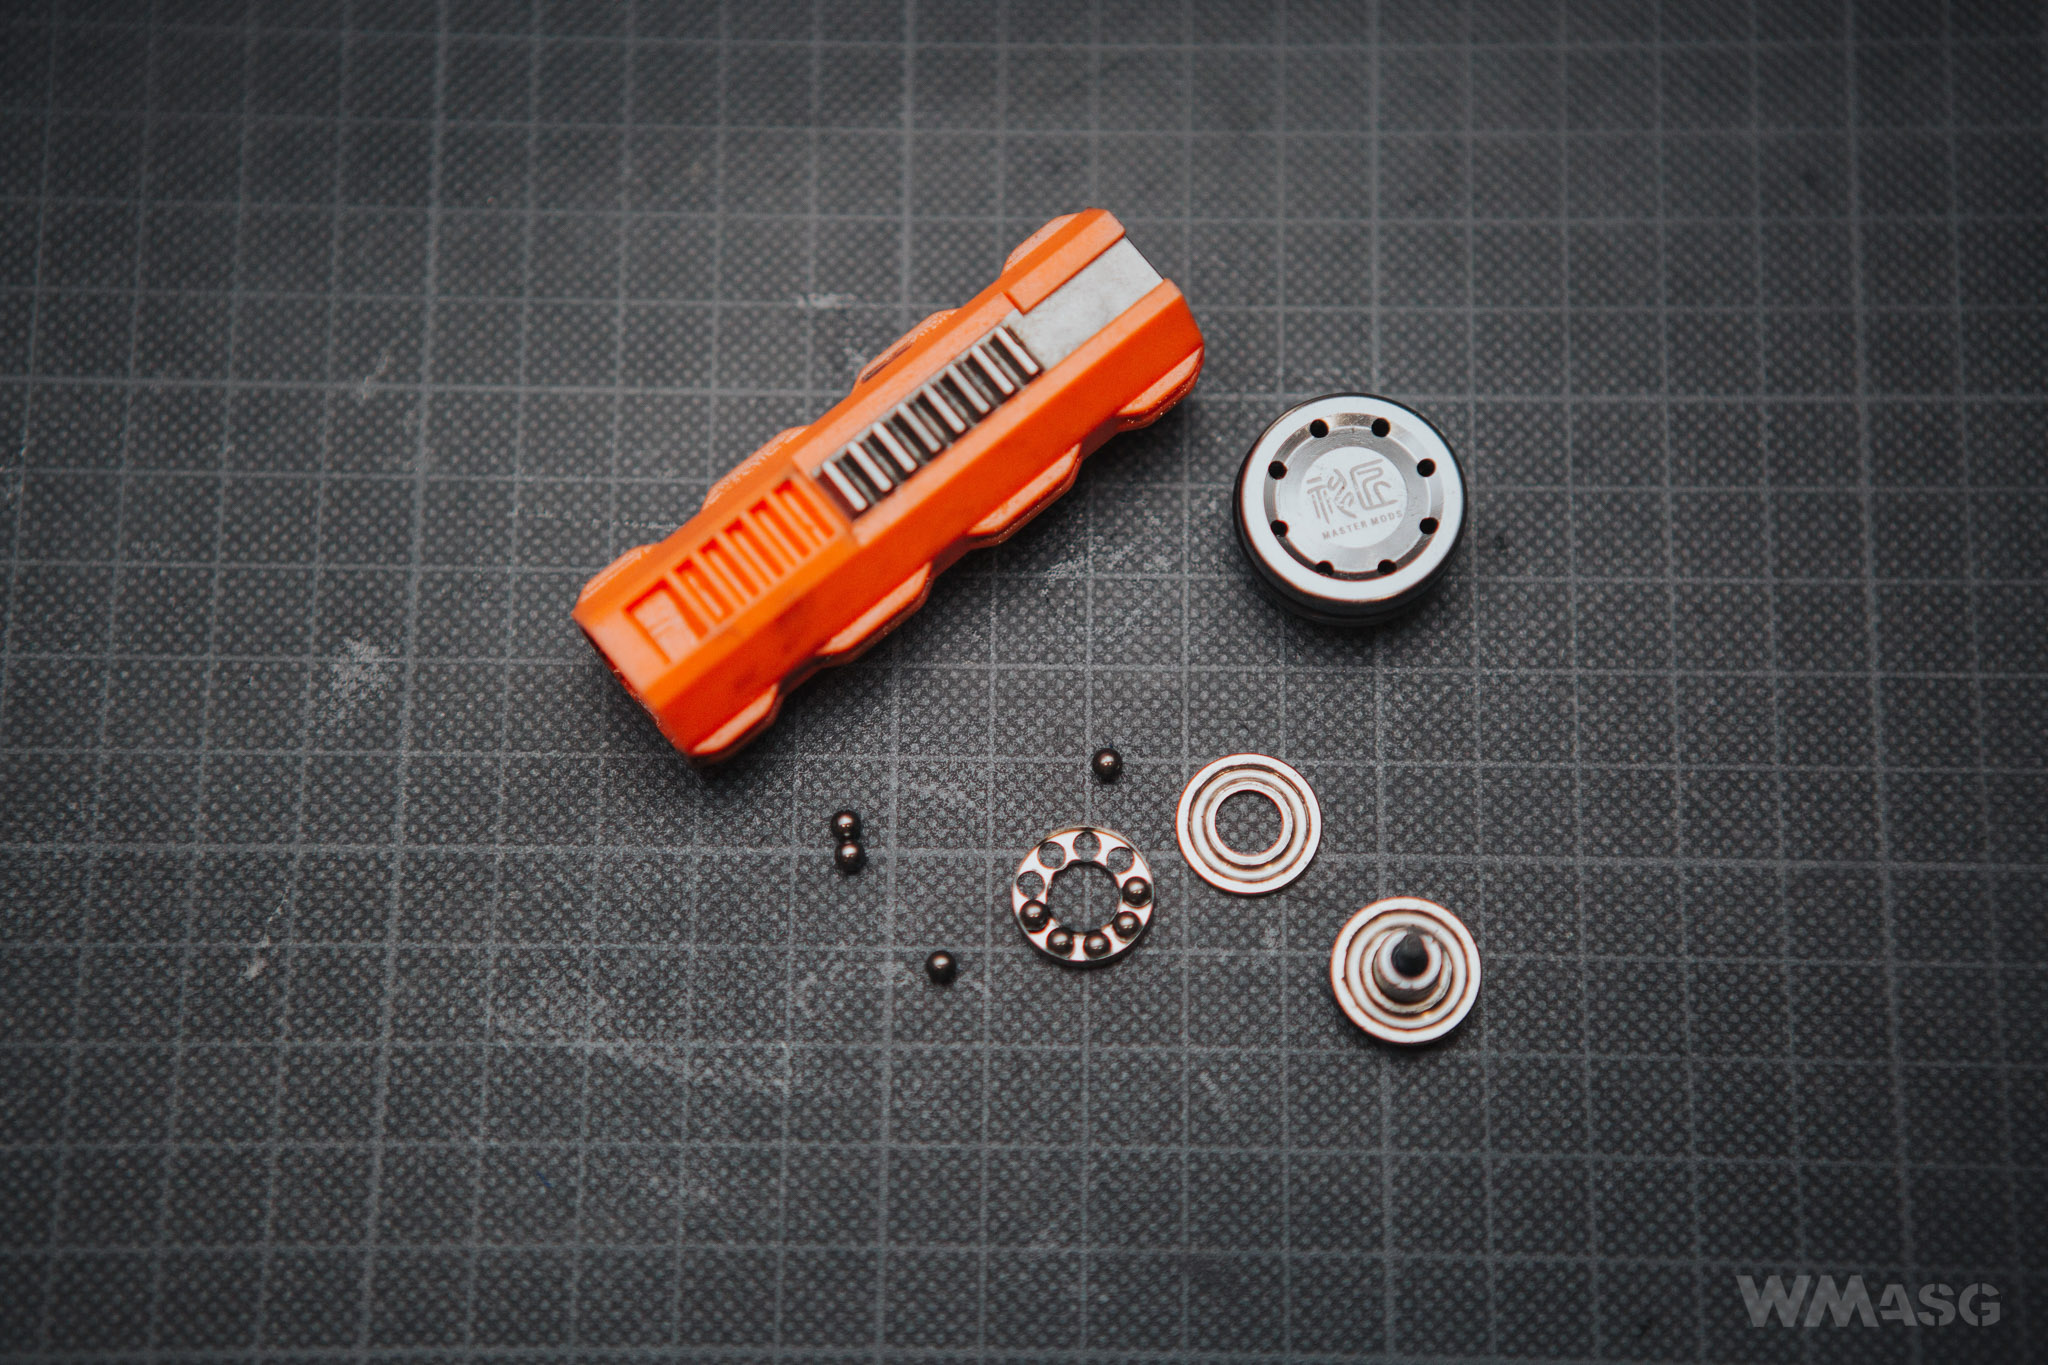
The piston is factory fitted with a flat head with a ball bearing. For some reason, the head bearing balls did not stay in their housing. Both the cylinder and the piston head are made of 6061 aluminum, according to the manufacturer's declaration. The polycarbonate piston has 8 steel teeth.
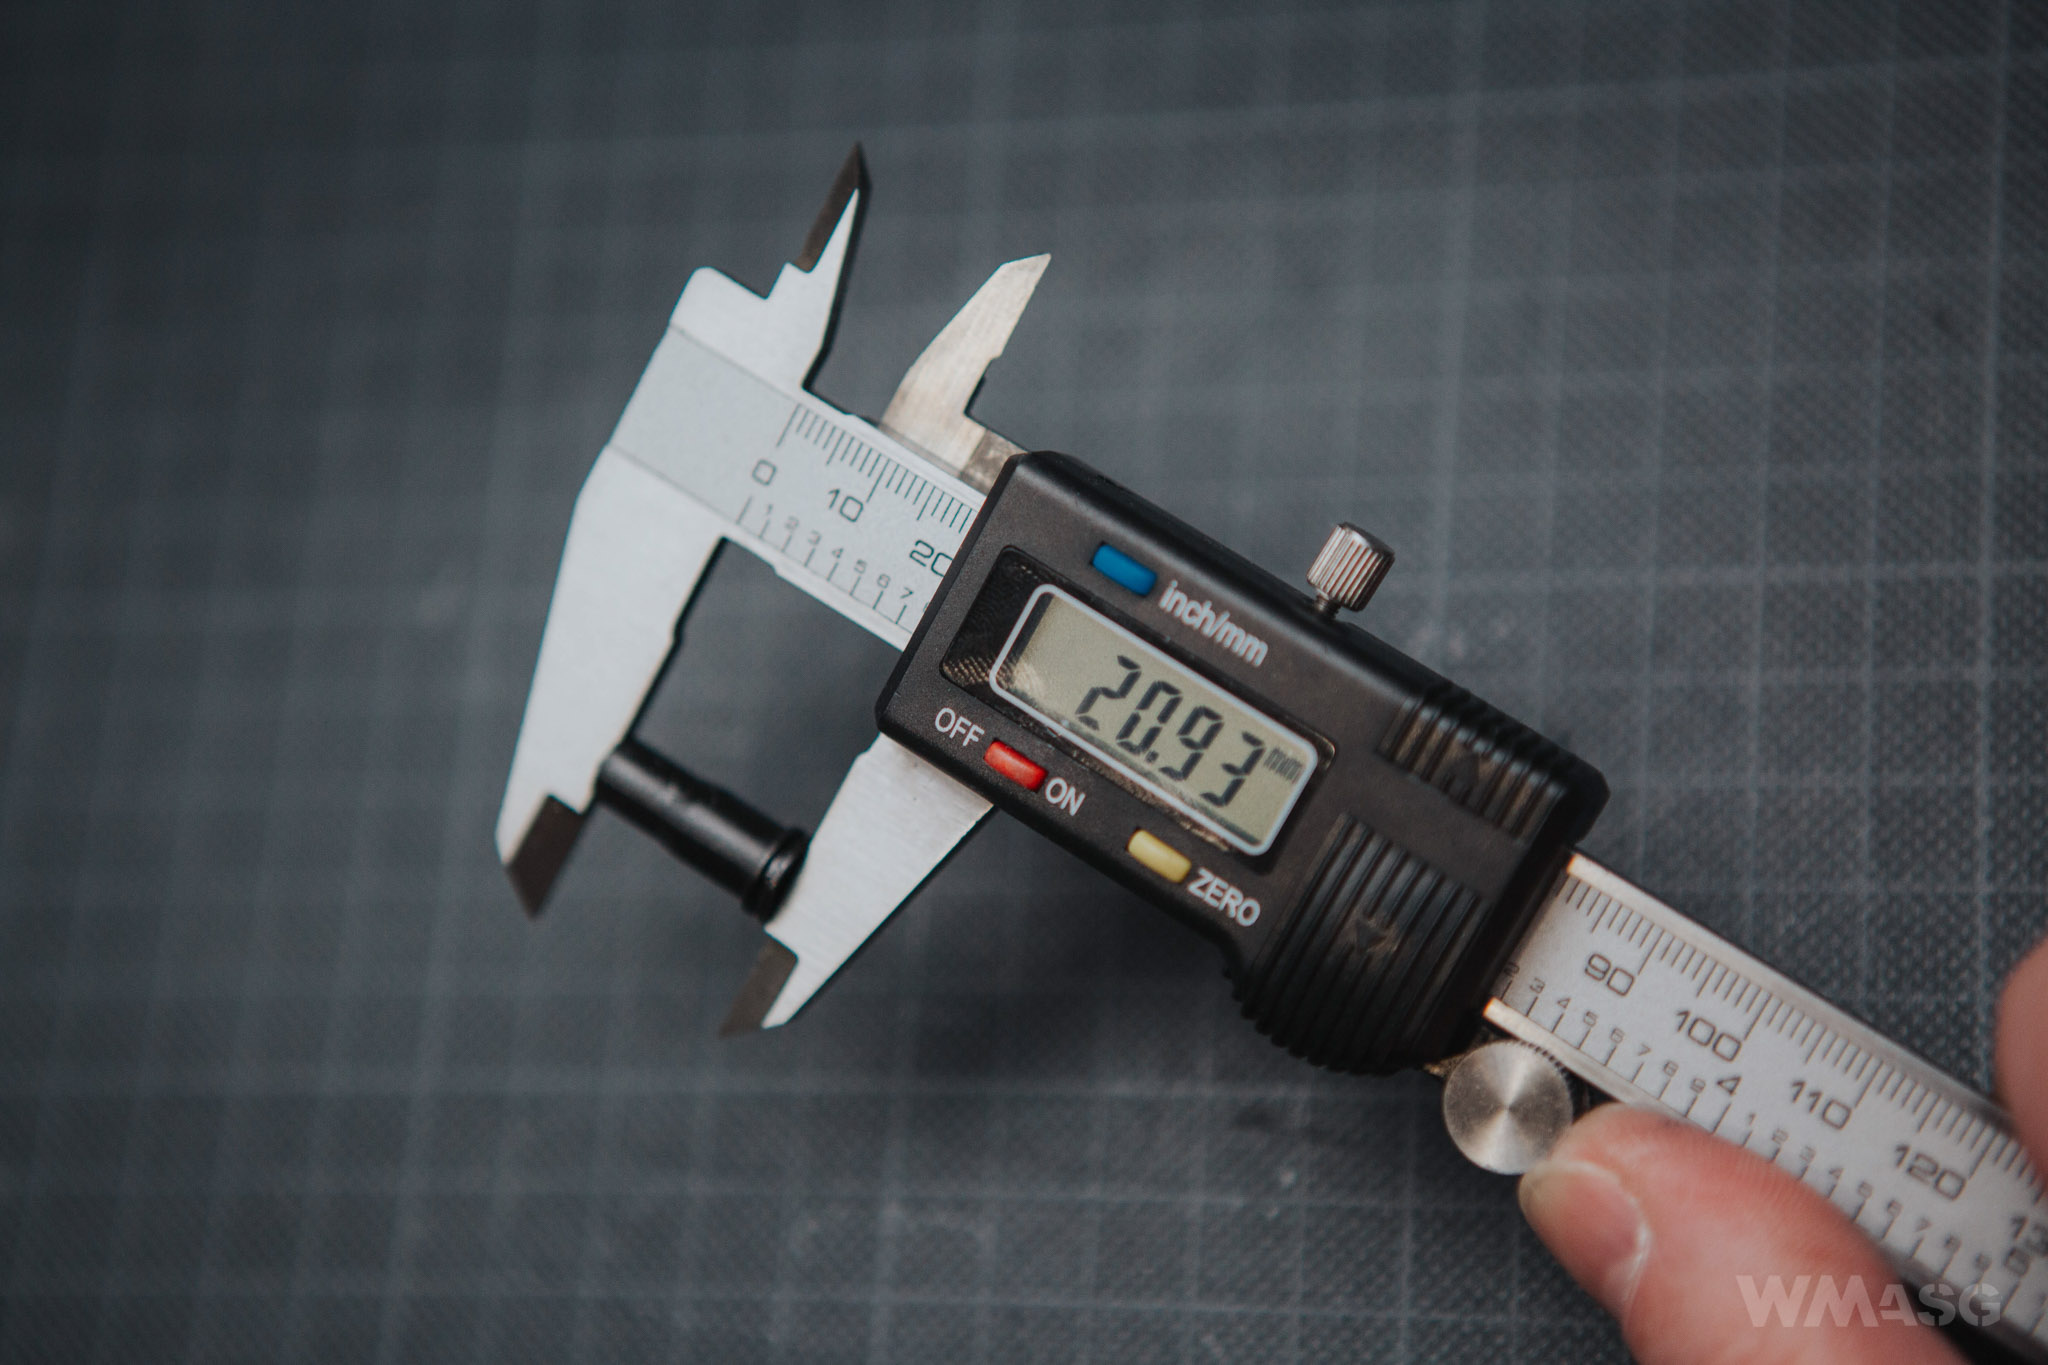
The nozzle is approximately 20.93 mm long and has no internal seal.
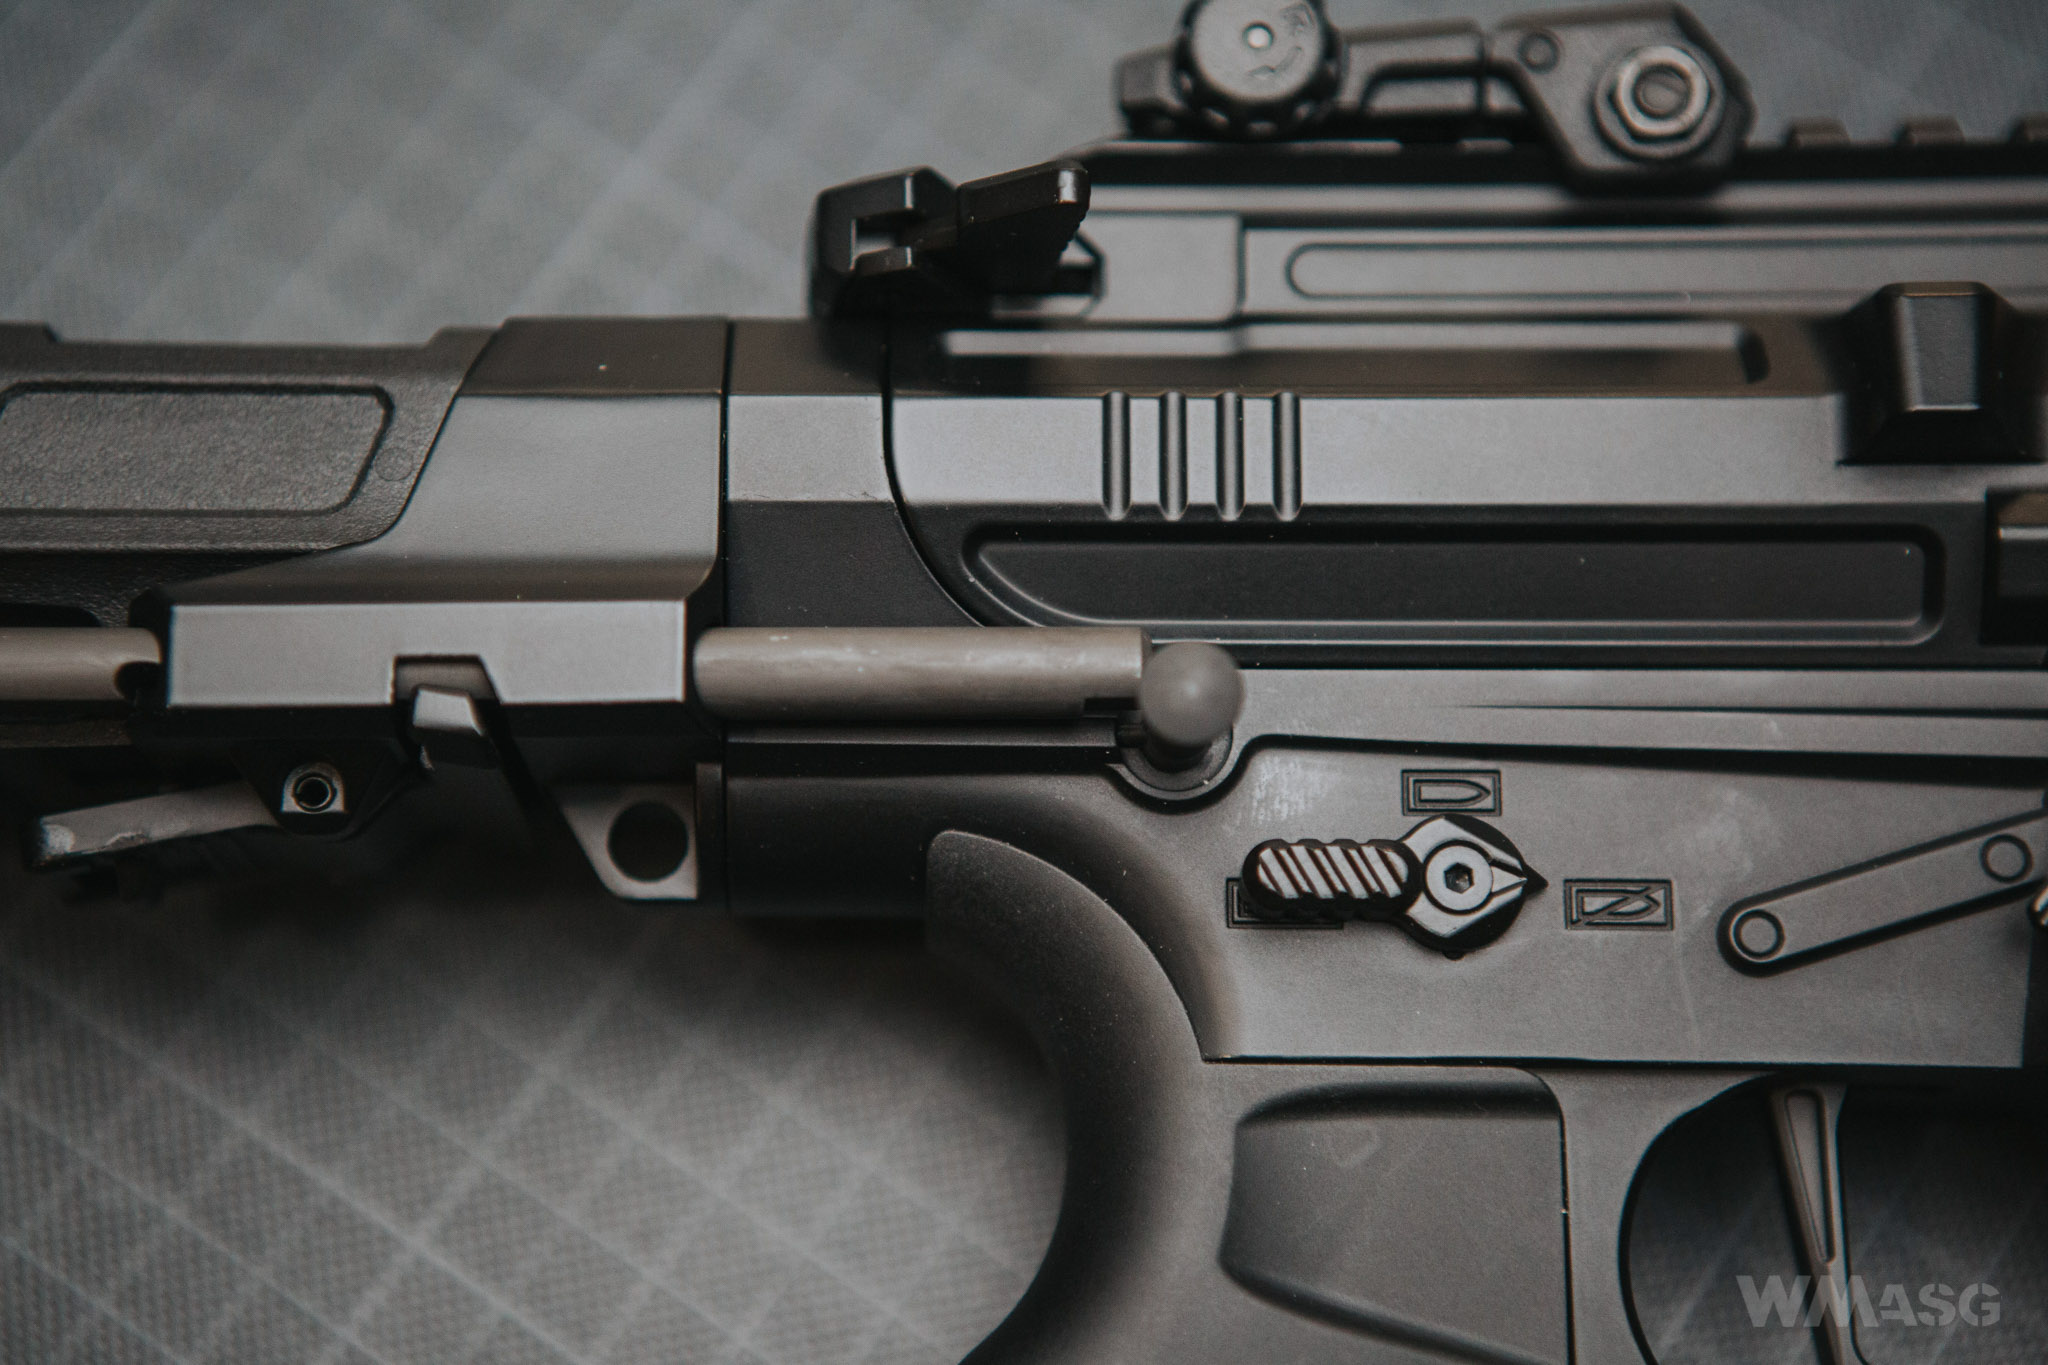
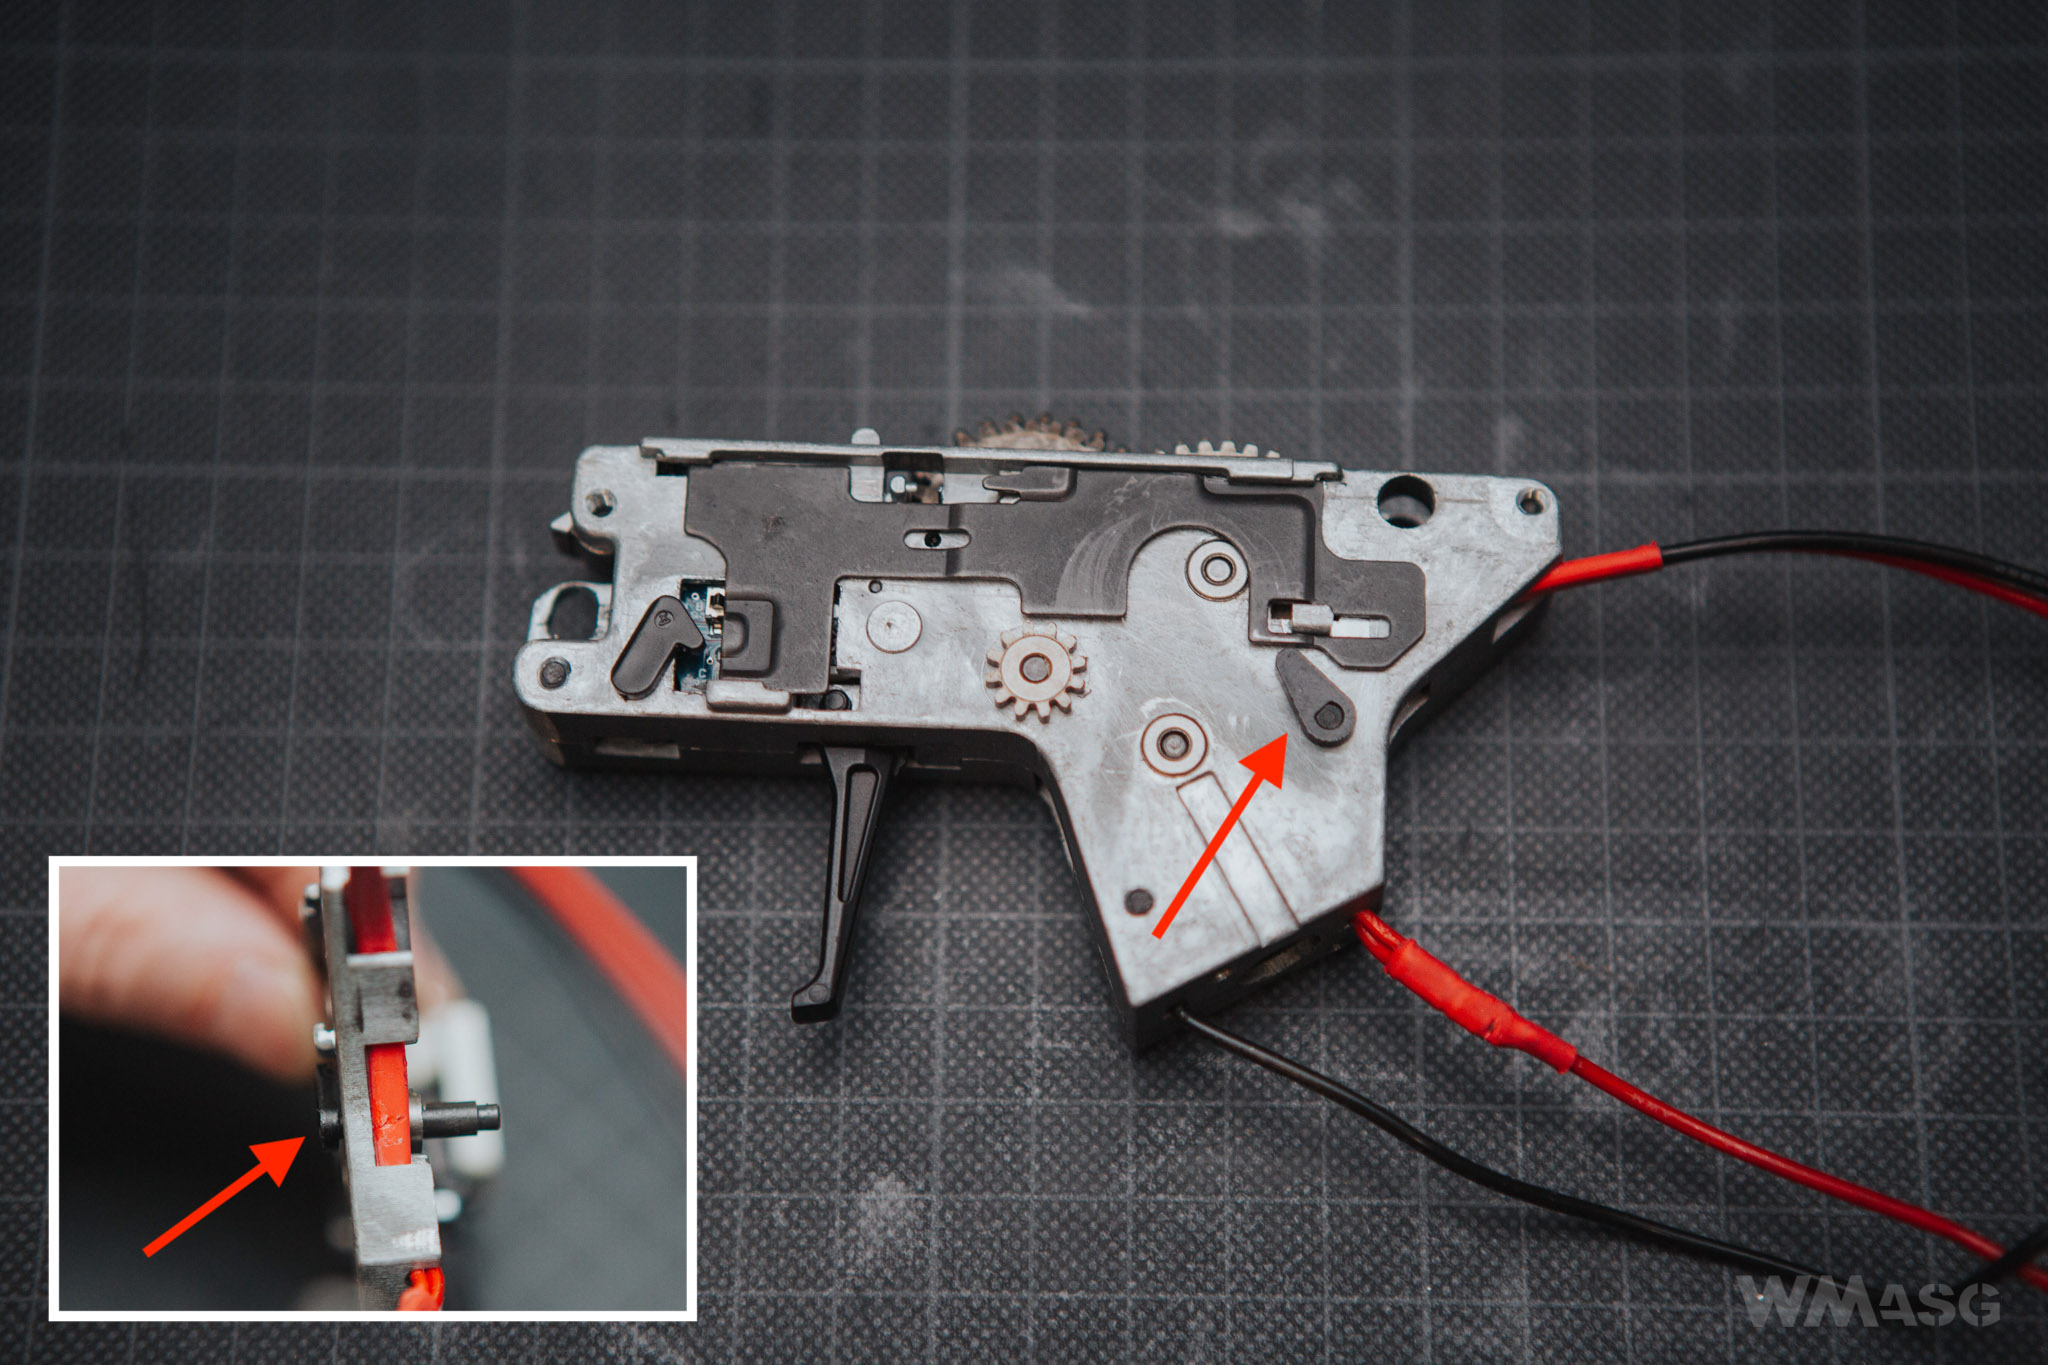
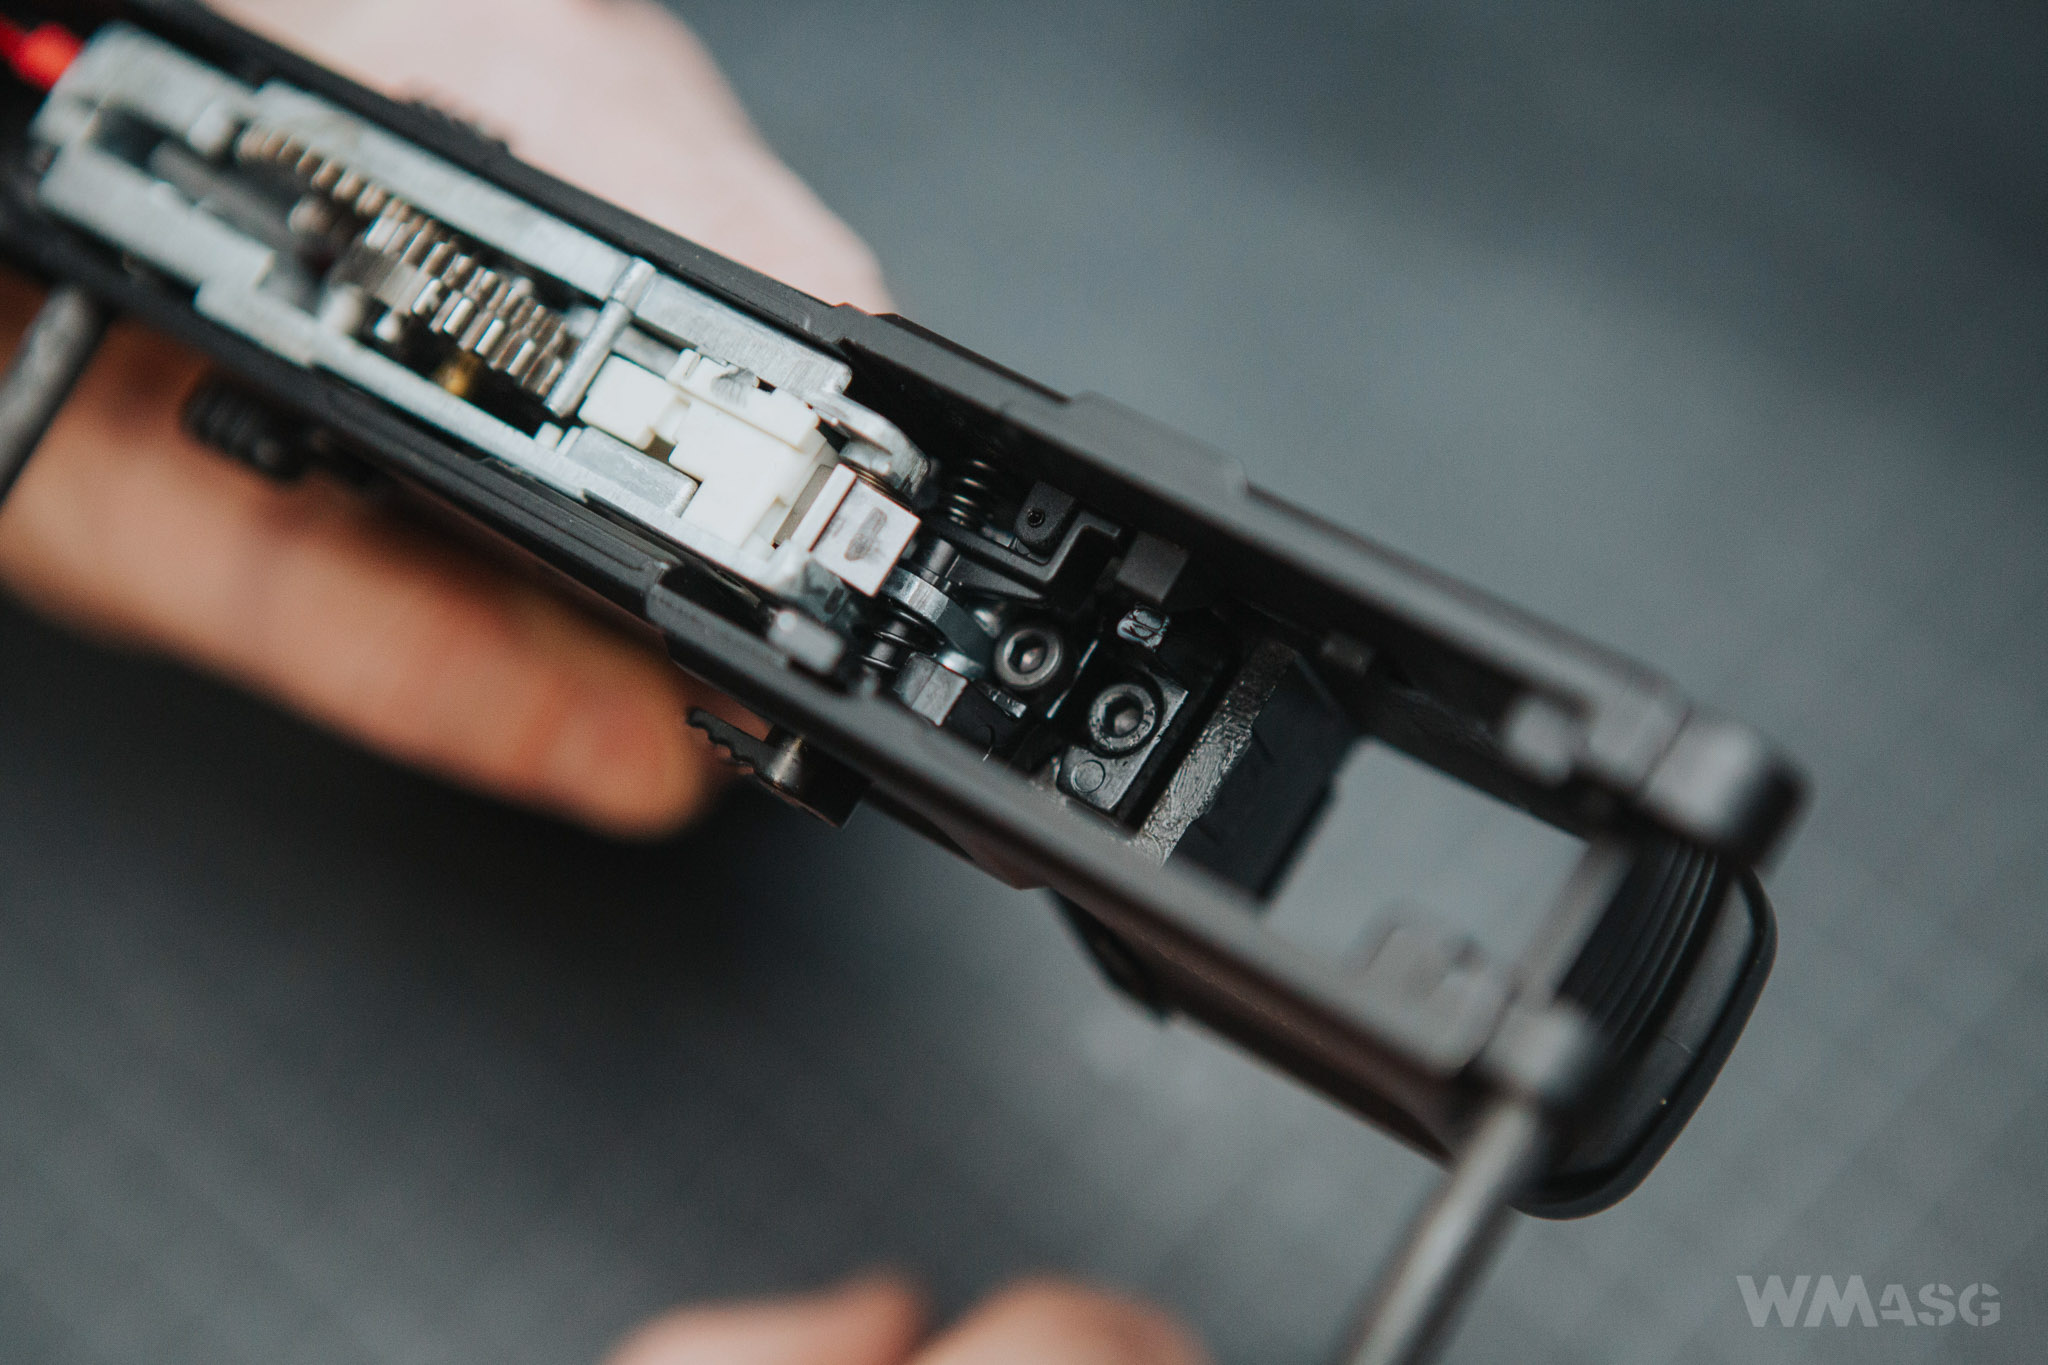
The lower part of the gearbox is distinguished by an unusual steel selector plate and the presence of a lever to release the anti-return latch used to release the main spring while switchfin the replica to SAFE mode (red arrow). The selector plate, which is moved by the safety/selector switch, rotates the lever to the left, which in turn causes the anti-revesal to rotate and release the main spring. On the miniature you can see the connection of the lever with the latch.
The gears transferring the movement of the safety/selector switch to the right side are also made of steel. Good news - in many other replicas these wheels are made of ZnAl and are wear out quickly. The latch connecting both parts of the gearbox is also made of steel.
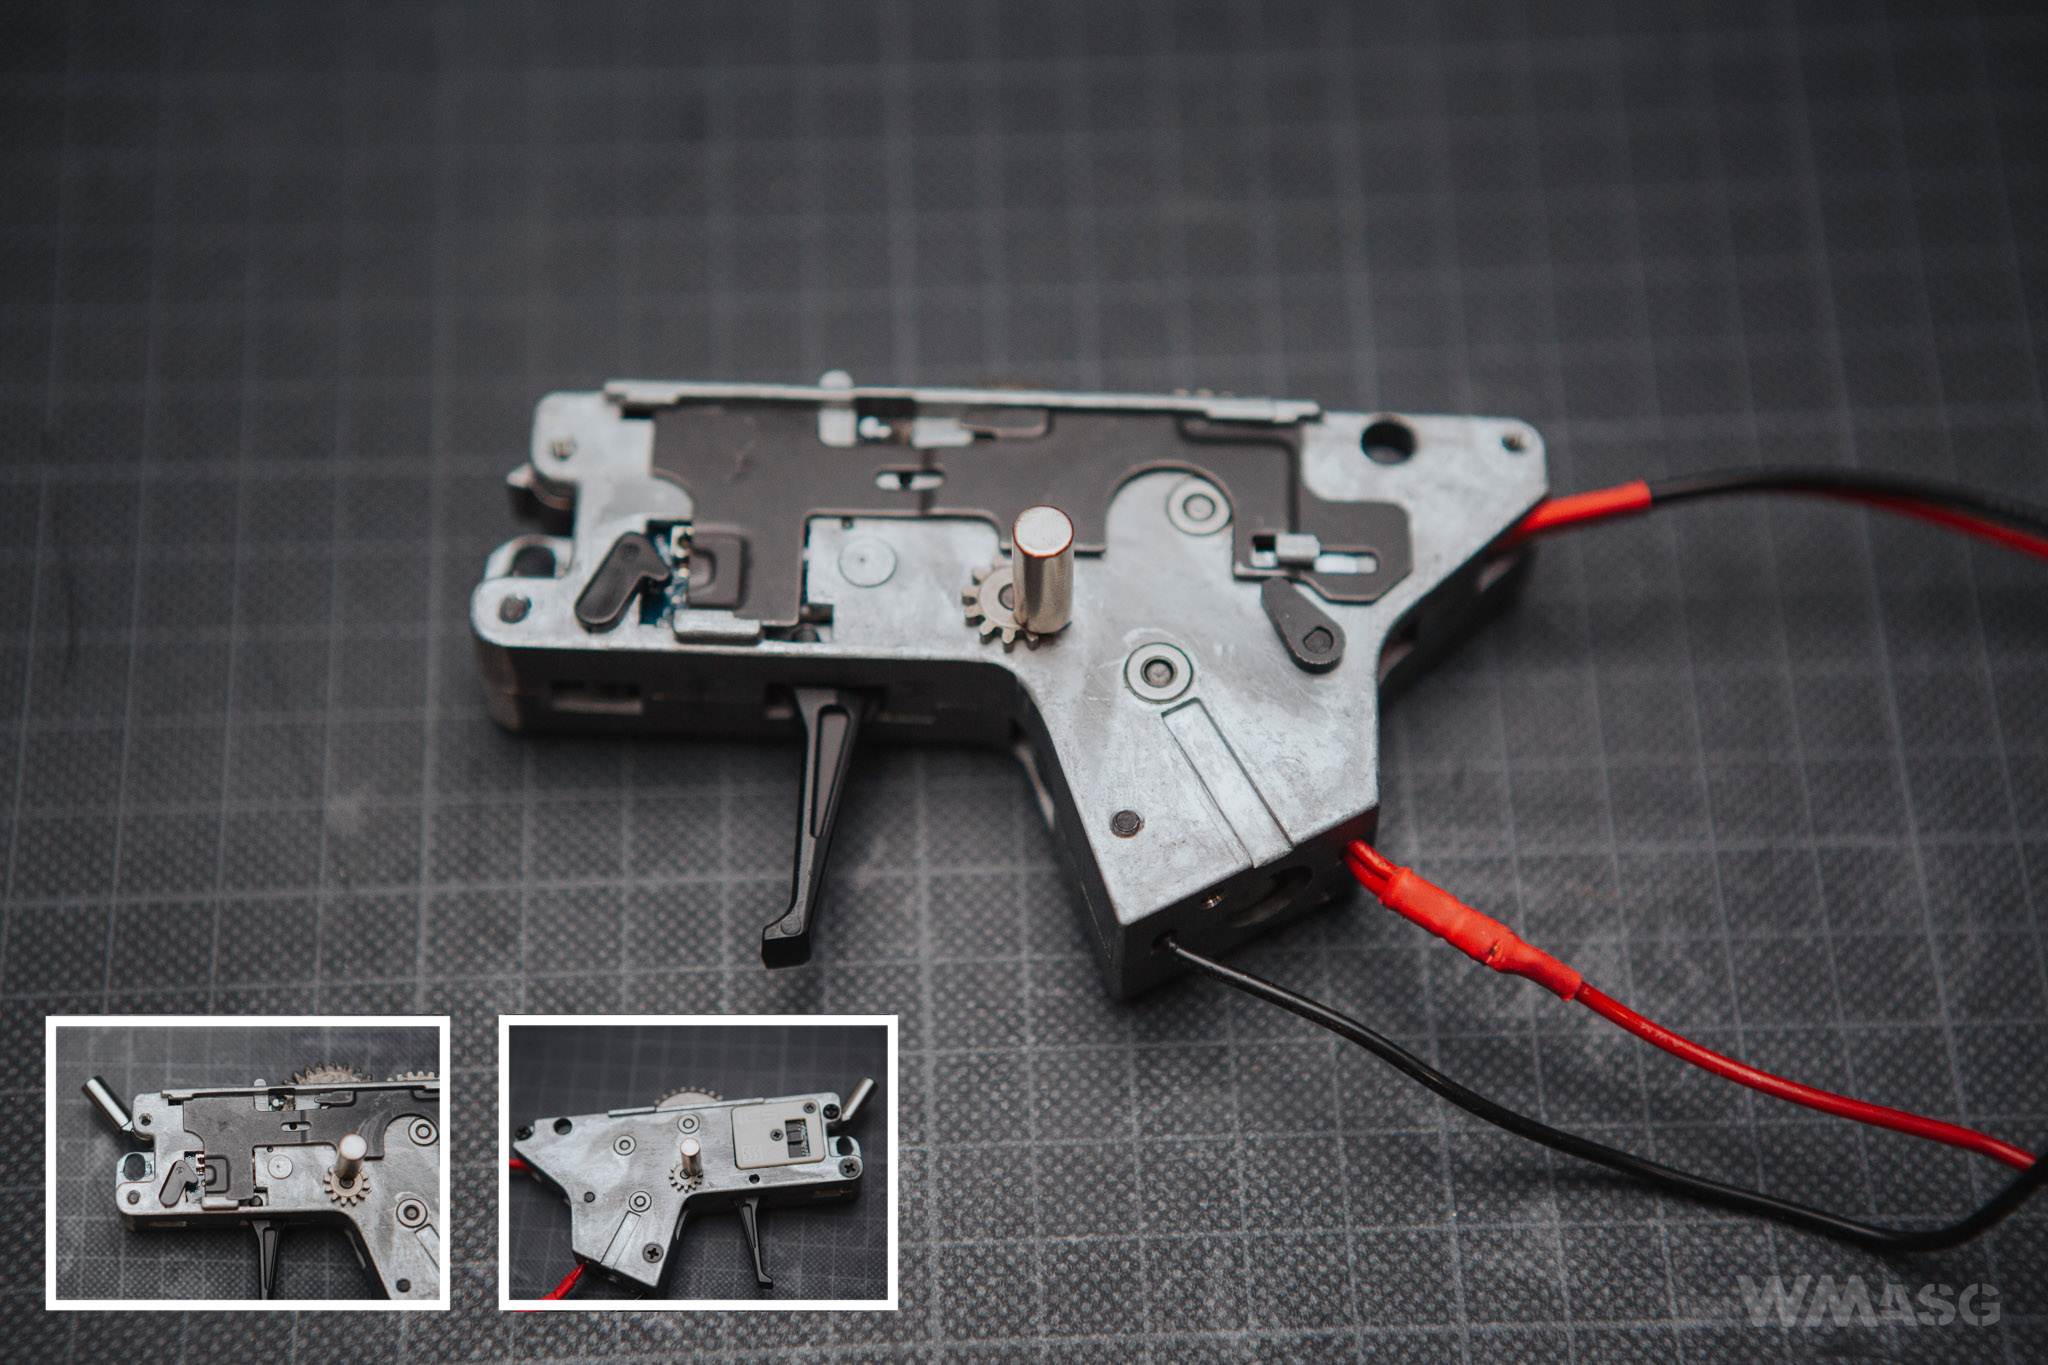
The inner gears connected to the safety/selector switch are also made of steel.
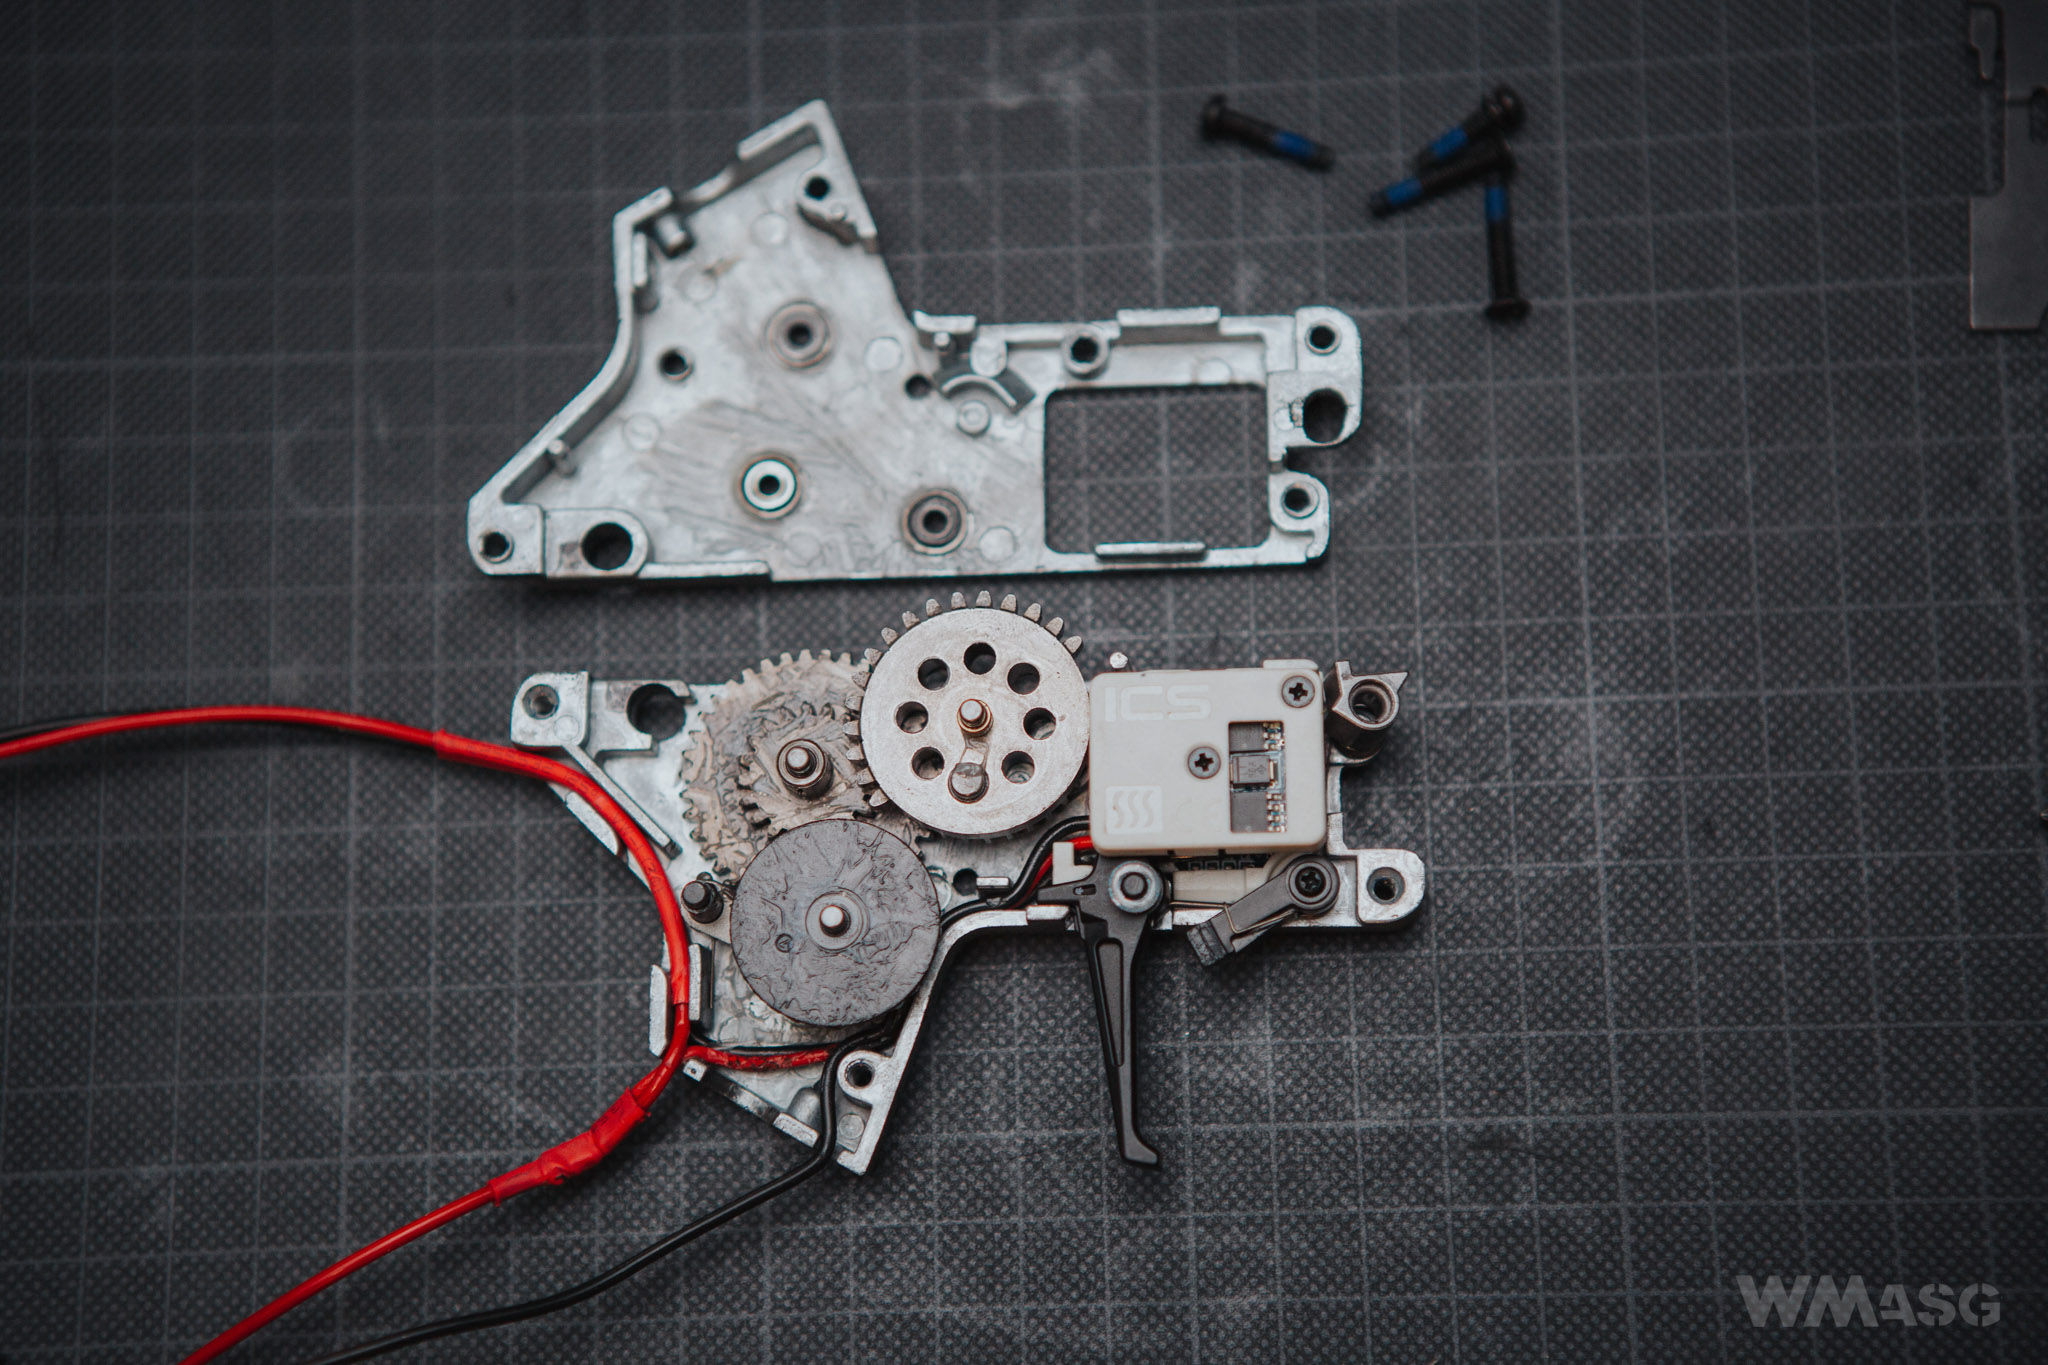
In the gearbox, sintered steel gears work on slide bearings. They are carefully lubricated and aligned.
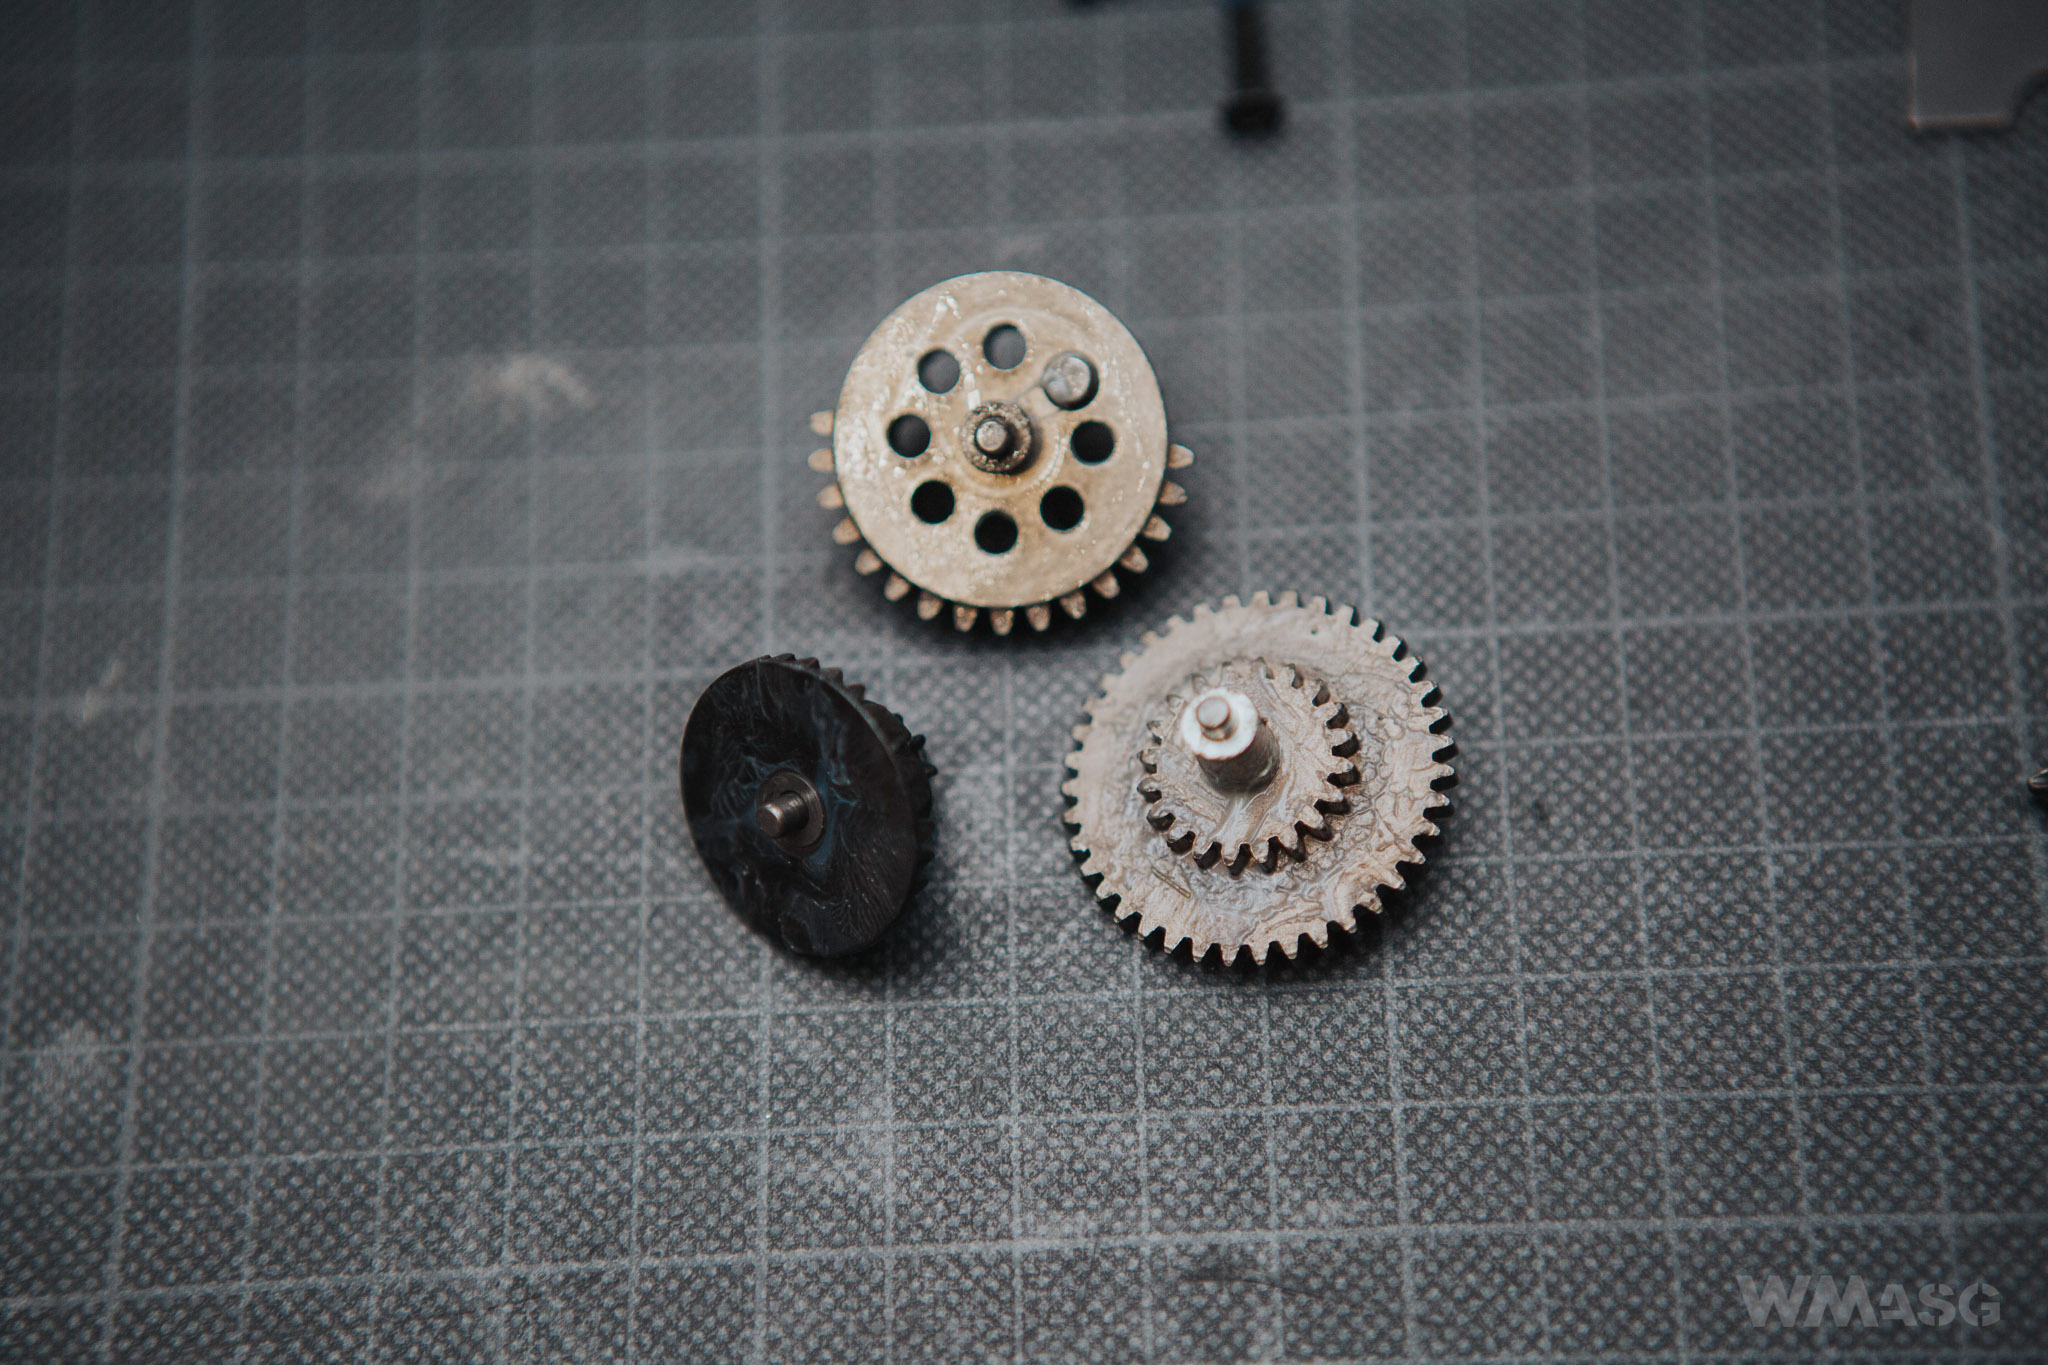
This is a set marked with the MC-238 symbol in the ICS catalog.
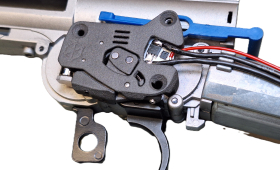
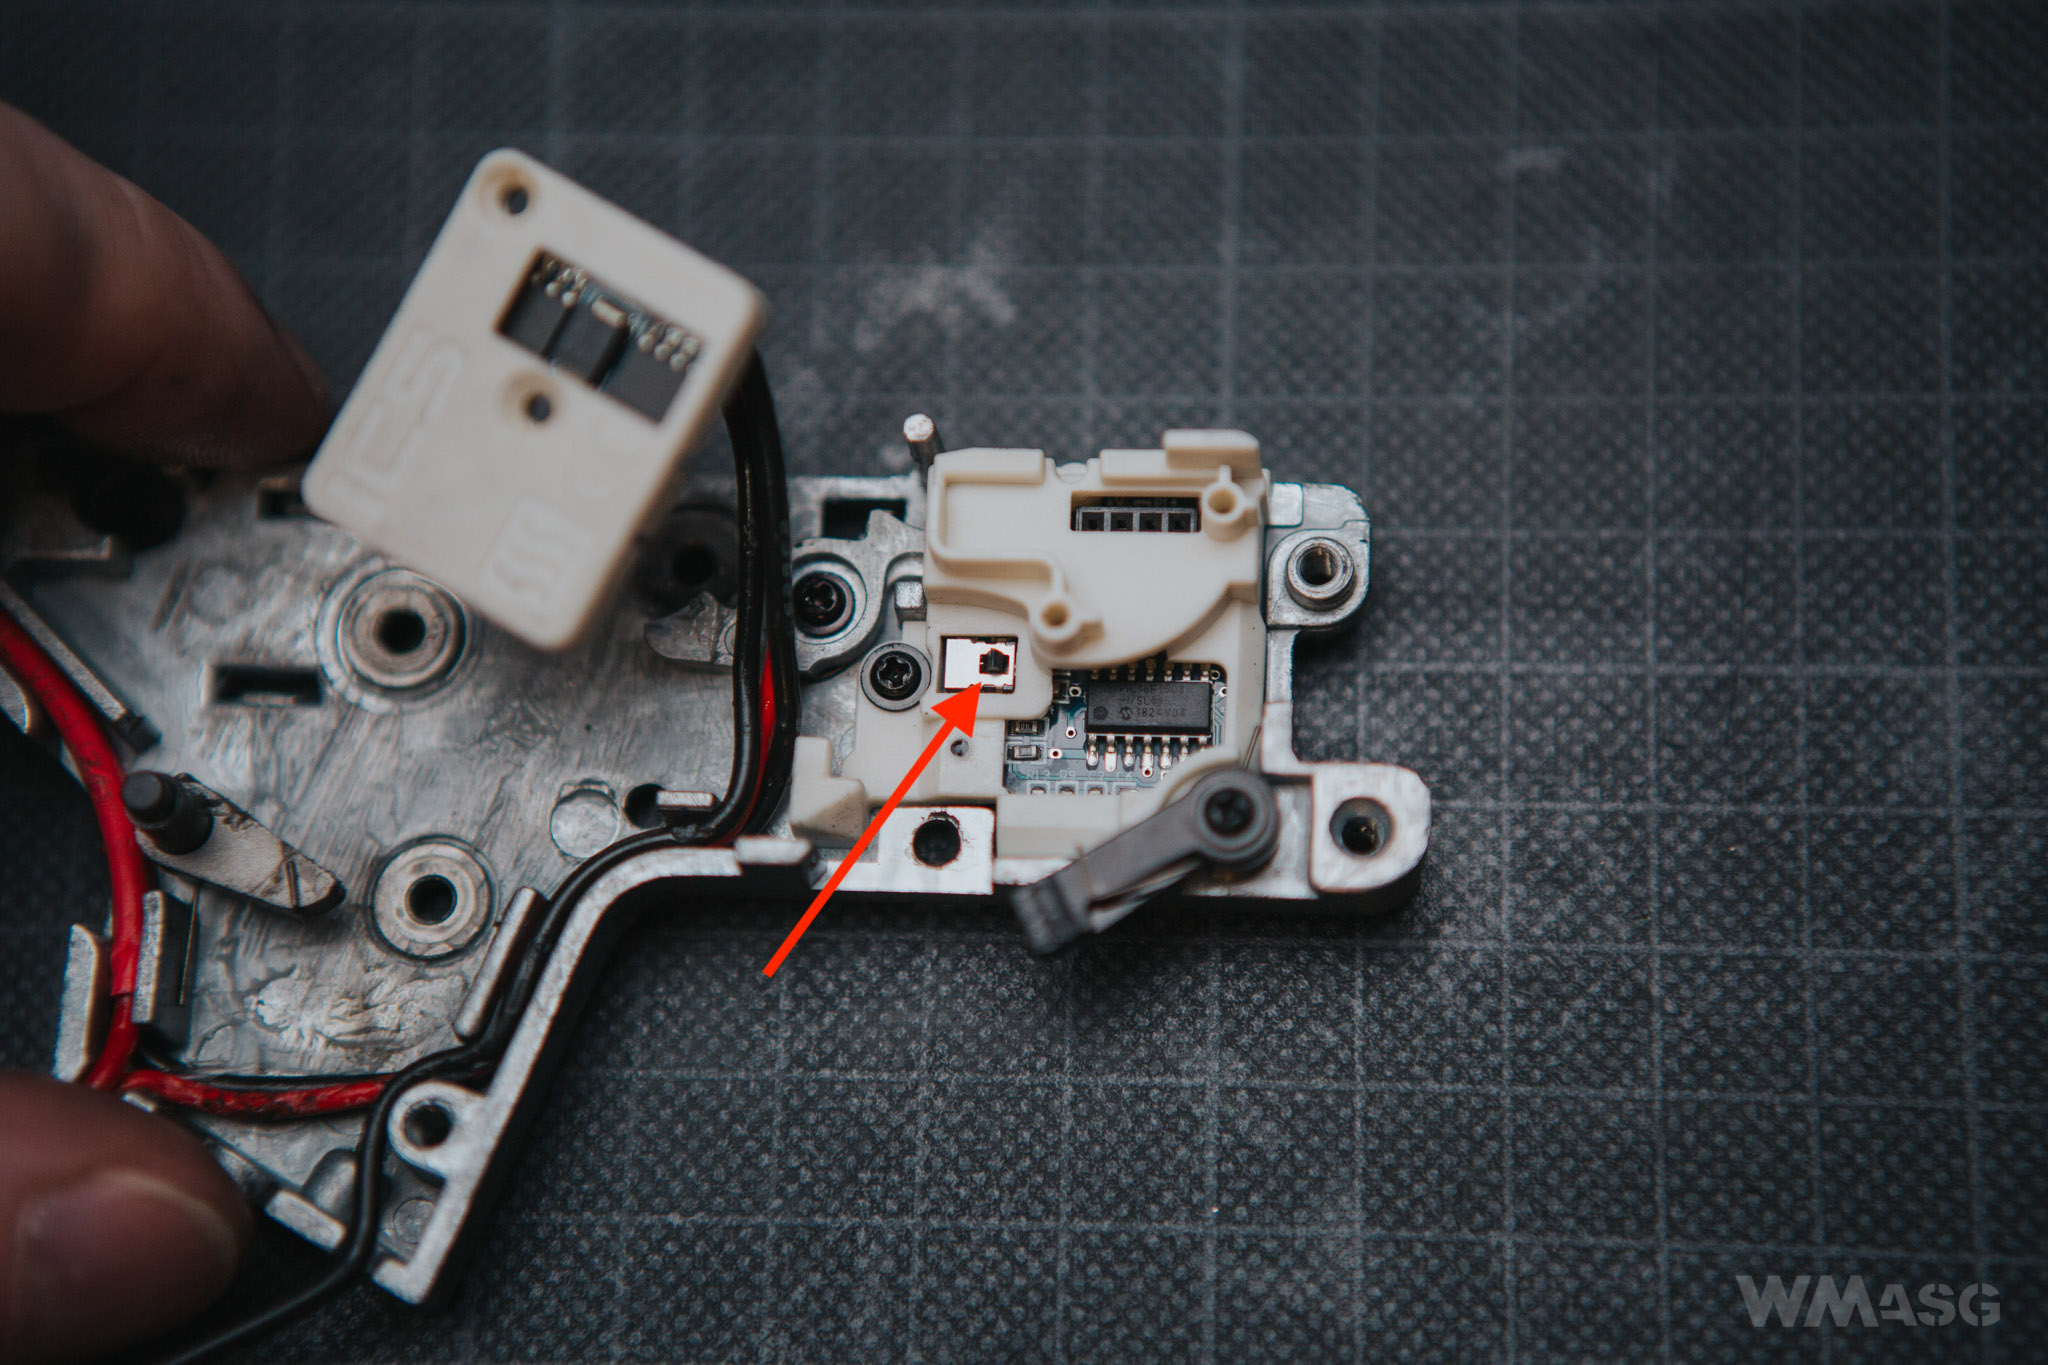
The E-Trigger module consists of 2 parts.
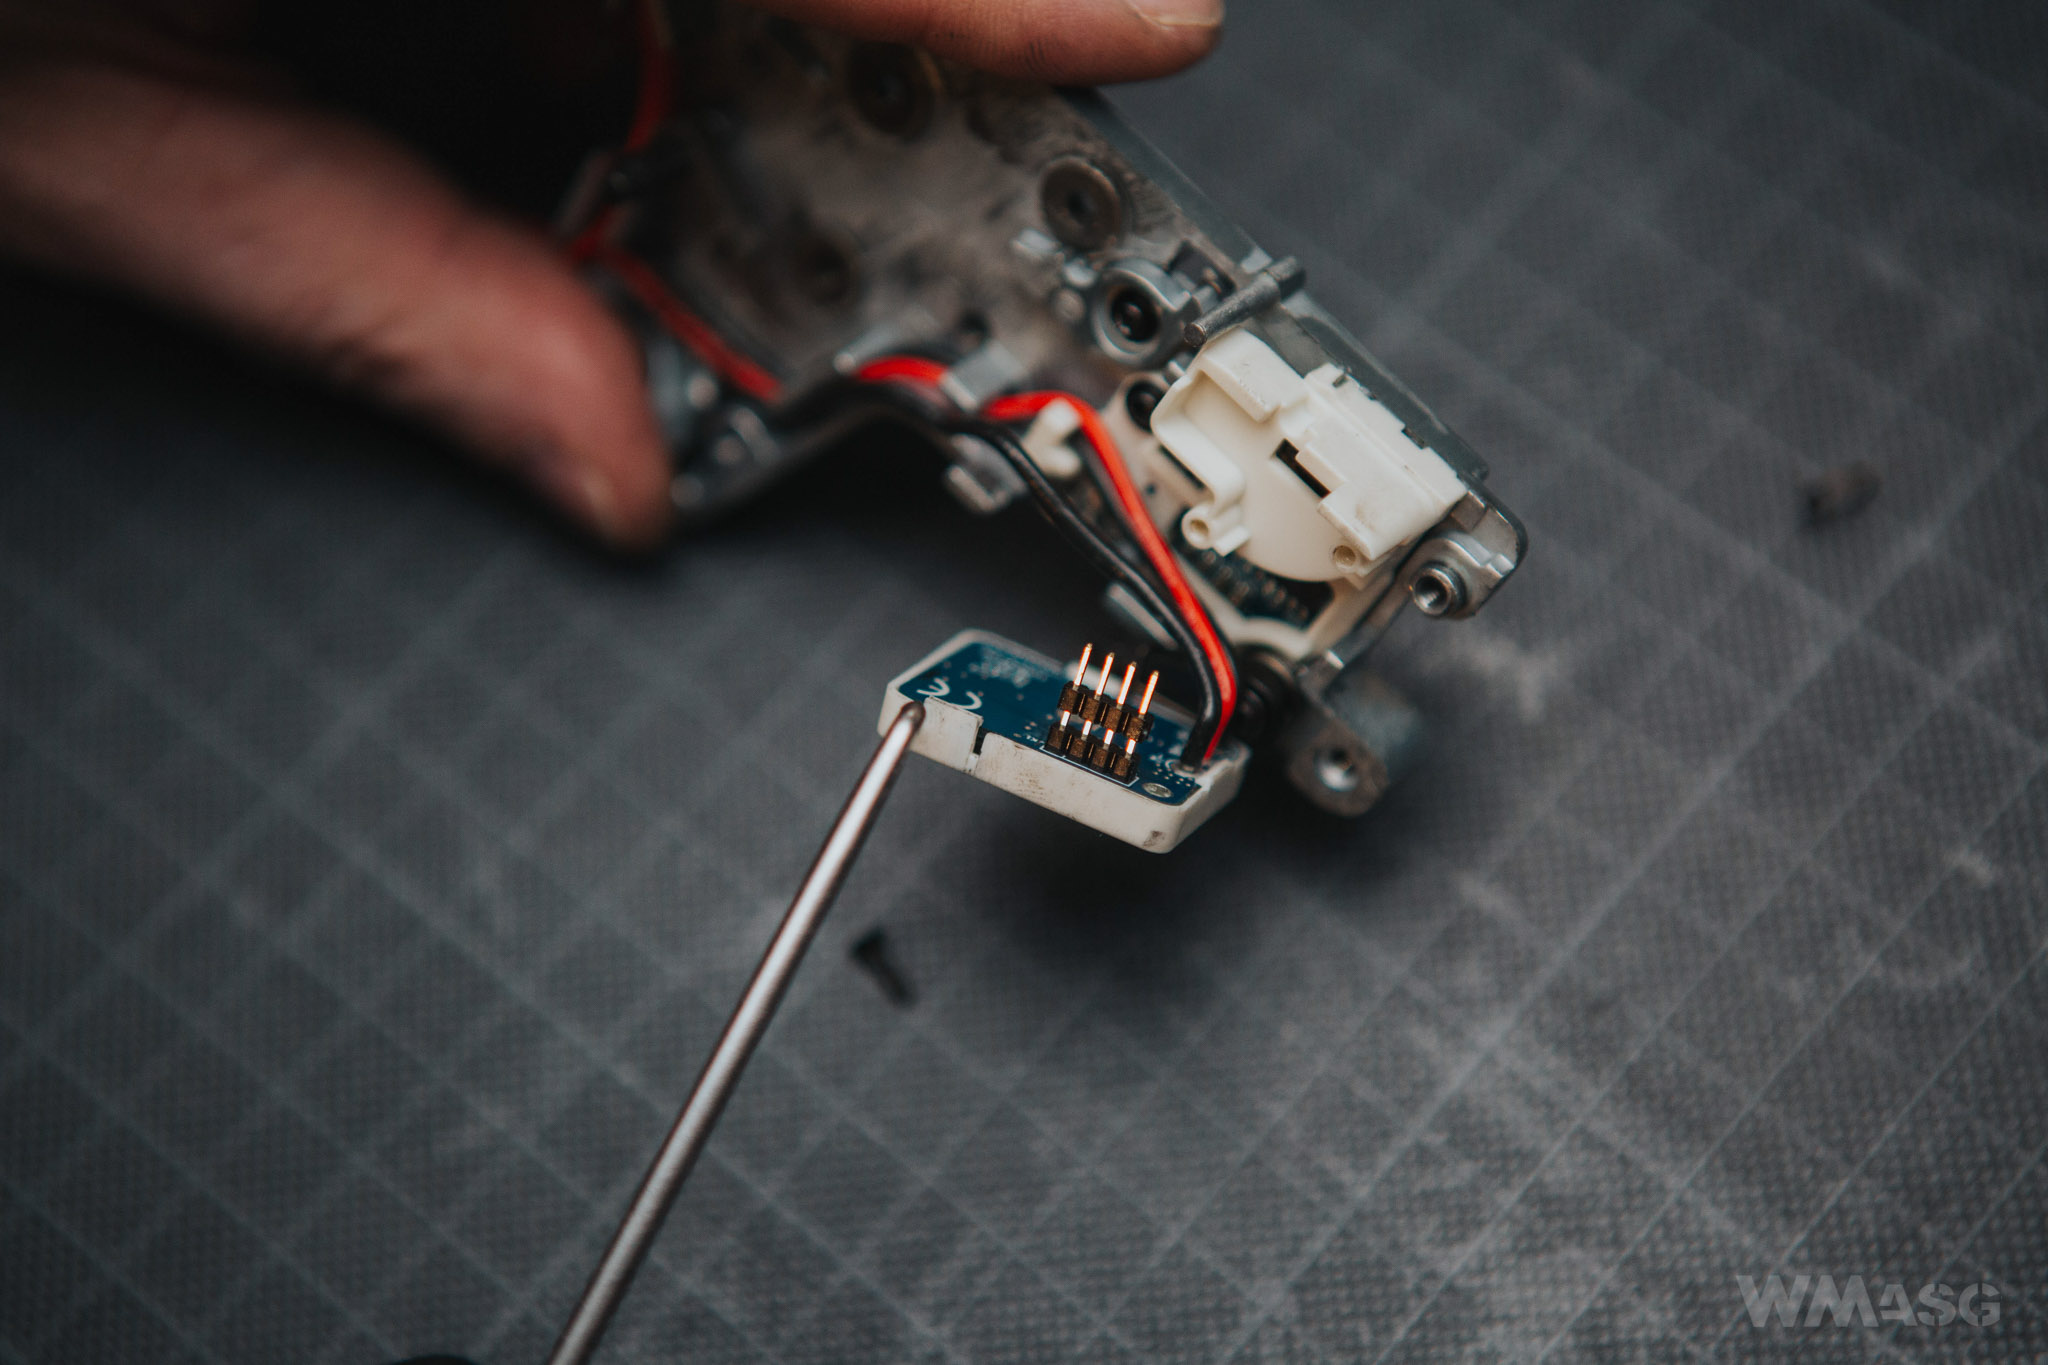
The trigger is moves a microswitch placed on a PCB (red arrow).
The next microswitch is moved by the selector plate.
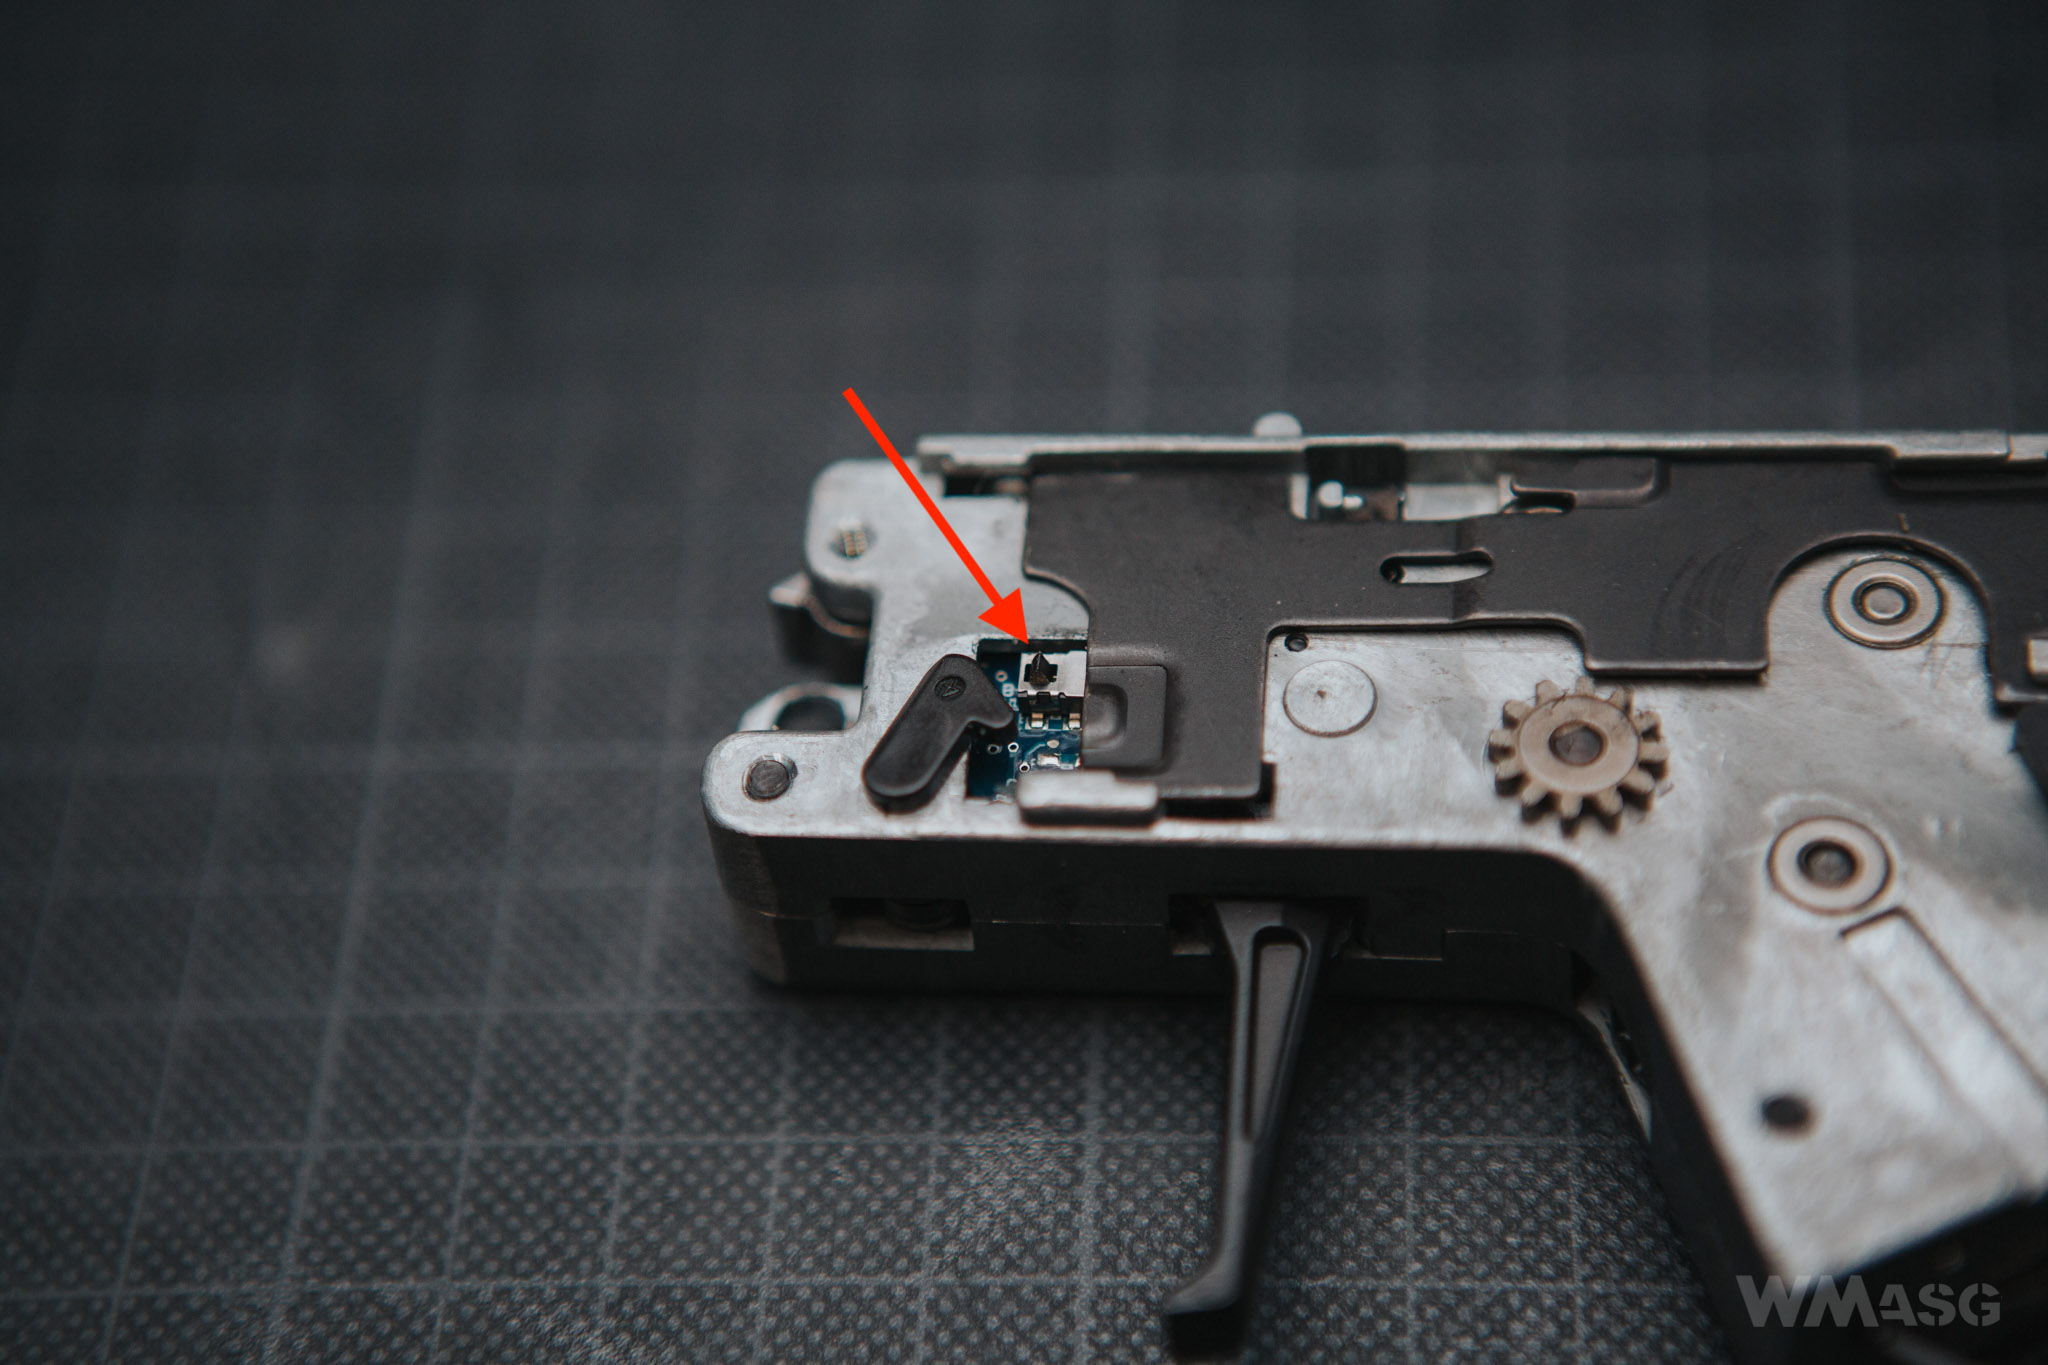
The use of microswitches raises our concerns, hence our recommendation that, if someone does not particularly care about the functions offered by E-Trigger, to choose the PDW9 version with a classic contact switch and mosfet.
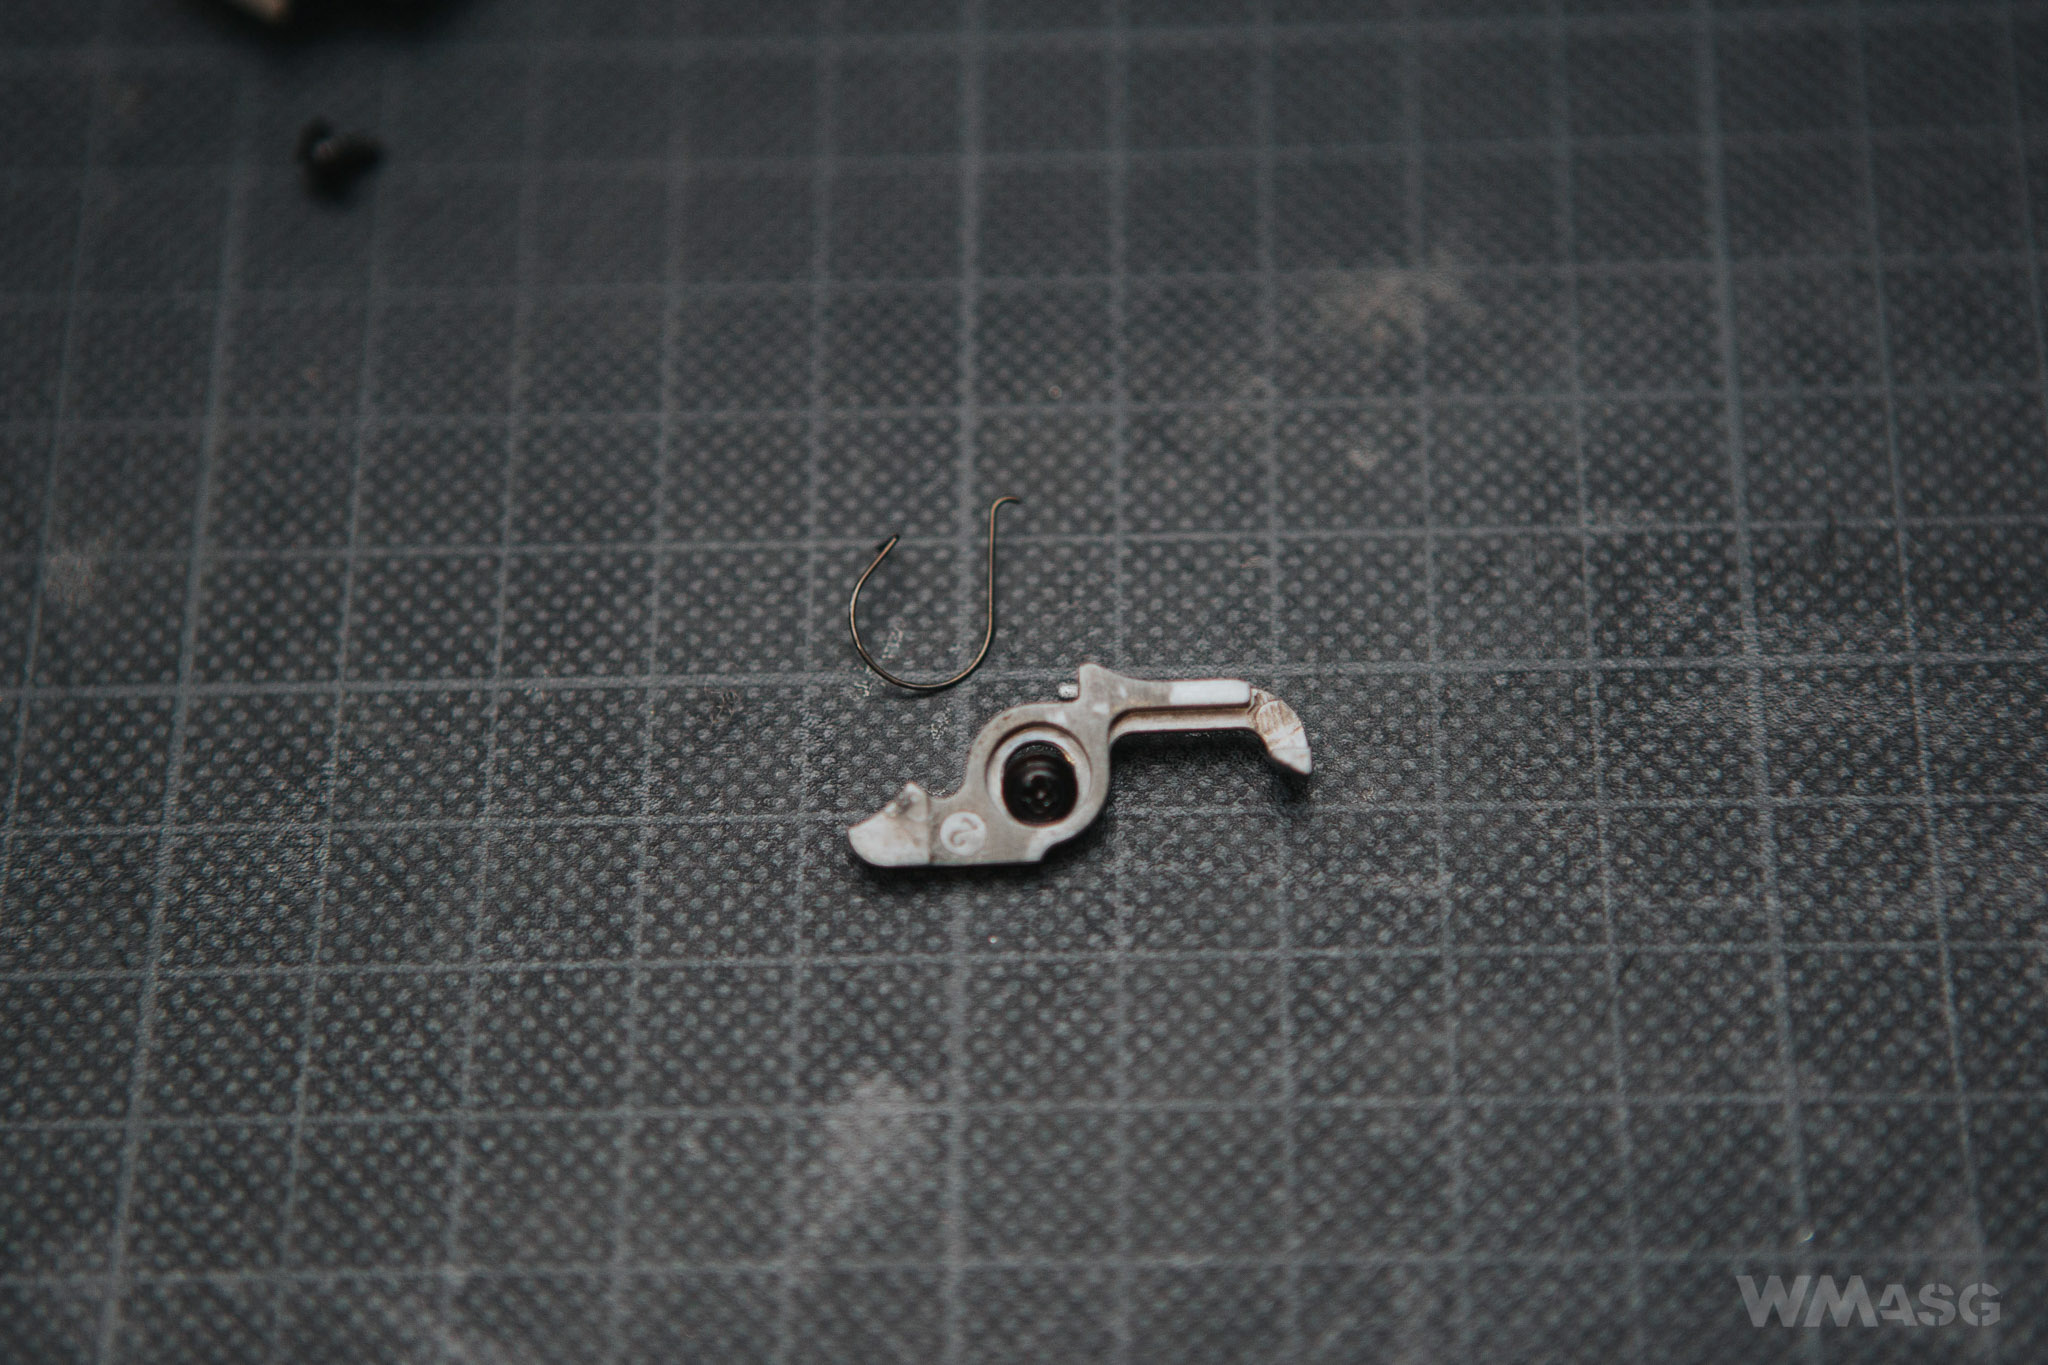
The cut-off lever is standard. But a completely unusual spring was used.
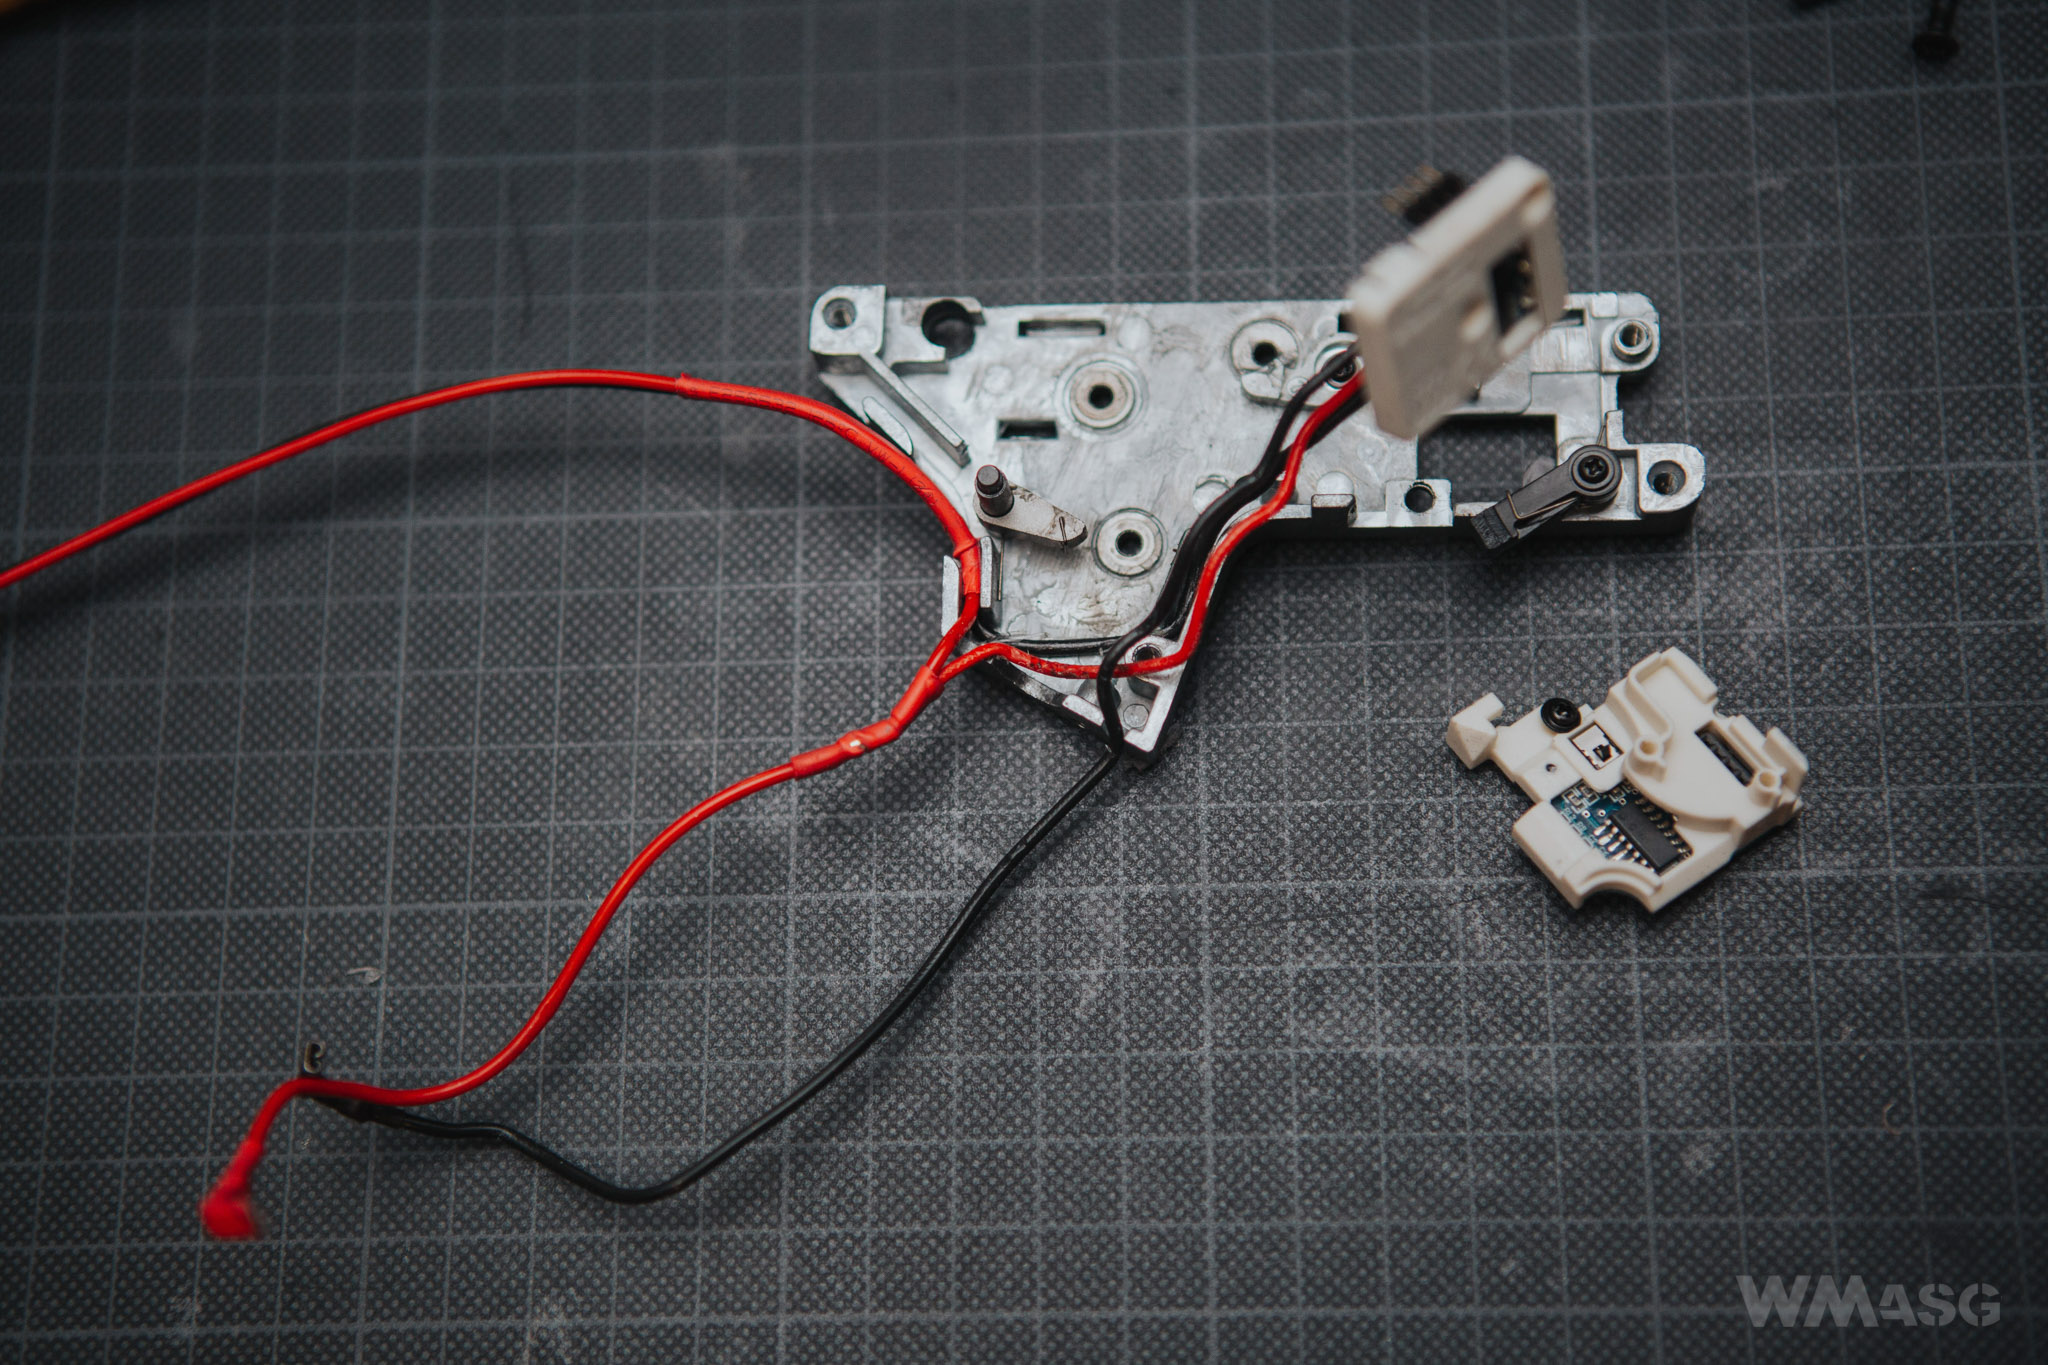
The electrical installation is based on 3 wires. The insulation of the red wire in the testes copy was slightly damaged.
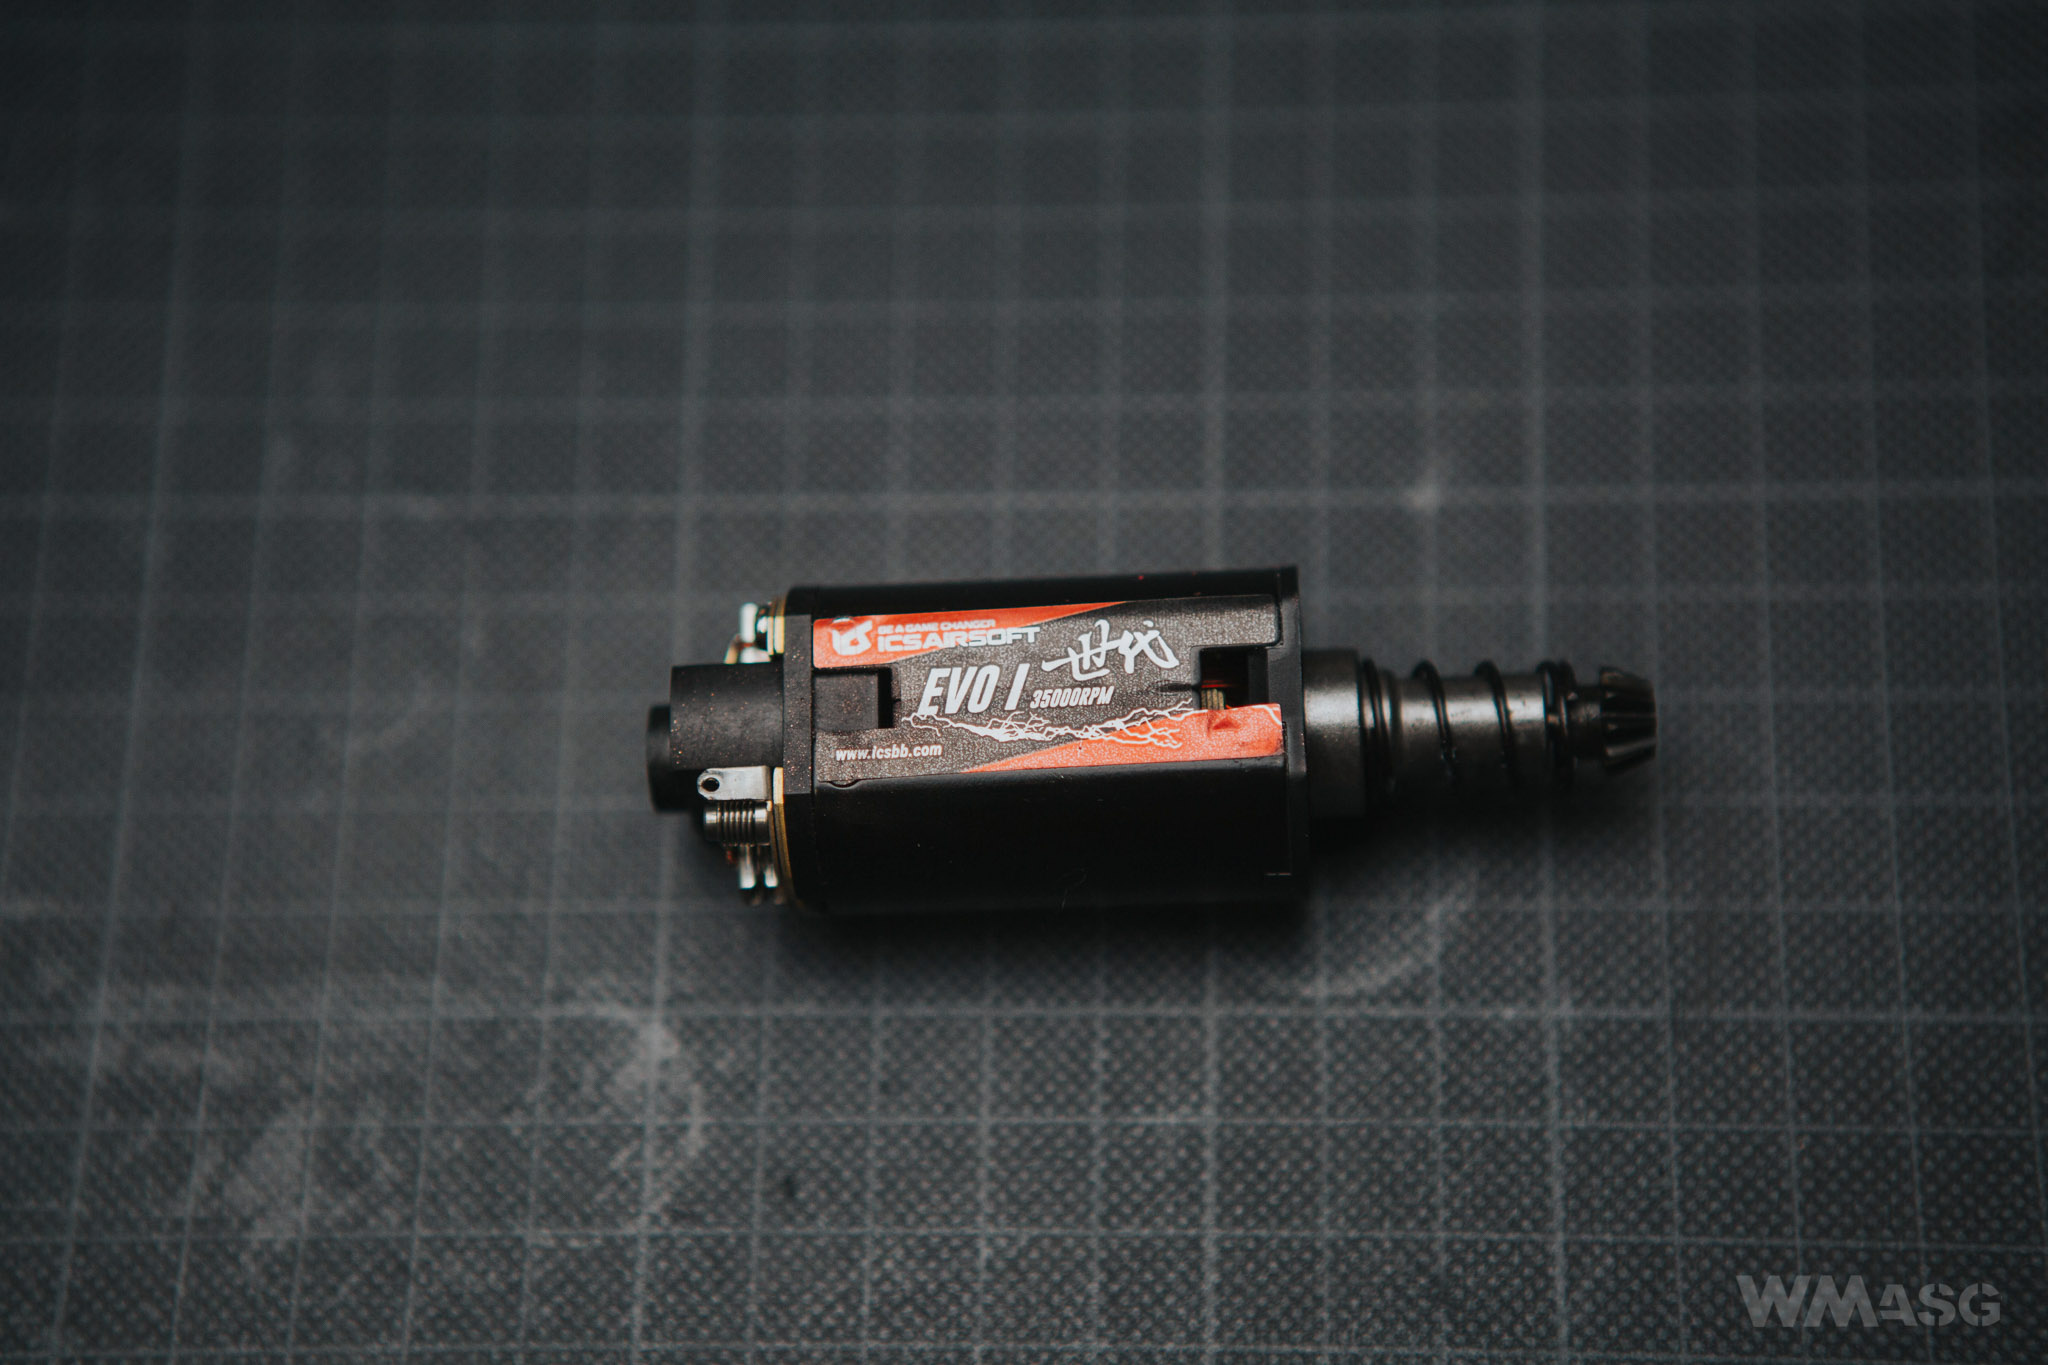
The replica is powered by a standard long shaft motor with a nominal speed of 35,000 RPM. That's a lot.
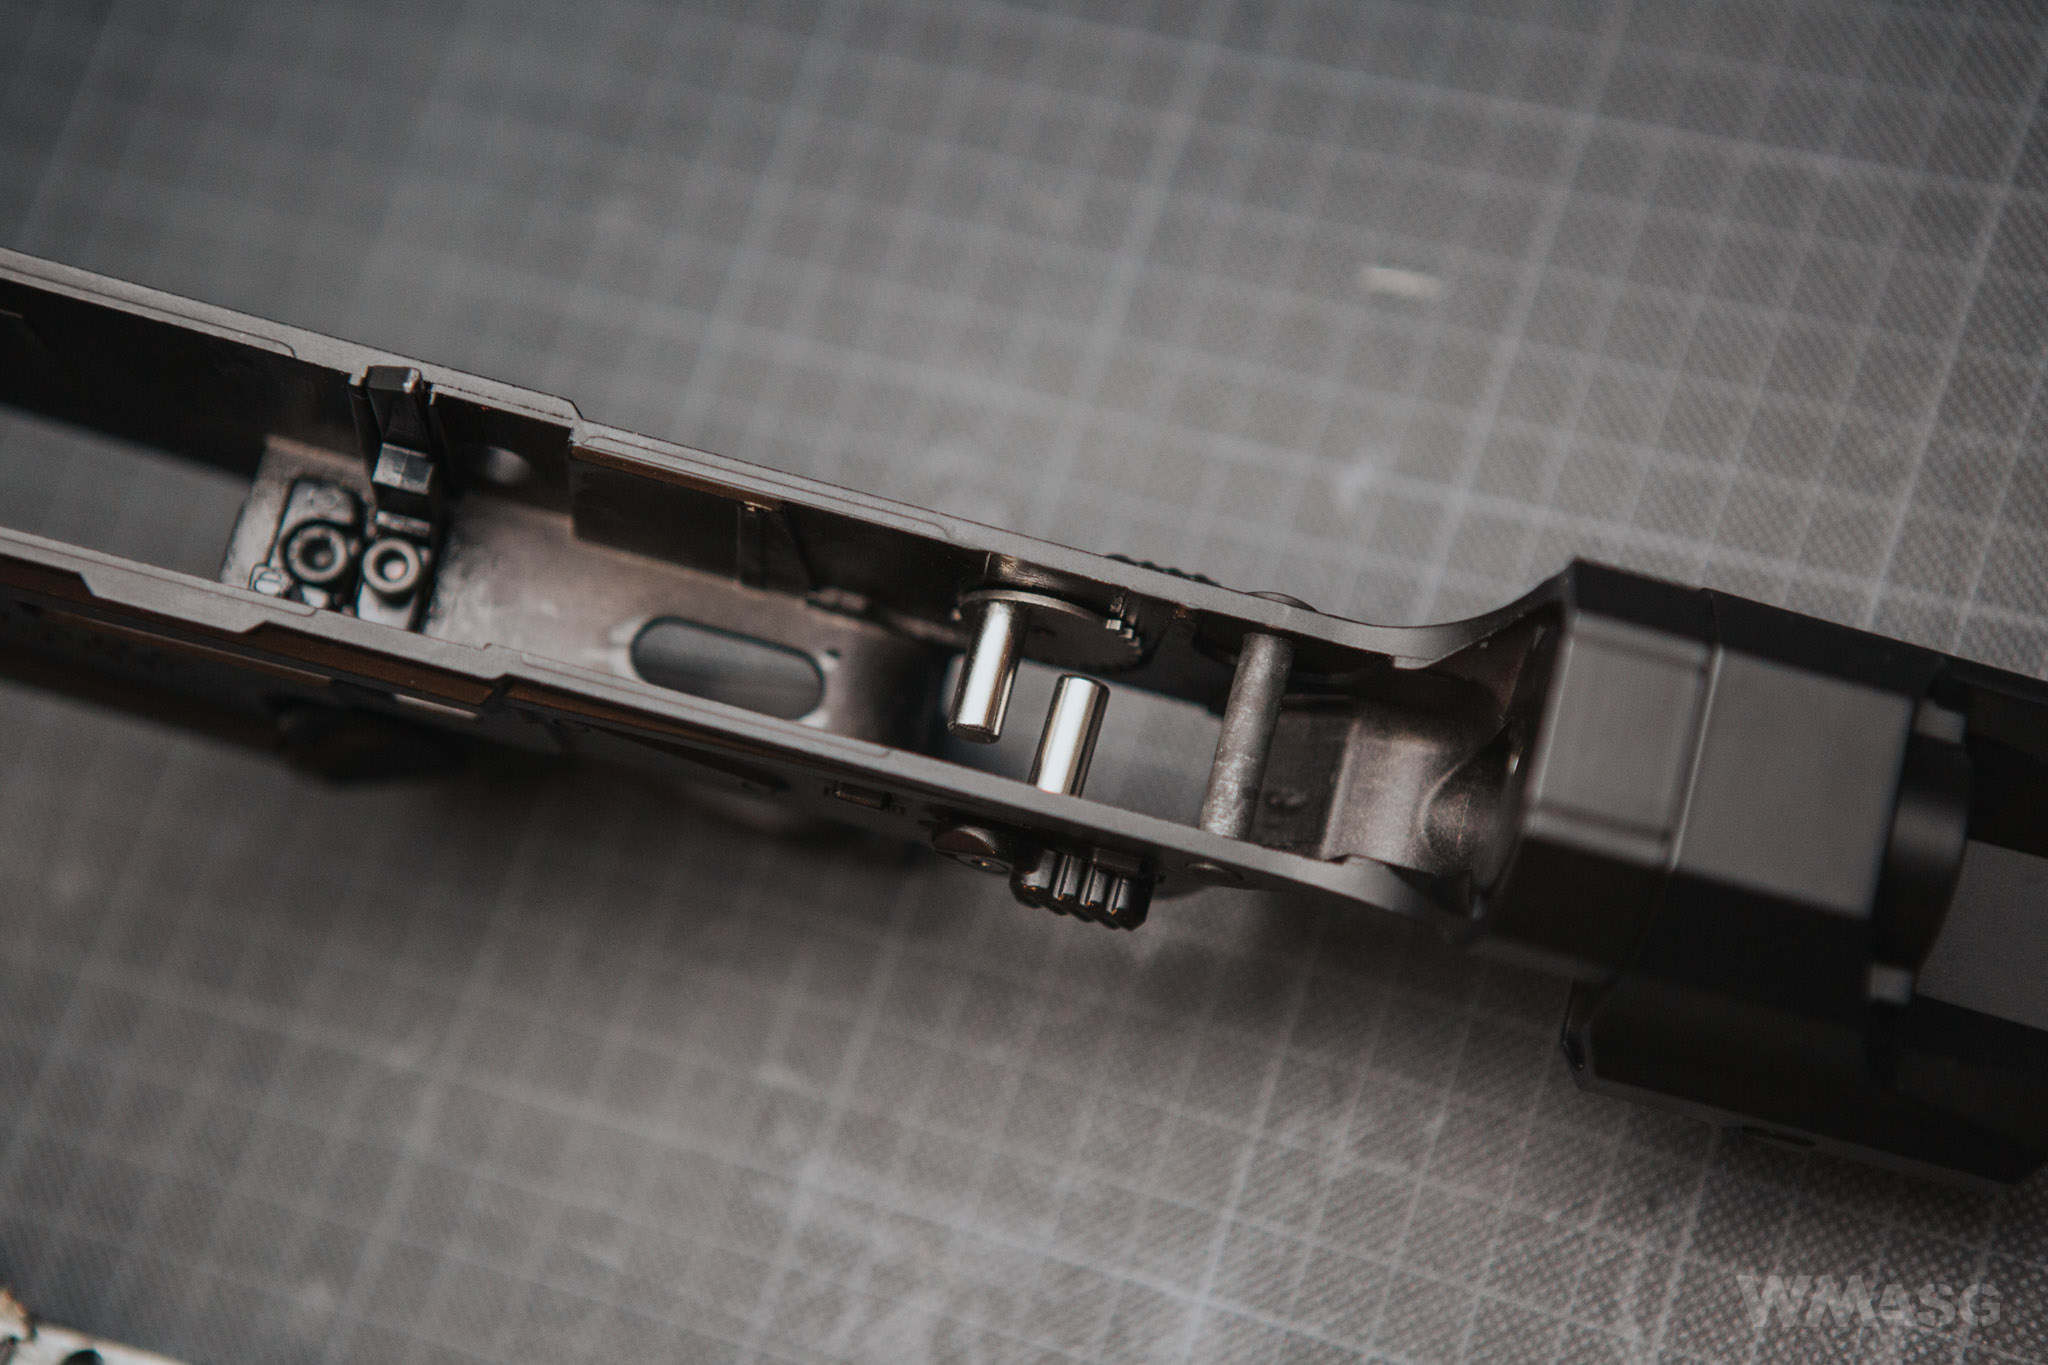
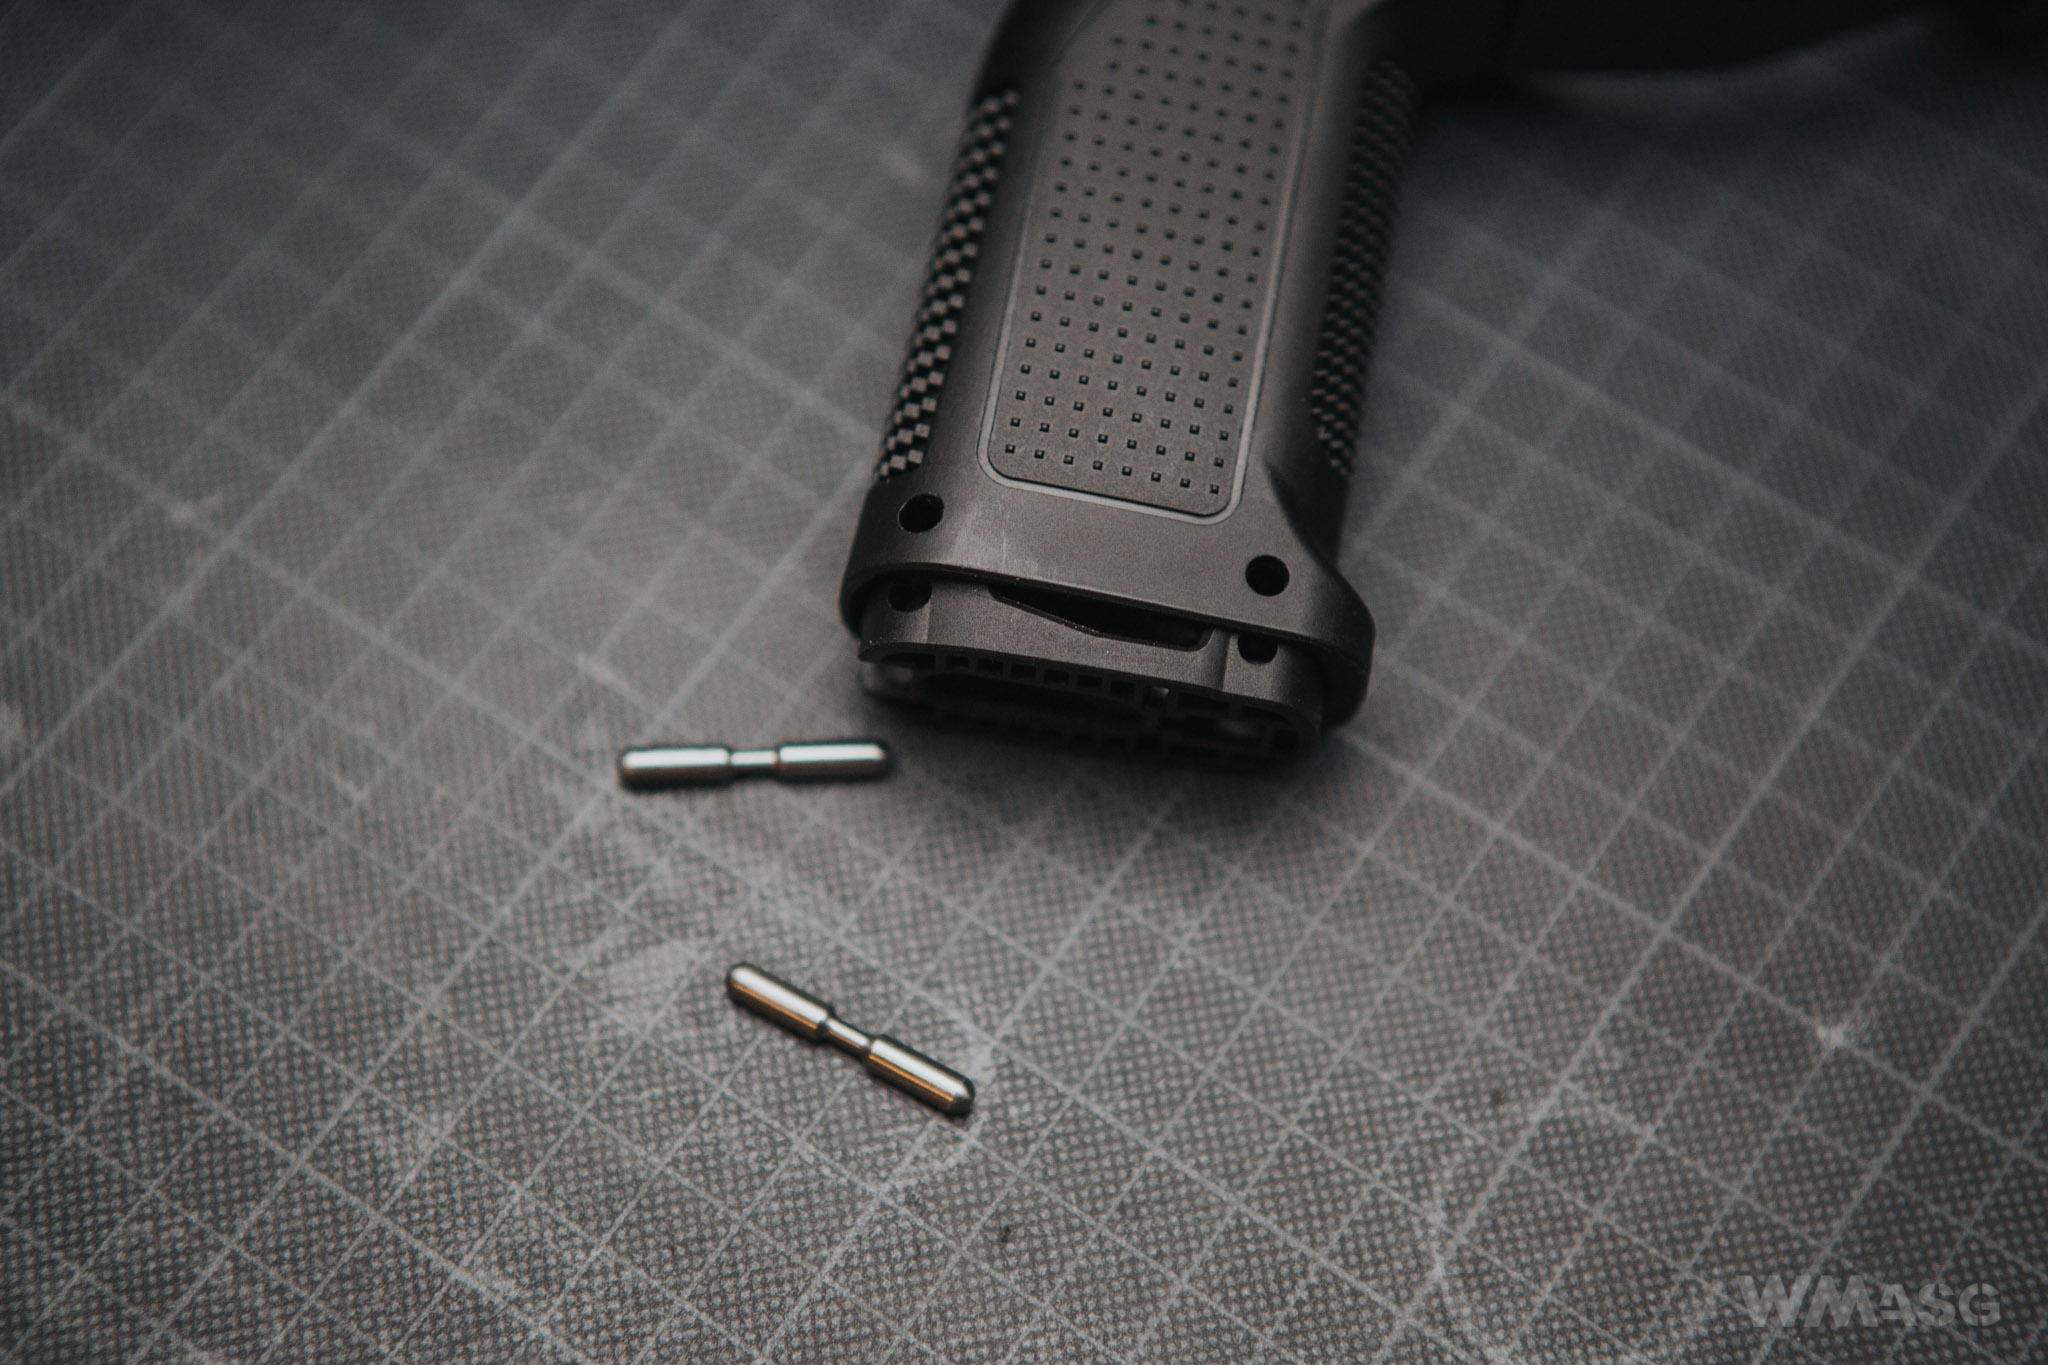
The method of closing the pistol grip, in which the motor is located, is solved in a very interestingly way. Instead of 2 screws, the bottom plate is secured with 2 pins.
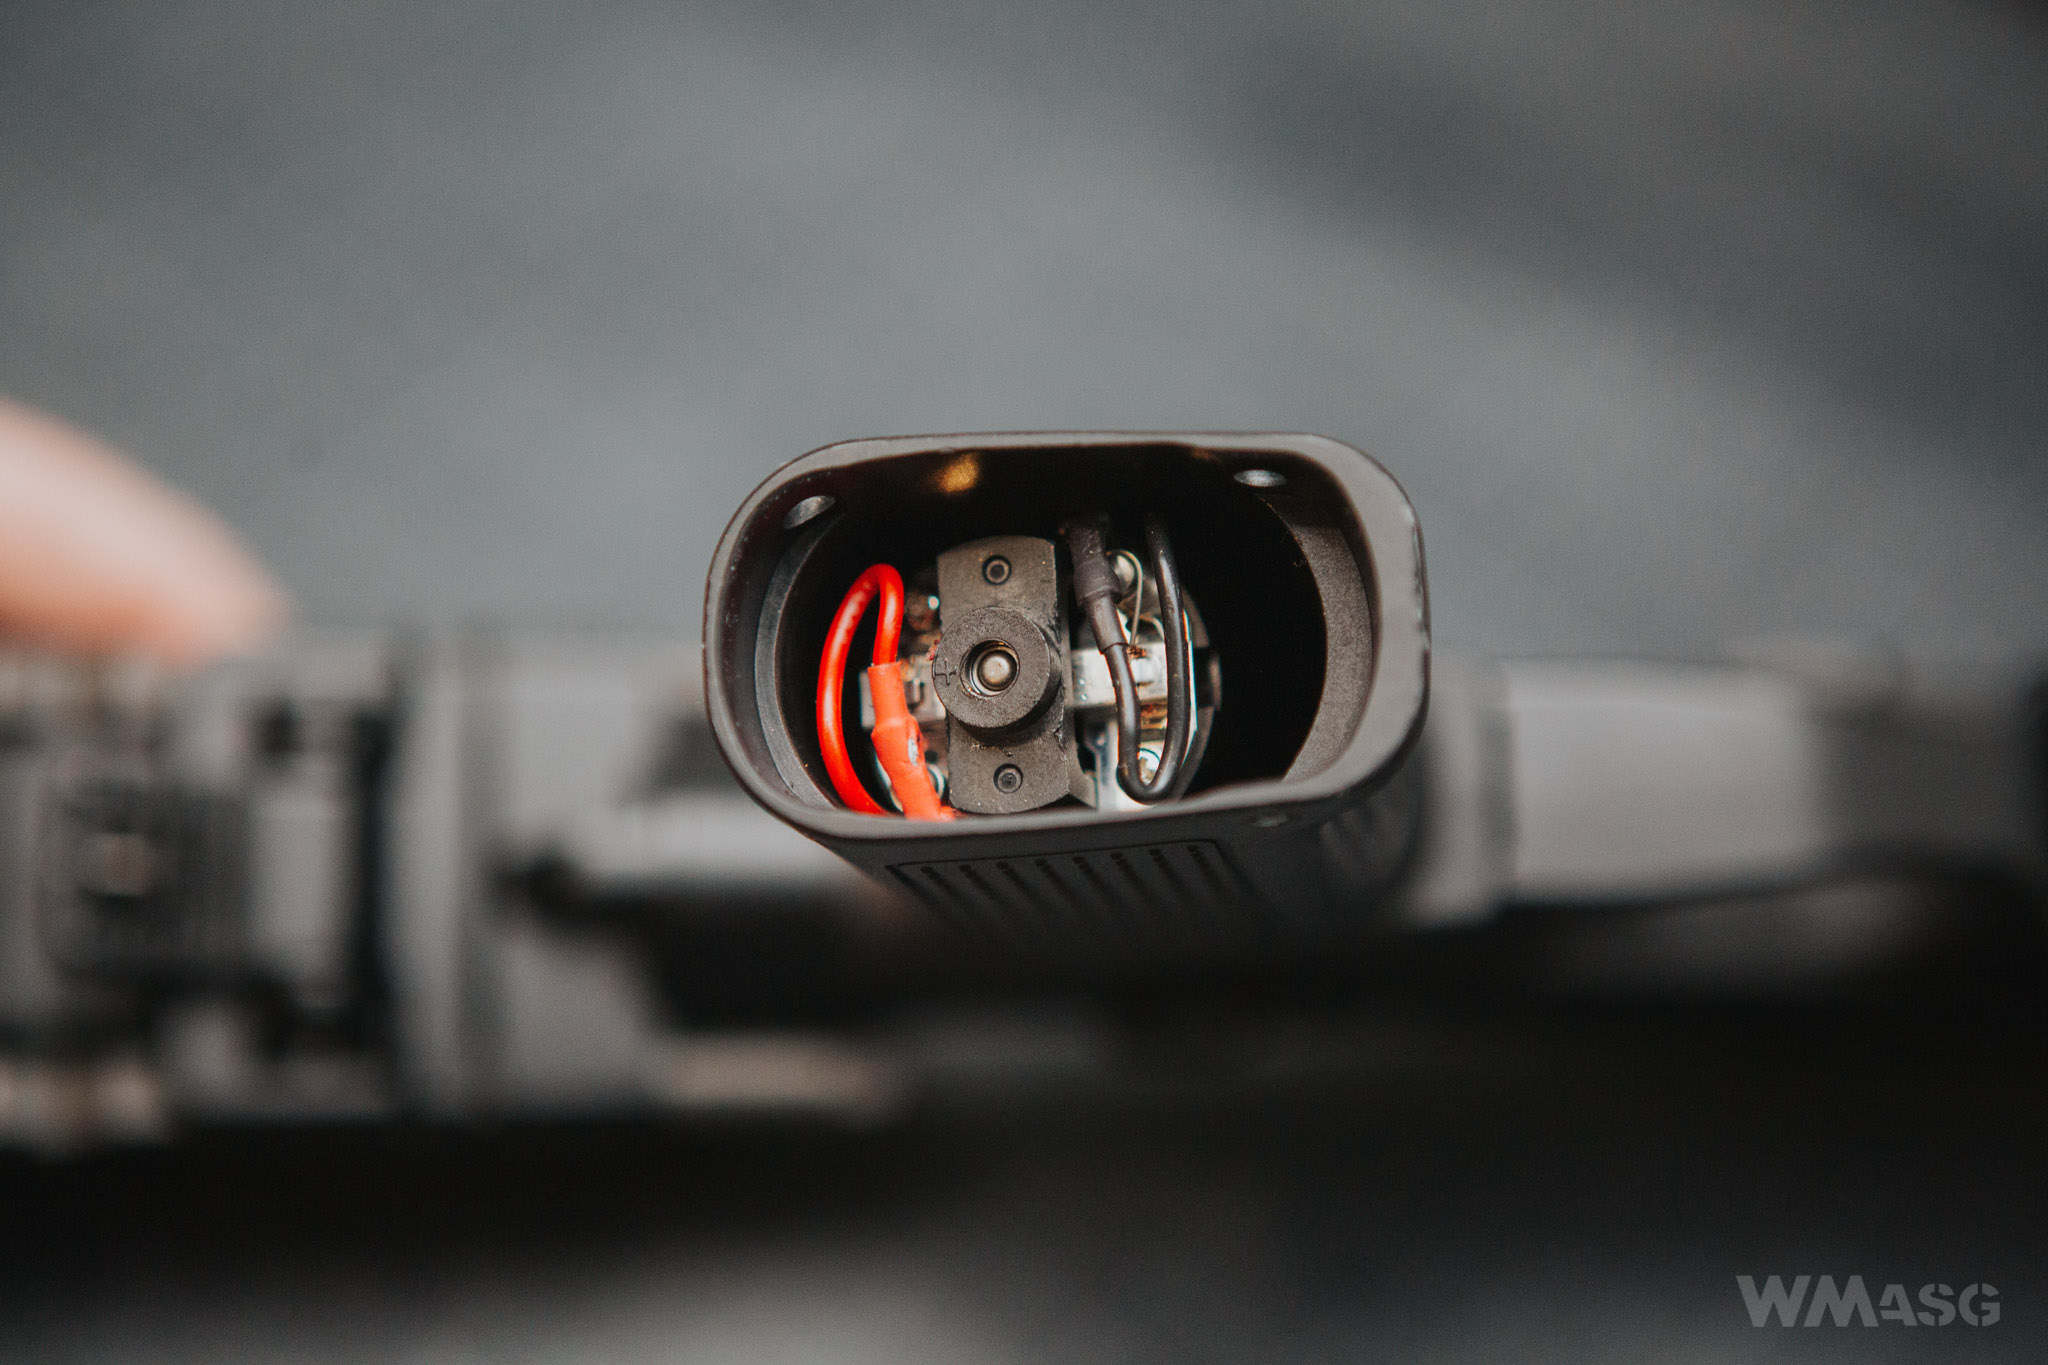
The wires in the grip are routed separately, on both sides of the motor.
The HopUp chamber is typical. The manufacturer does not specify the inner diameter of the barrel.
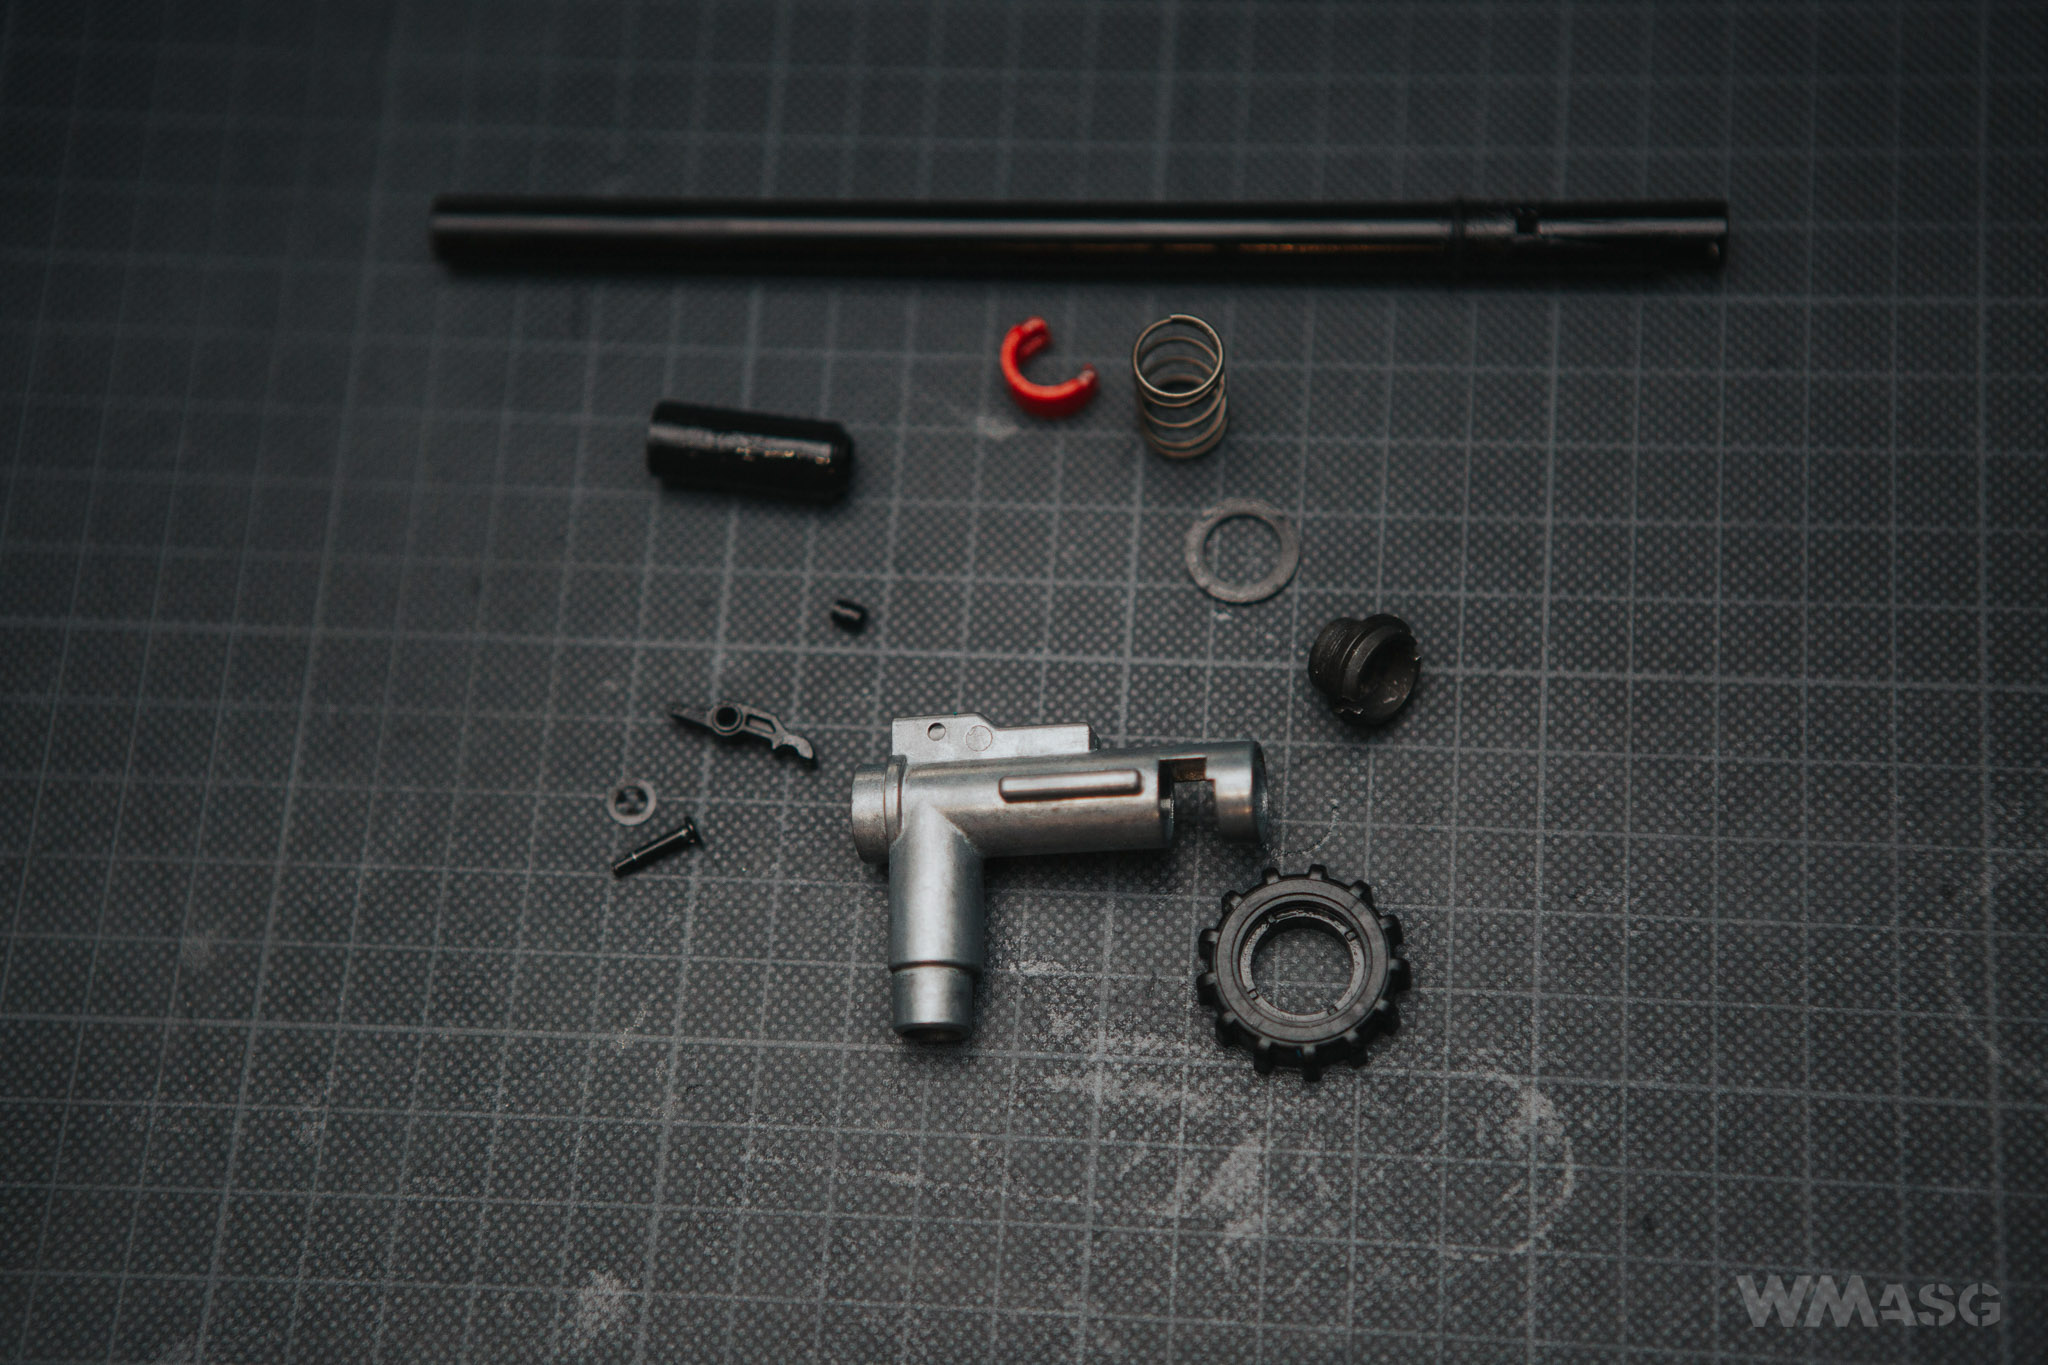
Disassembling the chamber caused us some difficulties due to the nut securing the adjustment ring. Ultimately, we managed to do it with an Allen key.
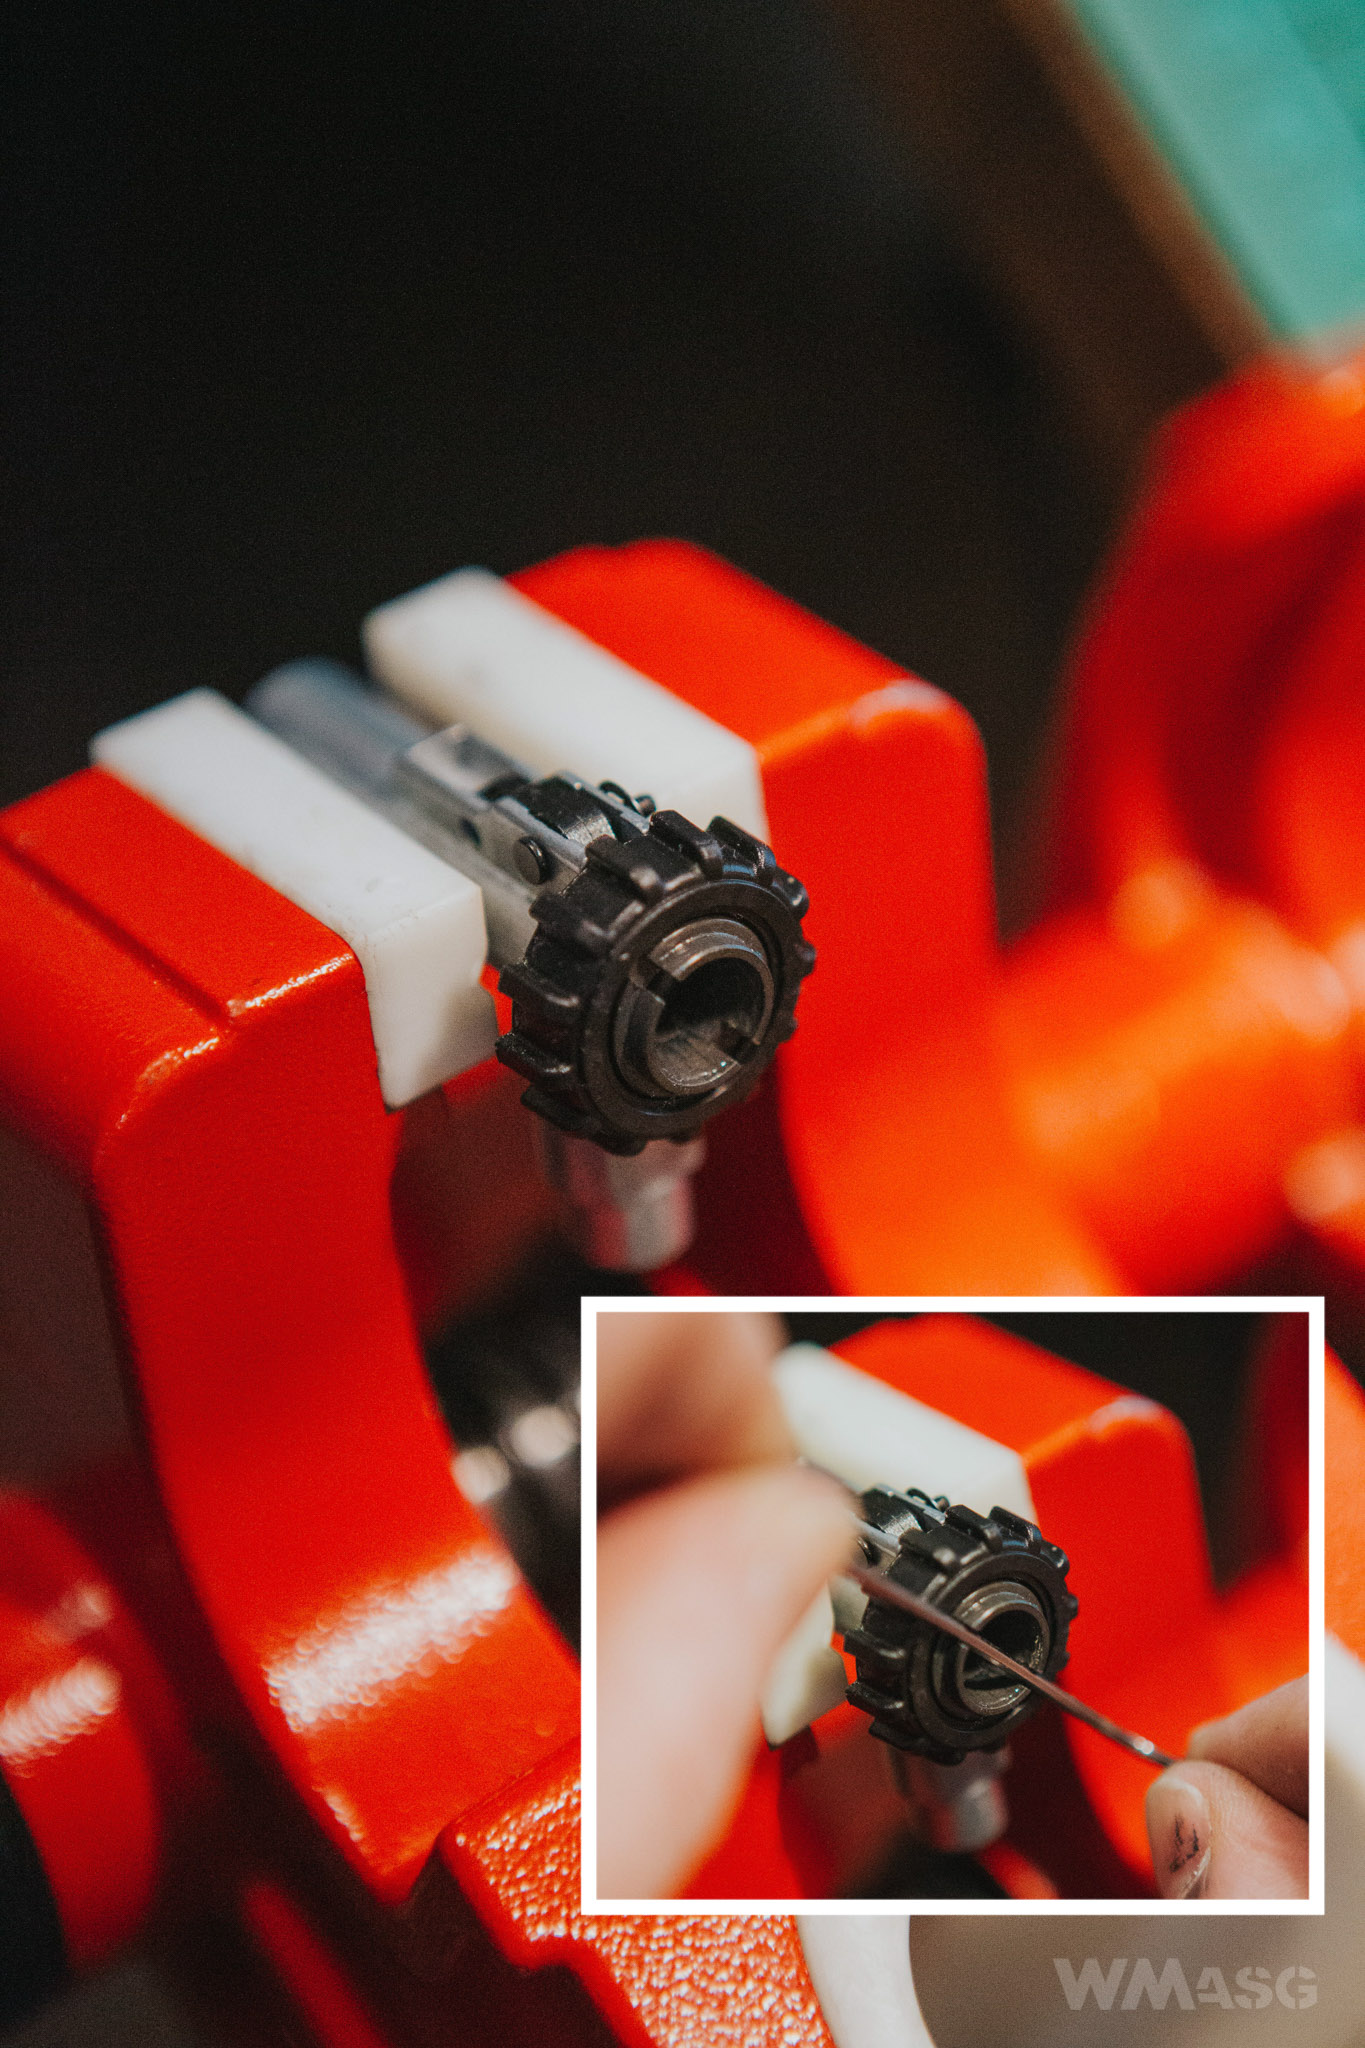
External parts
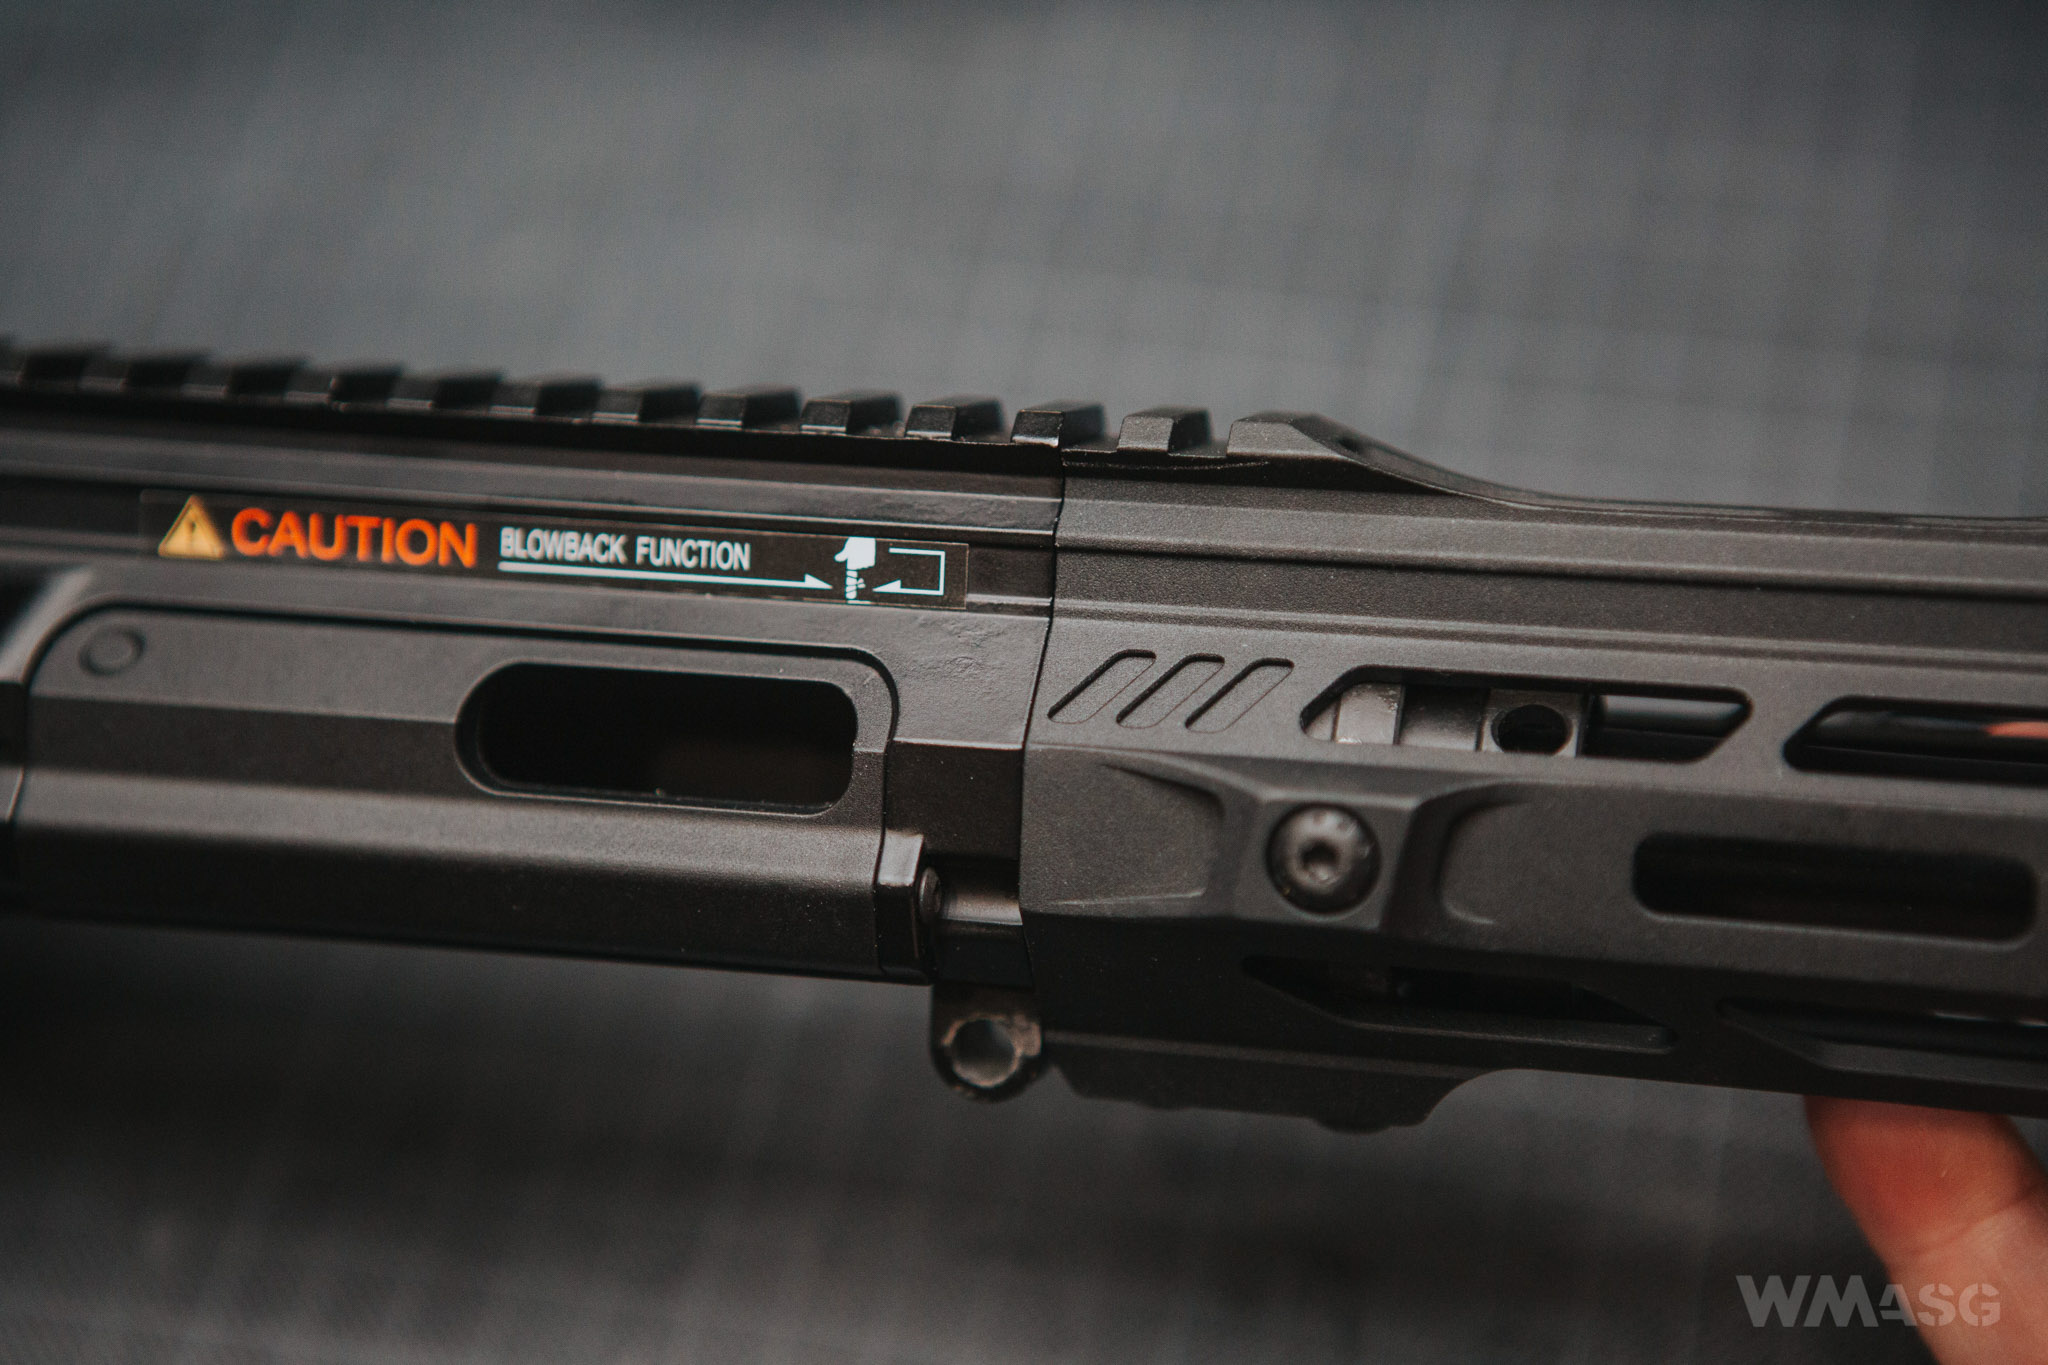
We wrote in the first part of the review about the method of mounting the handguard with 3 screws and the lack of a dummy gas system. To disassemble the outer barrel, the key attached to the replica to unscrew the mounting ring is used.
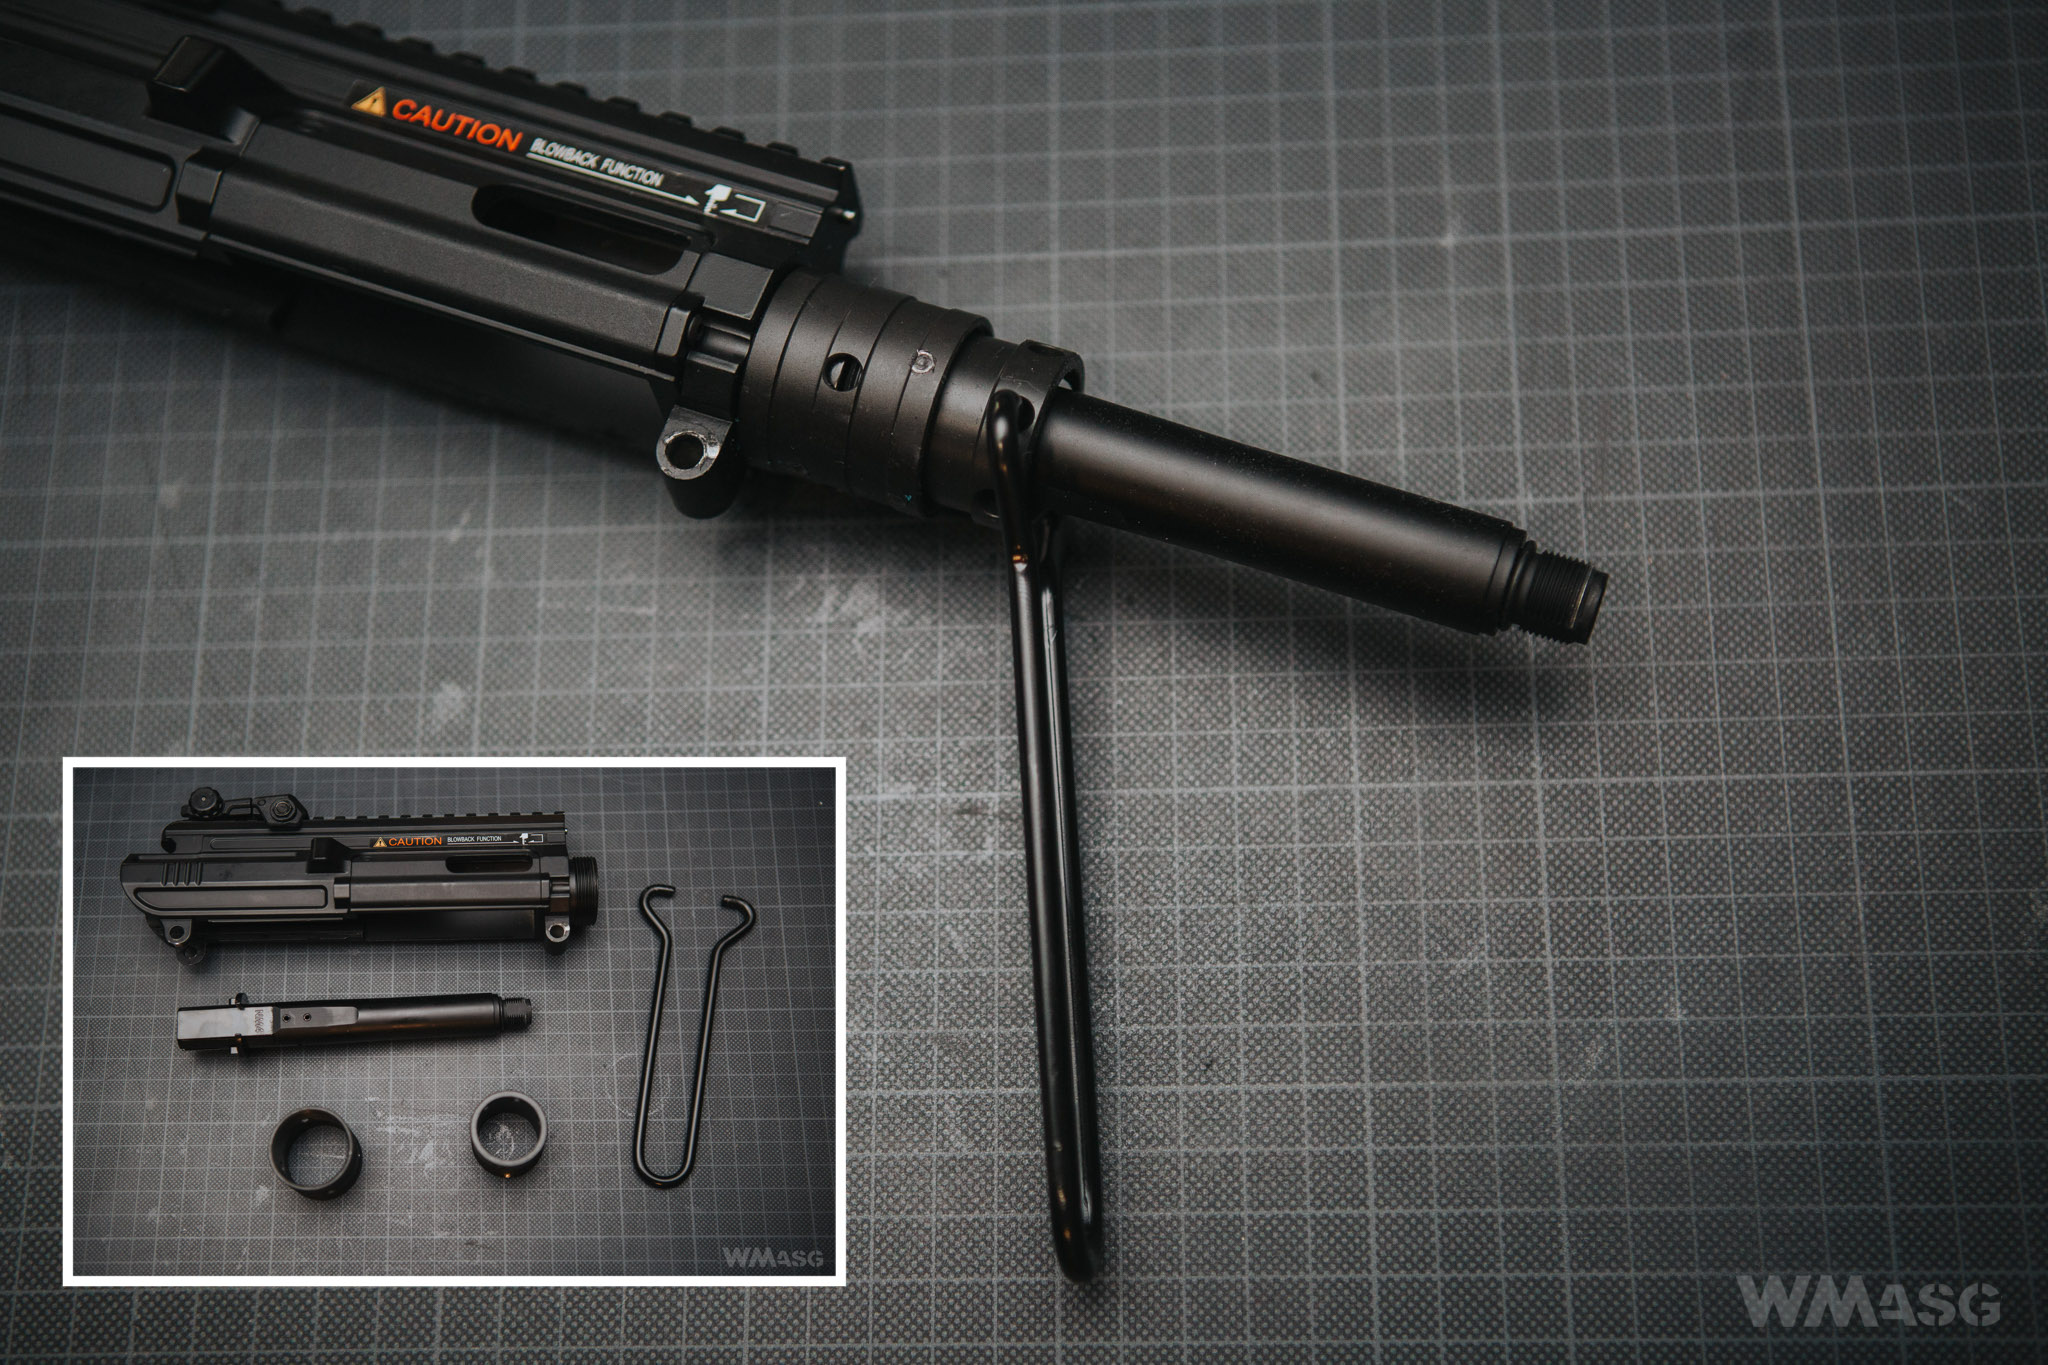
When mounting the handguard back, one shouldn't tighten one screw to the very end and then try to do it with another. When we did it the handguard became crooked which did not allow to mount the silencer. It is worth mentioning that the handguard is protected against rotating around the barrel. This is caused by a part, which is normally invisible, placed in the upper receiver, in the place where the gas tube should be. There is a special hole in the handguard where it is inserted.
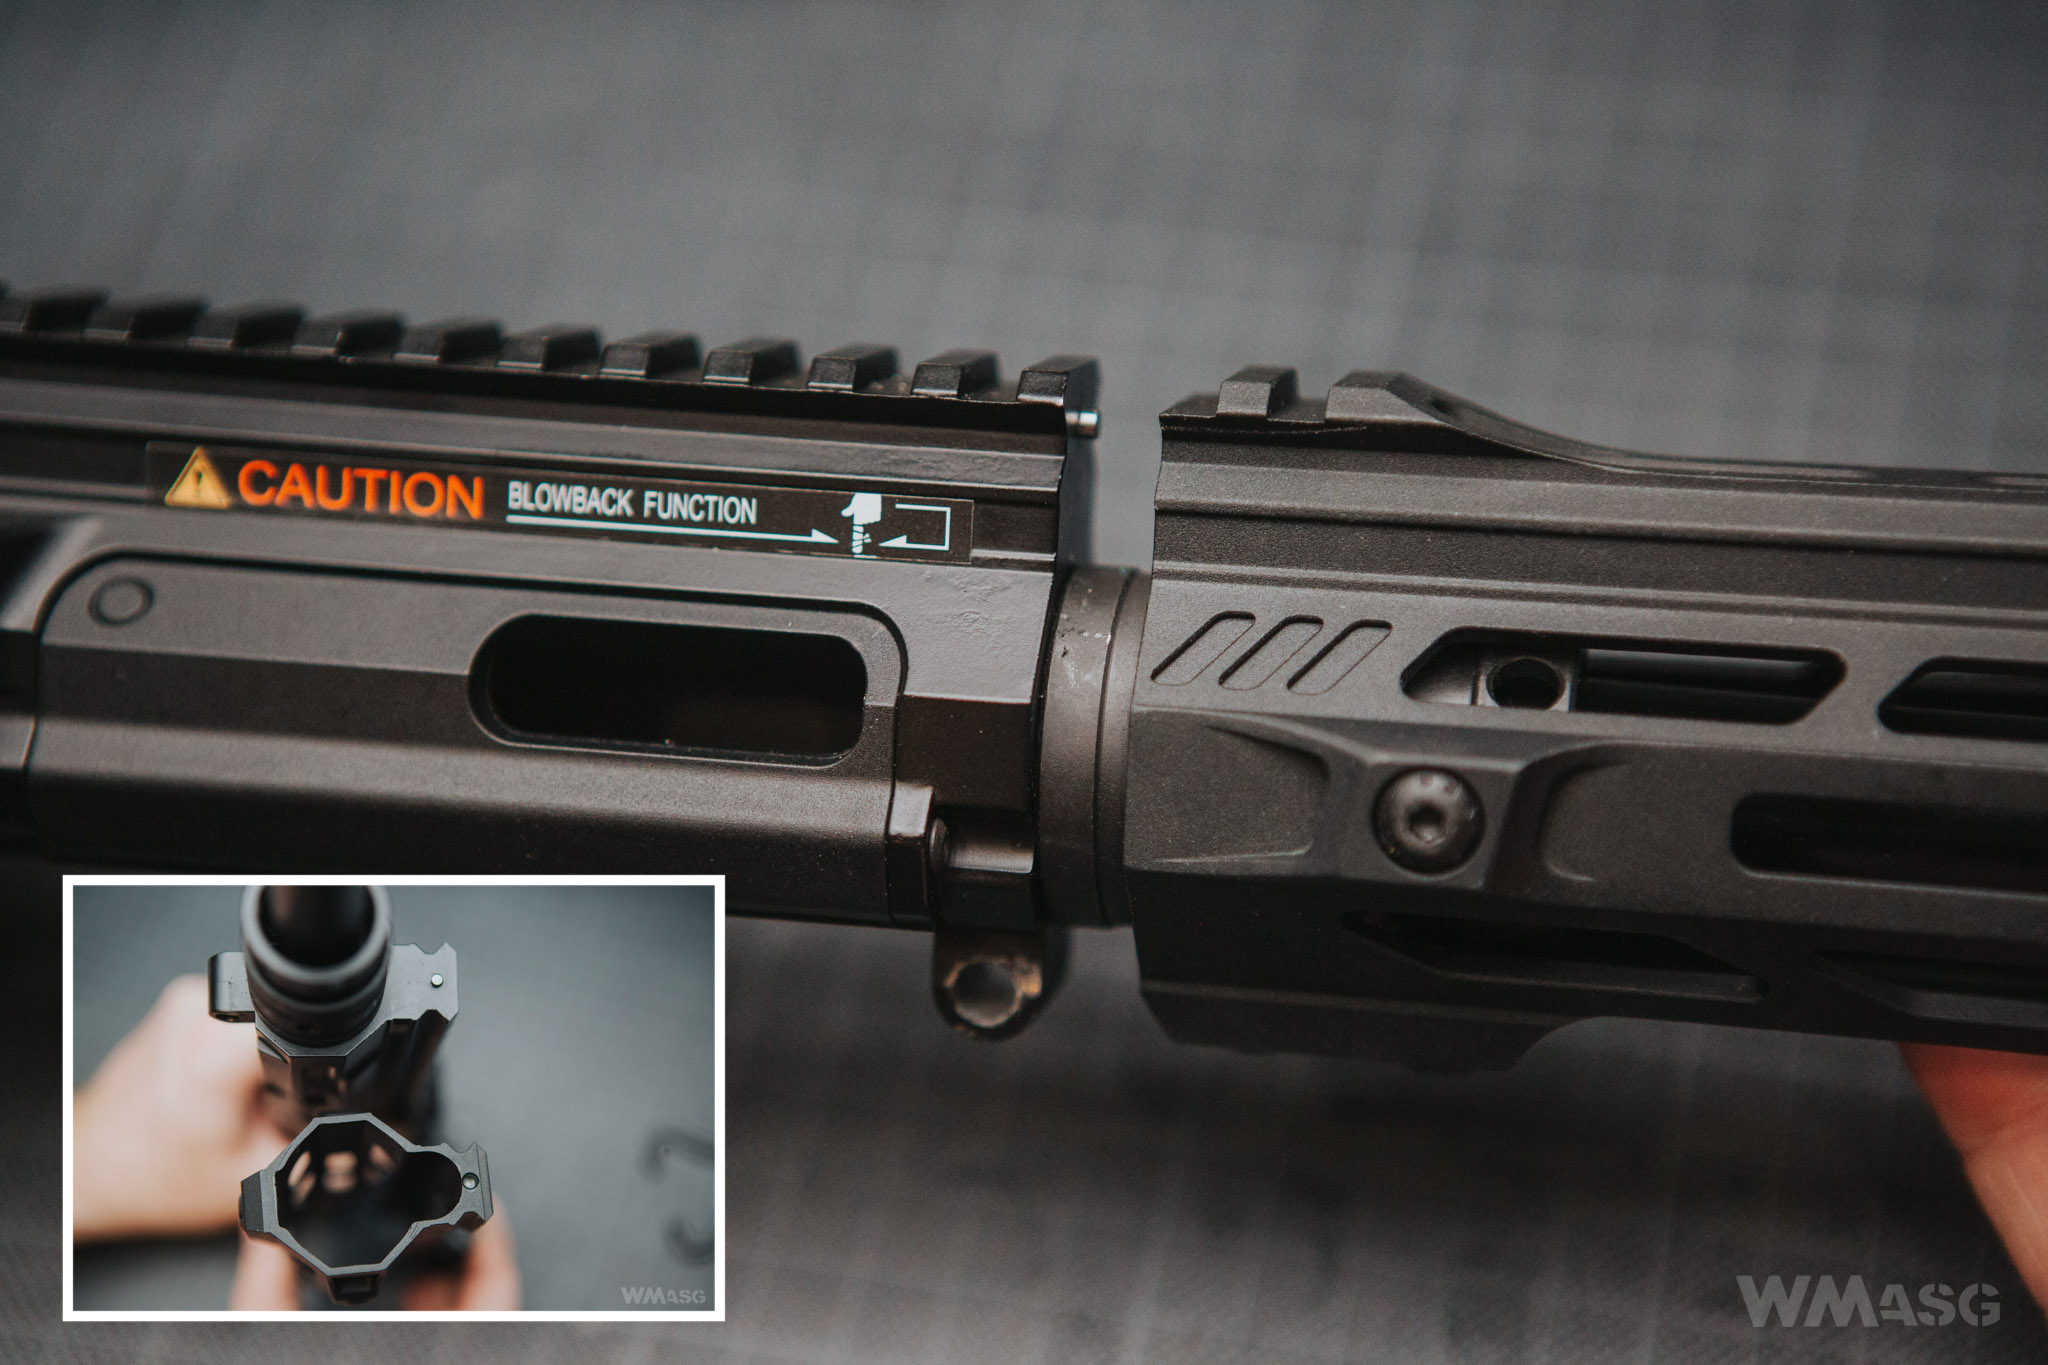
Thanks to this, the handguard and upper receiver are assembled perfectly together.
Due to the 3 ways to release the magazine and placement of the bolt catch, the interior of the lower receiver looks unusual.
The right and left safety/selector switch are mounted from the outside and do not need to be unscrewed to remove the lower part of the mechanism. Just set them in the "almost SEMI" position (as pictured).
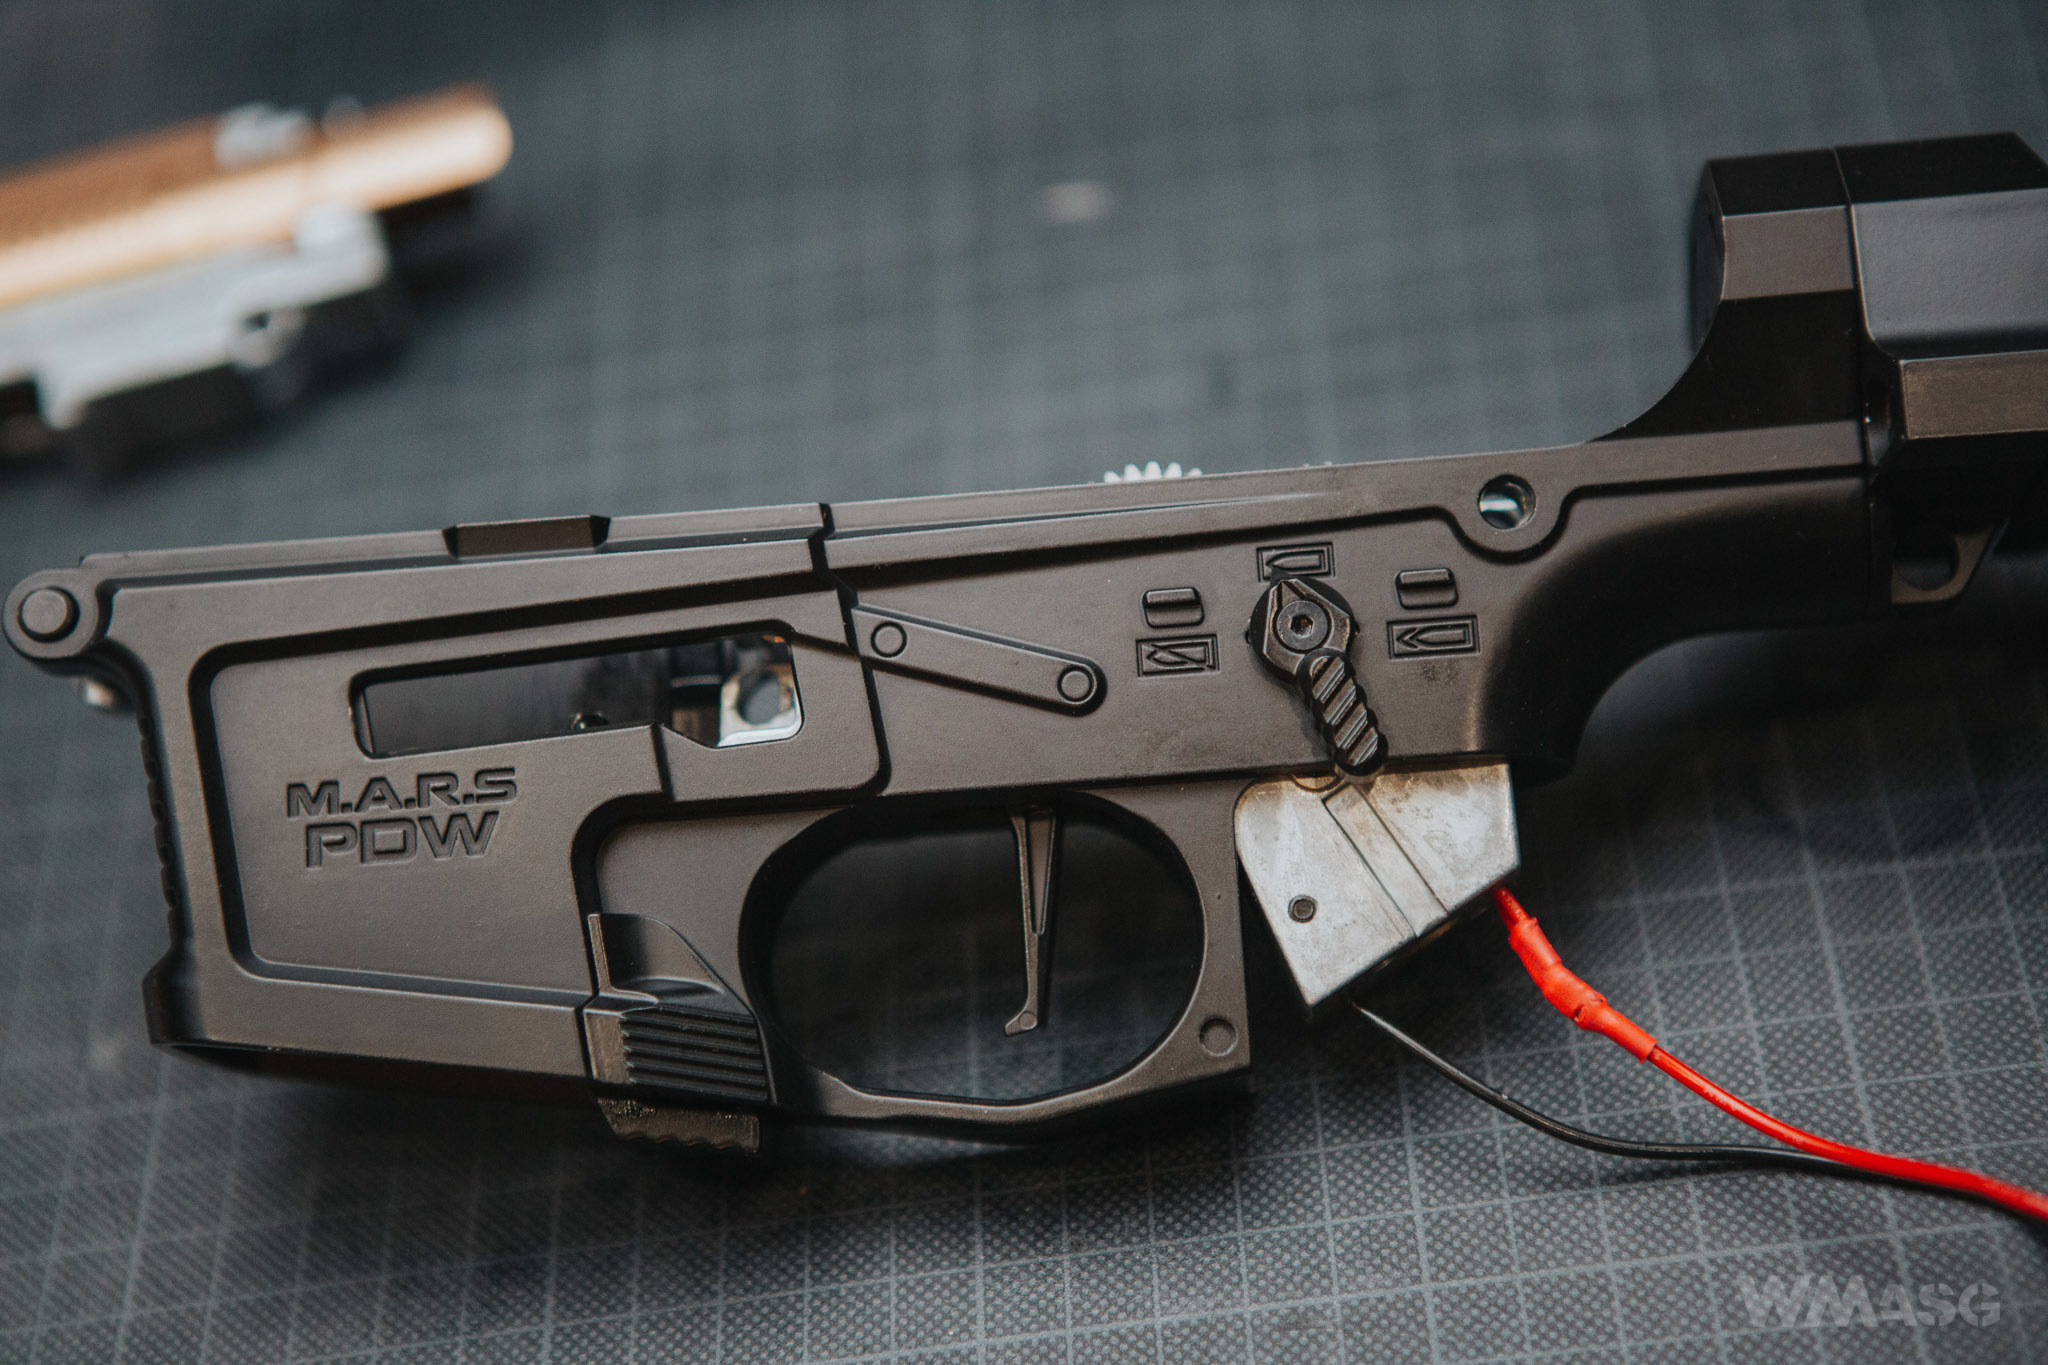
Both switches have their own springs and steel balls securing their settings. Thanks to this, the switches work with very smoothly and with a clear click.
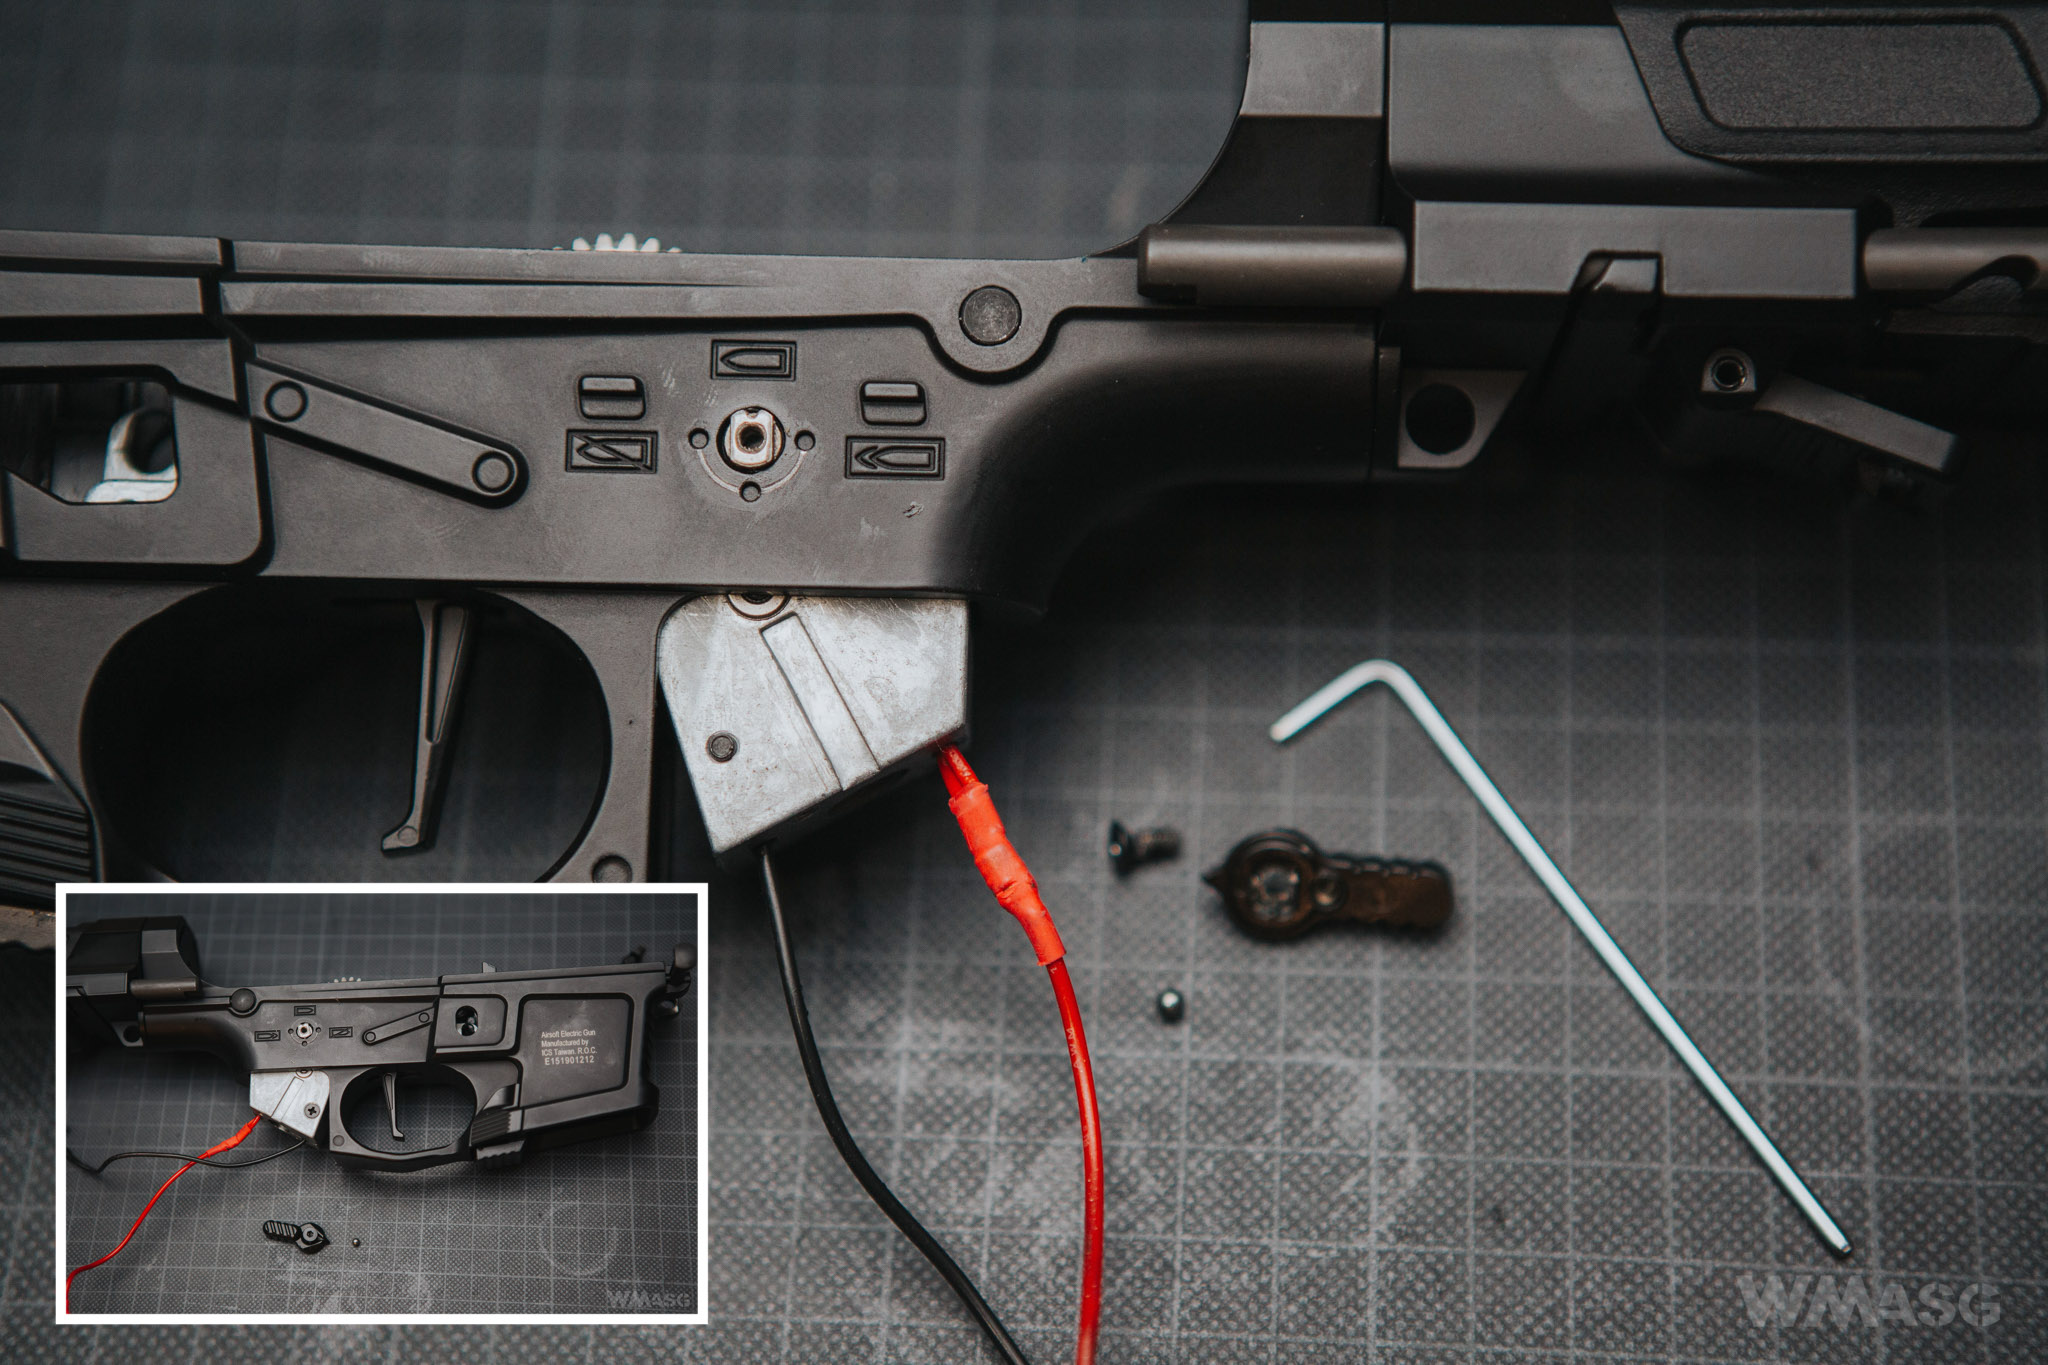
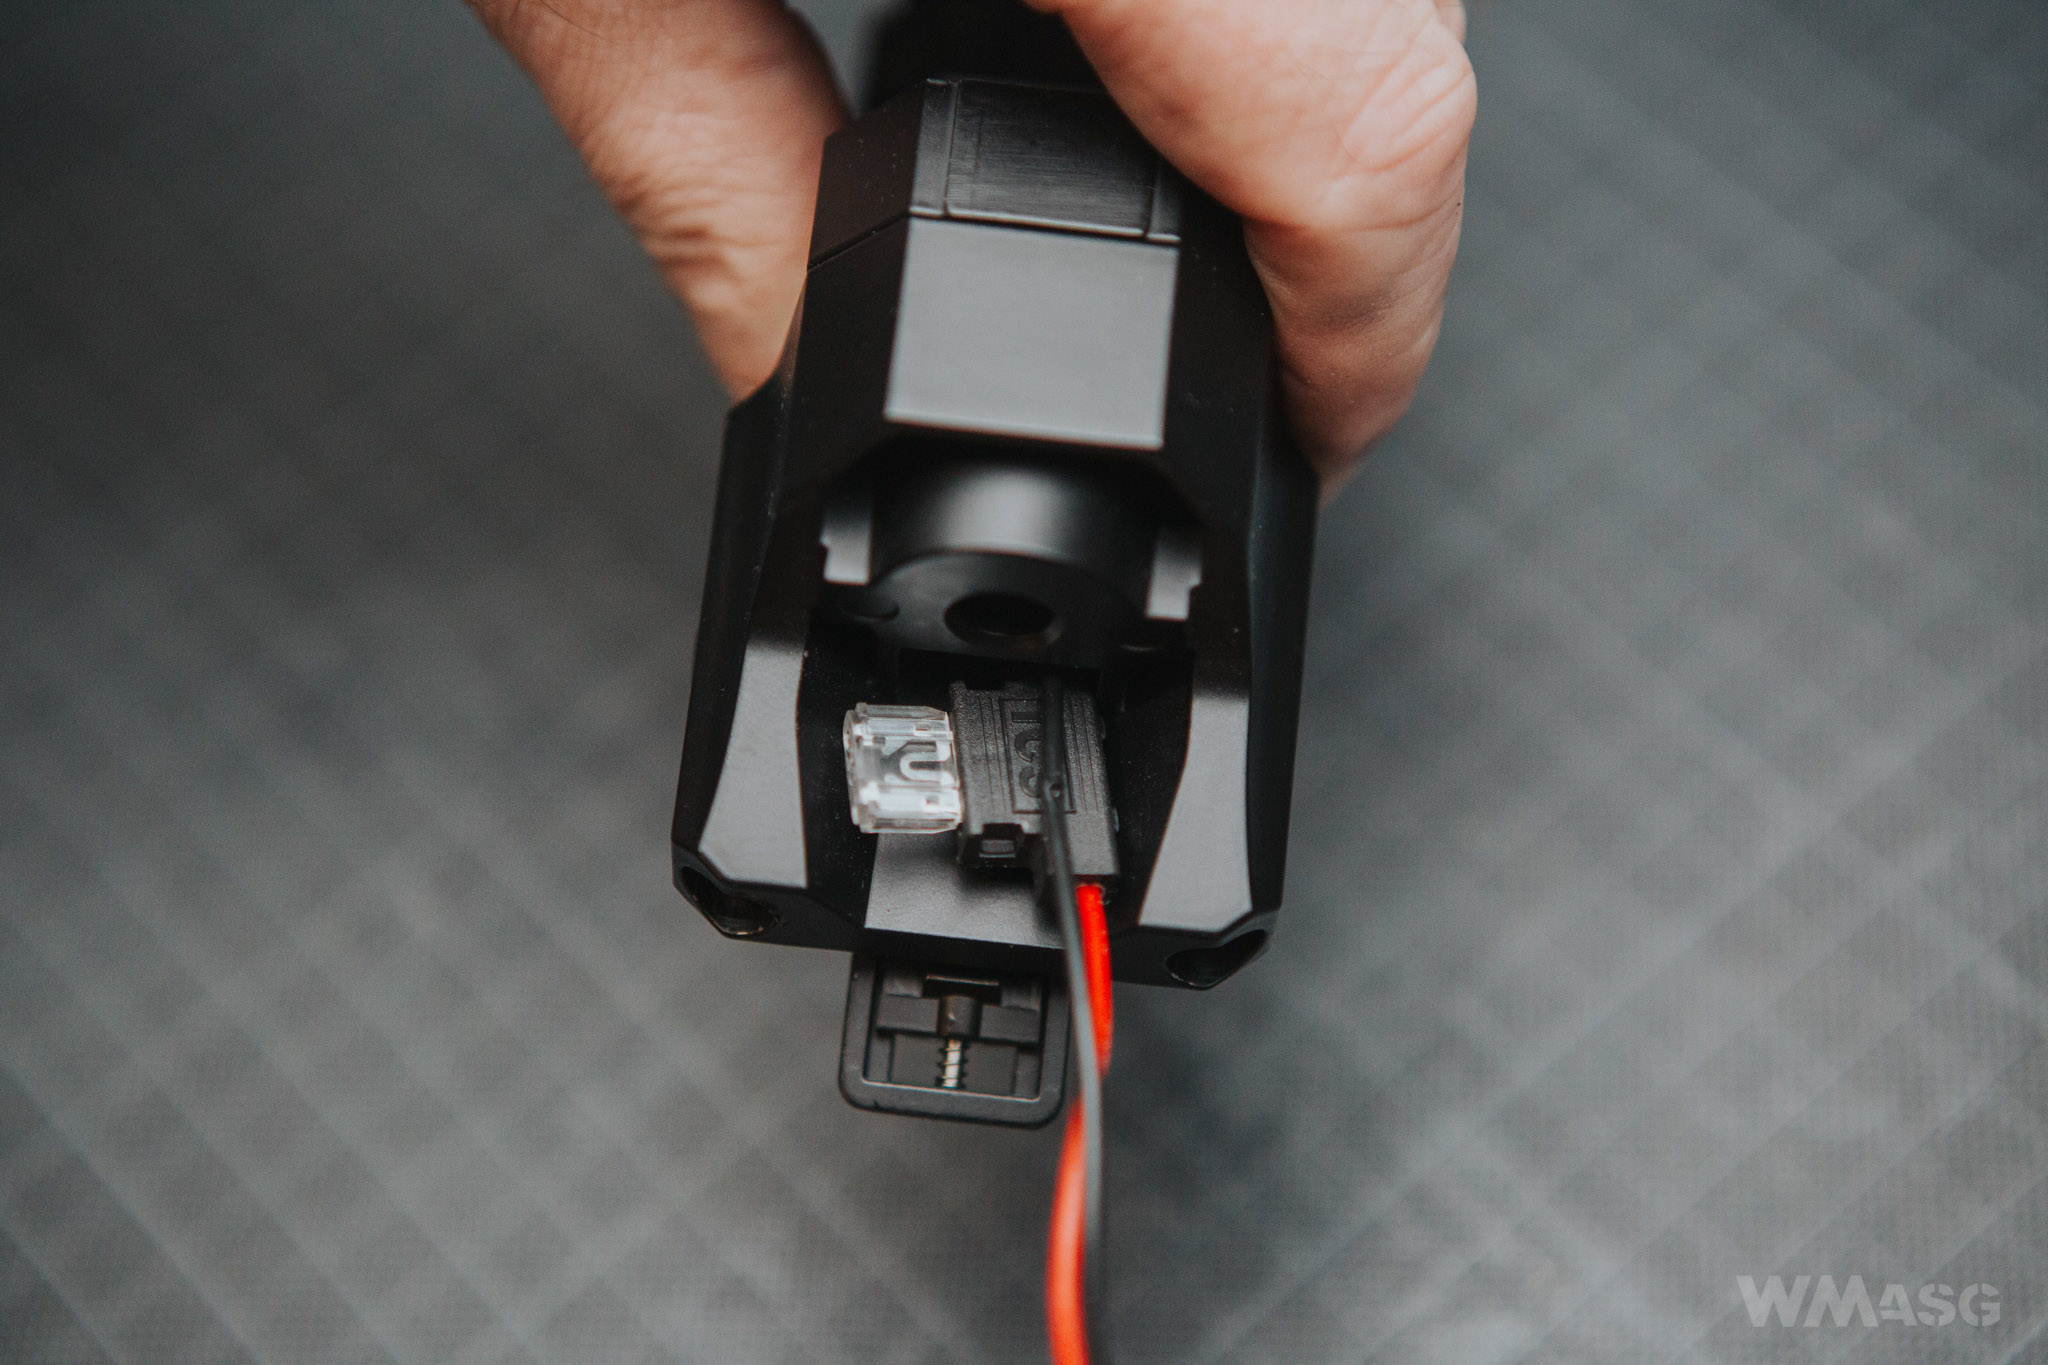
The hole for routing the wires in the rear of the lower receiver is small. The fuse must be removed to take the bottom of the gearbox out.
All the parts of the replica are very well made. Those that do not fit the AR-15 standard and are newly designed especially for the PDW9 have been carefully thought out.
